What Does Roof Flashing Do to Protect Your Home?
What Does Roof Flashing Do to Protect Your Home?
Roof flashing creates watertight joints at every seam, edge, and penetration on your roof, then redirects water safely down into your gutters instead of letting it seep into your home. It's the quiet workhorse of your roofing system. You rarely notice it until it fails.
Here's what it actually does for you:
- Seals joints where two different roof surfaces meet, like where a roof plane meets a wall or chimney.
- Redirects runoff away from gaps and back onto the main roof surface.
- Protects edges and penetrations , including vents, skylights, and valleys, from wind-driven rain.
You'll find flashing doing its job at chimneys, vent pipes, skylights, valleys, and along your eaves. GAF's own field reporting shows a very high share of roof leaks trace back to flashing points, not the shingles themselves. That's worth remembering the next time you're budgeting for roof work.
Key Takeaways
Roof flashing prevents water damage by sealing every joint and penetration on your roof and redirecting runoff back onto the roof surface and into your gutters.
| Point | Details |
|---|---|
| Flashing causes most leaks | A very high share of residential roof leaks trace back to flashing failure, not shingle failure. |
| Installation quality matters most | Correct overlap sequencing and nailing technique prevent leaks better than premium shingle brands. |
| Kickout flashing gets missed often | This small diverter piece prevents hidden wall rot but is frequently skipped during installation. |
| Inspect annually and after storms | Check chimneys, valleys, vents, and wall junctions for rust, gaps, or cracked sealant every year. |
| Shieldguardroofing handles repairs and reroofs | Shieldguardroofing installs GAF and IKO flashing systems with warranty-backed workmanship across inspections, repairs, and full reroofs. |
What Does Roof Flashing Seal Do and How Does It Work?
Roof flashing is thin, non-corroding sheet metal, usually galvanized steel, aluminum, or copper, installed at every point where your roof changes direction or gets interrupted. Think of your roof as a raincoat. The shingles are the fabric, but flashing is the stitching at the seams and zipper. Without it, water finds every gap the fabric alone can't cover.
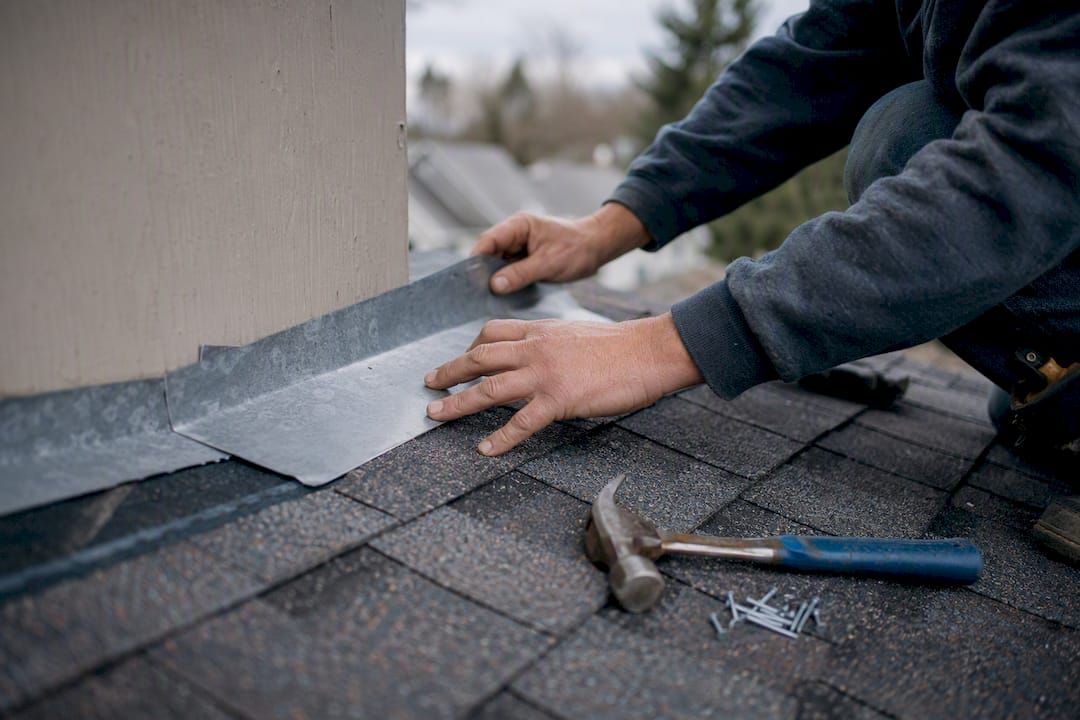
The mechanics come down to layering. At a wall intersection, base flashing gets tucked under the shingles first, then counterflashing goes over it from the wall side, overlapping like shingles on a fish. Each layer sheds water onto the one below it, so gravity does the heavy lifting. IKO's installation guidance describes this stacking as the difference between flashing that lasts decades and flashing that fails in one bad storm.
It helps to separate flashing's two jobs:
- Barrier role: Physically blocking water from entering a gap, the way a boot around a vent pipe seals that opening.
- Redirect role: Channeling water that's already moving, like valley flashing funneling runoff from two roof planes into one stream headed for the gutter.
Both roles depend on installation accuracy. Nail through the wrong spot, skip counterflashing at a chimney, or get the overlap sequence backward, and you've built a leak into your roof rather than a defense against one. This is why two roofs with identical shingles can have wildly different leak histories. It usually comes down to who installed the flashing, not what brand of shingle sits on top.
Where Is Roof Flashing Critical on Your Home?
Some spots on your roof simply cannot function without flashing doing its job correctly. Knowing where to look saves you from a surprise ceiling stain.
- Chimneys: Check for rust streaks, lifted counterflashing, or gaps where the metal meets brick.
- Vent pipes: Look for cracked rubber boots or metal collars pulling away from the pipe.
- Skylights: Inspect the perimeter for lifted shingles or sealant that's dried and cracked.
- Valleys: Watch for exposed nail heads or metal that's visibly dented or corroded.
- Roof-to-wall intersections: Look for gaps where siding meets the roofline.
- Eaves and rakes: Check the drip edge for rust, bending, or separation from the fascia.
- Dormers: Inspect the small wall-to-roof junctions on all sides.
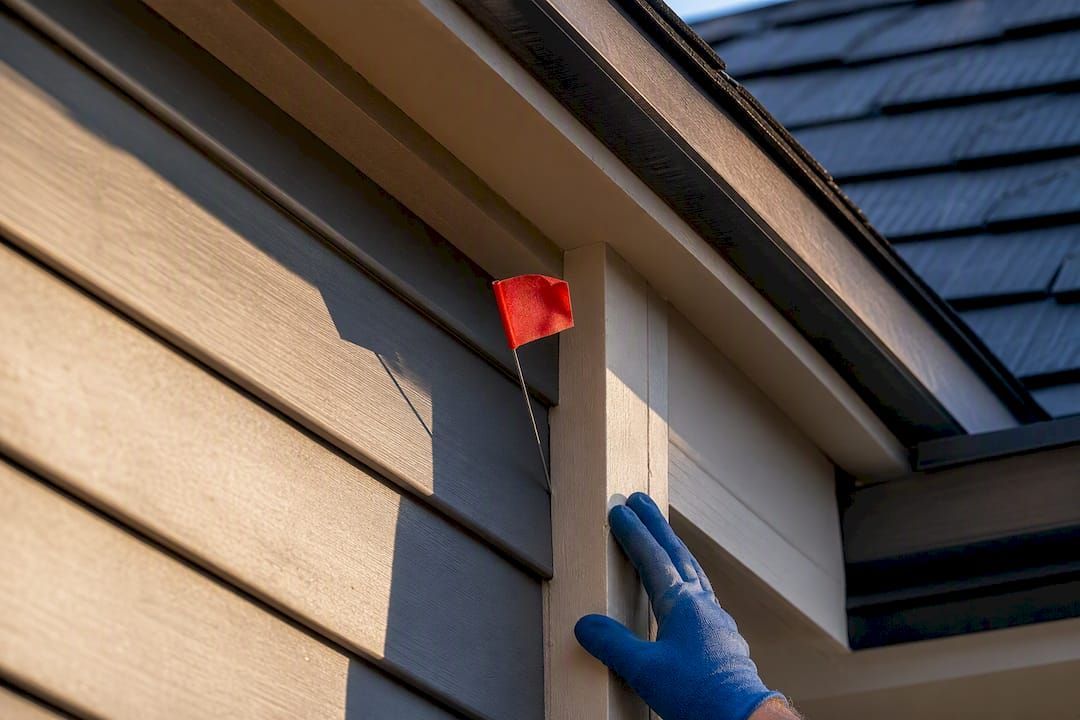
A few trouble spots hide from ground-level inspection entirely. Kickout flashing, the small diverter piece at the bottom of a roof-to-wall junction, is easy to miss because it's tiny and often tucked behind siding. GreenBuildingAdvisor points out that a missing kickout is one of the most common causes of hidden wall rot, because water runs straight down the wall cavity instead of into the gutter. Ask any contractor doing a roof inspection to specifically check for it.
What Are the Main Types of Roof Flashing?
Once you know the names, you'll start spotting these on every roof you pass.
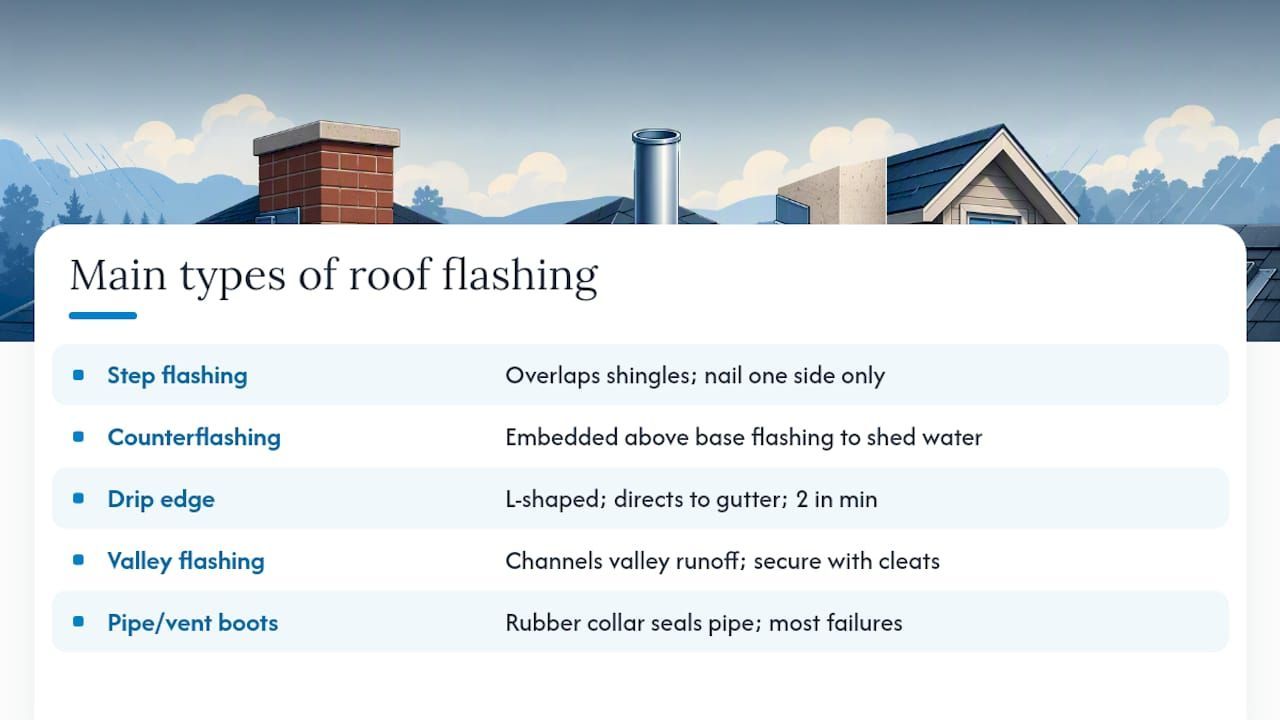
Step flashing consists of small rectangular metal pieces, bent at a 90 degree angle, woven between shingle courses along a roof-to-wall junction. You'll see this where a dormer or second story wall meets a lower roof slope. IKO notes each piece should overlap the one below it, and it needs to move independently with seasonal expansion, meaning it gets nailed to either the roof or the wall, never both. Nail it to both, and you'll crack the seal within a few years.
Counterflashing sits above base flashing at chimneys and parapet walls, embedded into a mortar joint or wall material to shed water over the base layer below. You'll see this as a metal strip running along the top edge of chimney flashing. Skip it, and water gets behind the base flashing entirely.
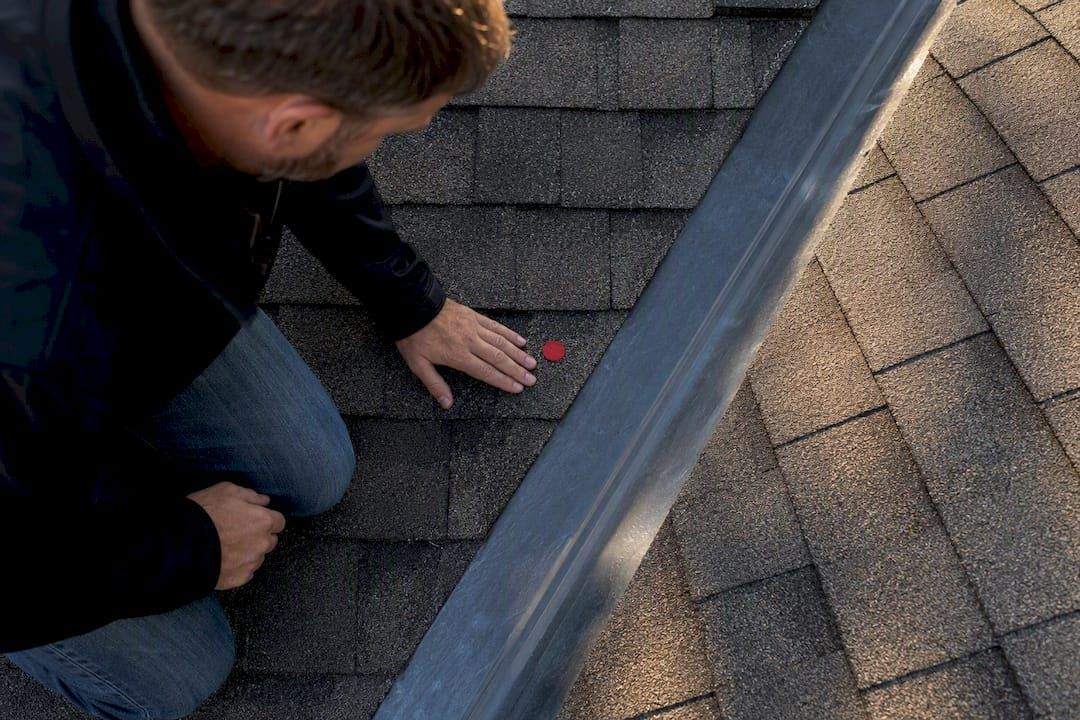
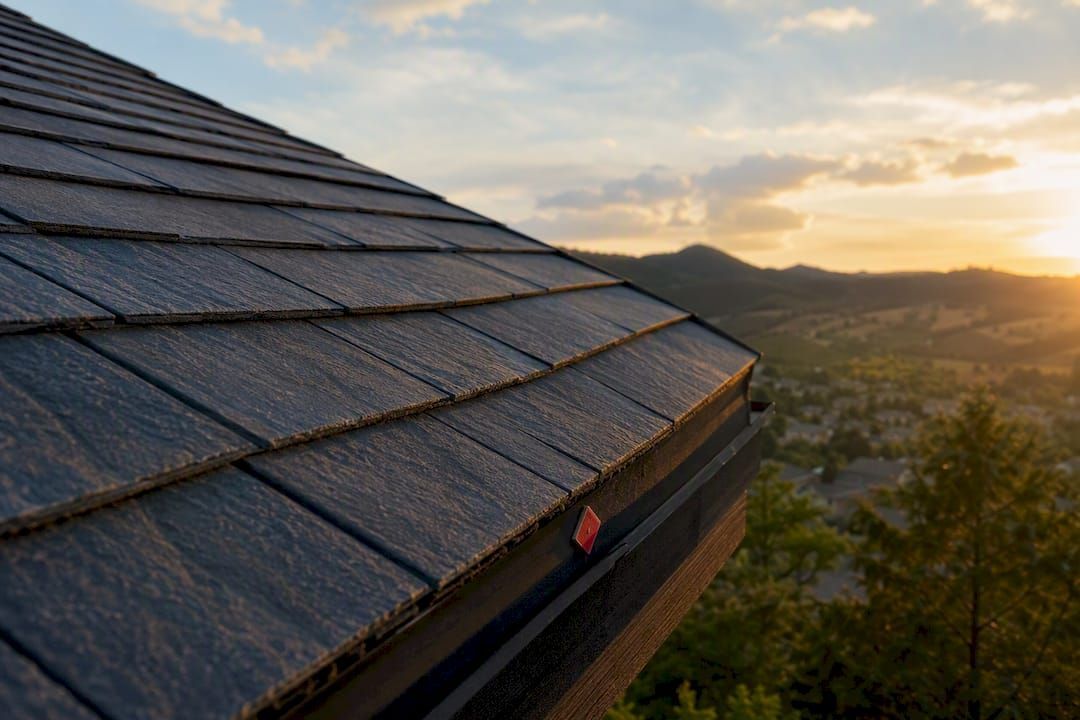
Drip edge runs along your eaves and rakes, guiding water off the roof deck and into the gutter rather than letting it curl back under the shingles. You'll see this as a thin metal L-shaped strip peeking out from under the shingle edge. Building codes in many areas now require it, and ARMA's installation guidance calls for a minimum 2 inch extension onto the sheathing with fasteners spaced 8 to 10 inches apart.
Valley flashing channels the concentrated runoff where two roof planes meet at an angle. You'll see this as a wide metal or ribbed channel running down the center of a V-shaped roof valley. IBHS guidance recommends securing it with cleats, since valleys handle far more water volume than a flat roof section ever will.
Pipe or vent boots wrap around plumbing and exhaust vents, using a rubber or metal collar that seals tight to the pipe while a metal base ties into the surrounding shingles. You'll see this as a small rubber cone at the base of any pipe poking through your roof. These fail more often than any other flashing type simply because rubber degrades faster than metal.
Chimney flashing is really a combination system, base flashing plus counterflashing plus step flashing along the sides, working together around a masonry structure. You'll see this as multiple metal layers wrapping the entire chimney base.
Kickout flashing diverts water at the bottom termination of a roof-to-wall intersection, directing it away from the wall and into the gutter. You'll see this, when it's installed at all, as a small flared piece at the point where a roofline meets a gutter and a wall simultaneously.
Which Flashing Material Should Your Roof Use?
Material choice affects how long your flashing lasts and how much you'll pay upfront. Here's how the common options stack up.
- Galvanized steel: Affordable and widely used, with a lifespan of roughly 20 to 30 years, though the zinc coating eventually wears thin and rust sets in, especially in wet climates.
- Aluminum: Lightweight, resists rust well, and costs less than copper, but it can corrode when it touches masonry, treated wood, or dissimilar metals without a barrier layer.
- Copper: The premium choice, often lasting 50 years or longer, and it develops an attractive patina over time, but expect to pay several times more than steel or aluminum.
- Stainless steel: Exceptional corrosion resistance, particularly valuable near the coast or in areas with heavy chemical exposure, at a cost that sits between aluminum and copper.
- Non-metallic options: PVC and rubber components, mostly for pipe boots, offer flexibility around irregular shapes but degrade faster than any metal under UV exposure.
Some manufacturers, including specialty roll-form suppliers like Metalformers, produce custom flashing profiles for unusual roof geometries or non-standard materials. If your roof has an unconventional design, ask your contractor whether a manufacturer-specific profile fits better than a generic bend.
As a rule of thumb: copper earns its price on high-end homes or historic restorations where longevity matters more than upfront cost. Aluminum and galvanized steel handle most standard residential jobs just fine. Stainless steel becomes the smarter call in coastal areas or near industrial exposure where corrosion resistance justifies the premium. For a broader look at how these tradeoffs play out across roofing projects, our materials comparison guide breaks down cost and durability side by side.
What Are the Signs That Roof Flashing Is Failing?
Catching flashing failure early is the difference between a $200 repair and a $2,000 water damage claim. Watch for these signs:
- Rusted, split, or visibly corroded metal at any joint or seam.
- Gaps opening up between step flashing pieces and the wall or shingles.
- Cracked or dried sealant around chimneys, skylights, or vent boots.
- Water stains on interior ceilings or walls near roof penetrations.
- Peeling paint or bubbling siding near kickout flashing locations.
If you spot any of these, photograph the area and note exactly where it is before you call anyone. Avoid climbing onto a steep roof yourself. If a leak is active, a tarp over the affected area and a bucket to contain interior drips buy you time until a professional can inspect it. Don't patch flashing yourself with roofing cement as a permanent fix. It's a stopgap, not a repair.
How Long Does Roof Flashing Last and What Does Repair Cost?
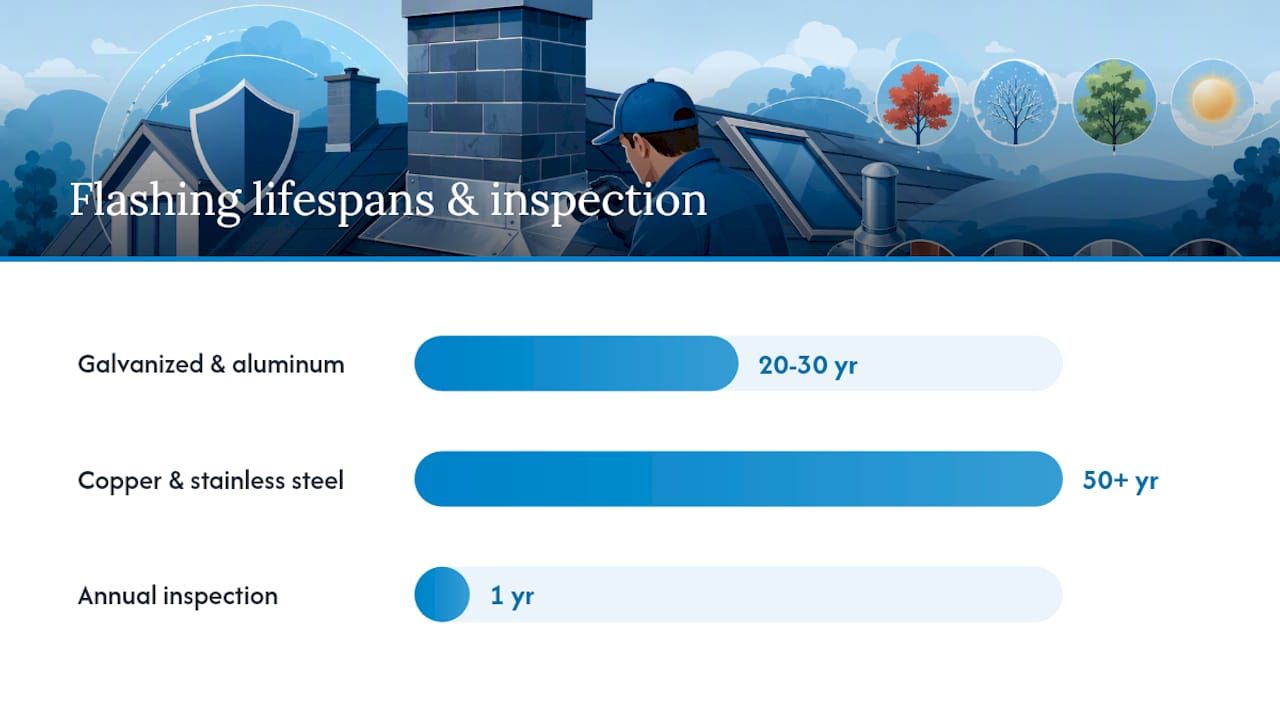
Lifespan depends heavily on material and climate. Galvanized steel and aluminum typically hold up 20 to 30 years, though coastal salt air or heavy freeze thaw cycles shorten that window. Copper and stainless steel often exceed 50 years with minimal degradation.
Costs vary by region and scope, so treat these as ballpark figures, not quotes. A small sealant touch-up or single vent boot replacement often runs on the lower end of minor repair pricing. Replacing flashing around one chimney or skylight costs more, since it involves removing surrounding shingles. A full reflash during a complete reroof adds the most to your total project cost, but it's far cheaper than reflashing piecemeal every few years.
Field data referenced by The Roofing Brief attributes a high share of residential roof leaks to flashing failure rather than shingle failure, which is exactly why installation quality matters more than the sticker price of your shingles. Always ask contractors to break out flashing costs as a separate line item on any written estimate. A vague lump sum makes it impossible to know if flashing got the attention it needs.
Should You DIY Roof Flashing Repairs or Hire a Pro?
Some flashing work is genuinely within reach for a handy homeowner. Most of it isn't. Use this checklist to decide:
- Ground-level or single-story, low-slope access with a small sealant touch-up or a vent boot swap? Reasonable for a comfortable DIYer with proper ladder safety.
- Anything on a steep roof, a two-story chimney, or a valley? Hire a pro. The fall risk alone outweighs any savings.
- Is your roof still under a manufacturer or workmanship warranty? DIY work can void it. Confirm before you touch anything.
- Does the job involve soldering, cutting new metal, or replacing step flashing woven into shingle courses? This requires the bends and overlaps to be exact, which takes practice most homeowners don't have.
If you're hiring, ask for proof of insurance, recent references, a written warranty on workmanship separate from material warranties, and the specific flashing material and gauge they plan to use. A contractor who can't answer those questions clearly is one to skip.
What Should a Professional Flashing Installation Include?
A quality install looks different from a rushed one, and you should be able to spot the difference in writing before work starts.
- A site assessment identifying every penetration, valley, and wall intersection that needs flashing.
- A material spec naming the exact type and gauge, not just "metal flashing."
- Step-by-step sequencing showing base flashing, counterflashing, and shingle overlap in the correct order.
- Corrosion-resistant fasteners and clips matched to the flashing material to avoid galvanic reaction.
- Sealant or solder applied only where the design calls for it, not as a substitute for proper overlap.
- Counterflashing details at every chimney and parapet, not just the visible front face.
- A post-install inspection confirming water sheds correctly at every seam.
Your written estimate should list materials, warranty terms, and an installation report once the job's done.
Pro Tip: Ask specifically whether kickout flashing is included at every roof-to-wall termination point. It's a two-minute detail that prevents years of hidden wall rot, and it's the single most commonly skipped item on residential jobs.
How Often Should You Inspect and Maintain Roof Flashing?
Plan on inspecting your flashing at least once a year, plus a follow-up walkthrough after any major storm. A thorough check covers every penetration, valley, and wall junction, looking specifically for the failure signs covered earlier.
Common repair methods scale with the damage. A sealant refresh handles minor cracking around a boot or chimney. Replacing a single pipe boot addresses rubber degradation without touching the surrounding roof. Swapping individual step flashing pieces fixes localized wall junction leaks. A full reflash makes sense only during a complete reroof or after widespread failure.
Keep photos and dates for every repair. If you ever file an insurance claim after storm damage, a documented repair history speeds up the process considerably and gives an adjuster less room to dispute the cause.
A Contractor's Take on the Flashing Mistakes That Cost Homeowners the Most
The flashing failures that show up most often on service calls aren't exotic. They're kickout flashing skipped to save ten minutes, step flashing nailed through both the roof and the wall, and counterflashing left off chimneys because it takes extra measuring. None of these mistakes show up on a curb inspection. They show up two years later as a stain on a bedroom ceiling.
If you take one thing from this article, do it today: walk your property line and photograph every spot where your roofline meets a wall, chimney, or dormer. That single photo record makes it far easier for any contractor to spot a problem before it becomes a repair bill.
How Shieldguardroofing Handles Flashing Inspections and Repairs
Shieldguardroofing is the practical next step when reading about flashing turns into wondering what's actually happening on your own roof right now. We handle everything this article covers: full inspections that check every flashing point by hand, localized repairs when a boot or step flashing section fails, and complete reflashing during a reroof when your existing metal has aged past saving.

We install with GAF and IKO materials backed by manufacturer warranties, so the flashing going on your roof carries the same corrosion-resistant standards covered throughout this guide, not a generic aftermarket substitute. If you've spotted rust, gaps, or water stains after reading through the warning signs above, request a roof inspection or get a quote on residential roof repairs and we'll tell you exactly what your flashing needs, in writing, before any work begins.
Frequently Asked Questions
What does roof flashing do exactly? Roof flashing creates a watertight seal at every joint, edge, and penetration on your roof, then directs water away from those vulnerable points and into your gutter system.
Does roof flashing prevent leaks completely? Properly installed flashing prevents the vast majority of leaks at joints and penetrations, but it can still fail from age, corrosion, or poor installation, which is why annual inspection matters.
How long does roof flashing typically last? Galvanized steel and aluminum flashing generally last 20 to 30 years, while copper and stainless steel often exceed 50 years depending on climate exposure.
What is roof edge flashing purpose? Drip edge flashing at your roof's eaves and rakes guides water off the roof deck and into the gutter, protecting the fascia and roof deck from rot underneath the shingle edge.
Can I install roof flashing myself? Simple tasks like resealing a vent boot are within reach for a careful DIYer, but anything involving steep roofs, chimneys, or step flashing woven into shingle courses is safer and more reliable left to a professional.
How do I know if my roof flashing needs repair? Look for rust, cracked sealant, lifted shingles near joints, or water stains on interior ceilings near chimneys, skylights, and vent pipes. Any of these signals it's time for an inspection.
Sources
Recommended