What Causes Commercial Roof Blistering? Full Diagnosis Guide
What Causes Commercial Roof Blistering? Full Diagnosis Guide
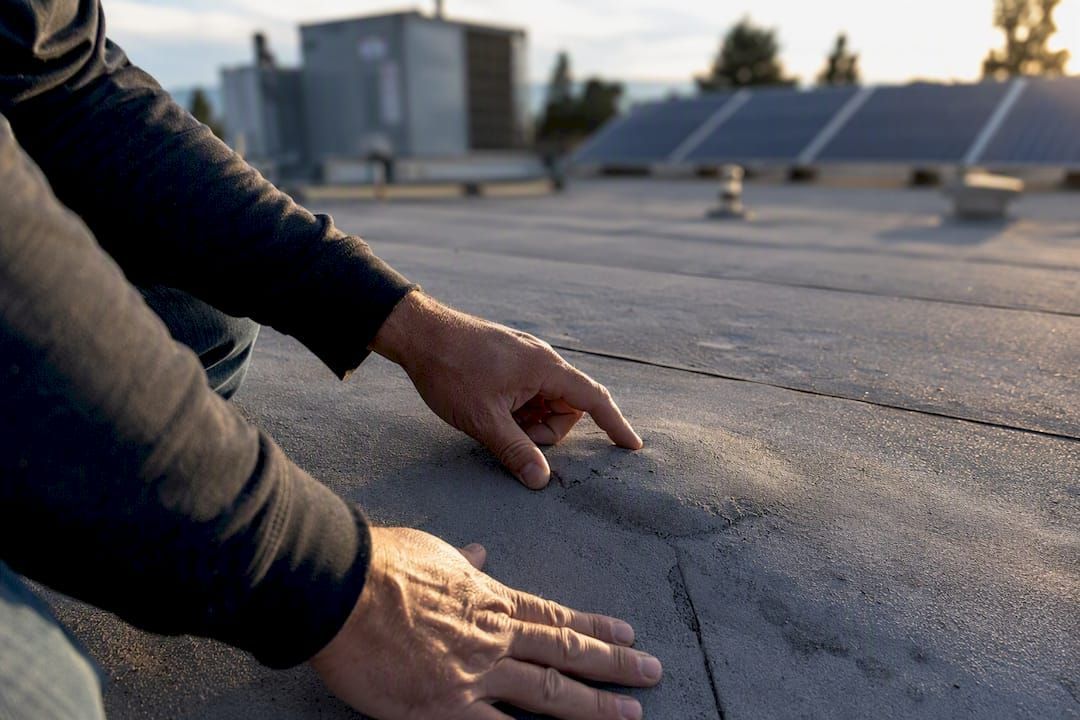
Commercial roof blistering happens when trapped air or moisture gets caught between roofing layers, then expands as heat builds on the surface. Solar heat and poor installation practices are what let those small pockets grow into visible bubbles. If you're staring at bumps on your flat roof right now, here's your quick read: a blister that stays small, firm, and stable can often just be watched. One that's spongy, growing, or leaking needs a call to a roofing professional this week.
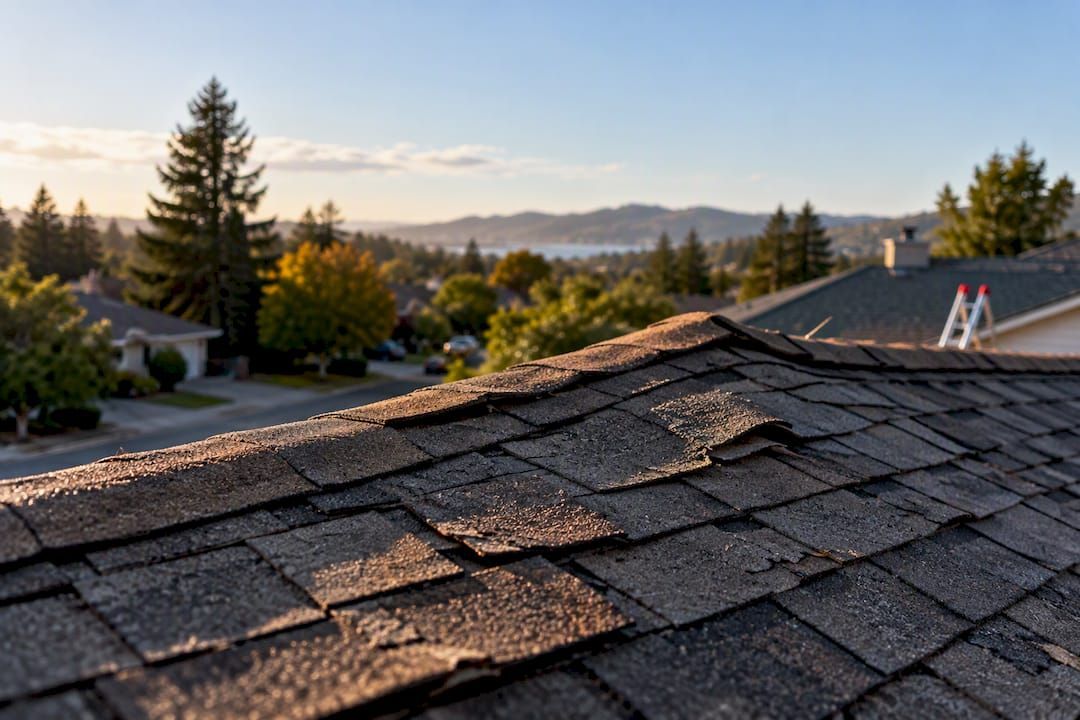
A few visual cues separate blistering from hail dents or foot traffic damage. Blisters tend to inflate during the hottest part of the day and flatten slightly overnight. They cluster near drains, HVAC units, and low spots where moisture collects.
- Trapped moisture or vapor is the dominant cause, and it's far more destructive than trapped air alone.
- Entrapped air voids from installation gaps create the empty space blisters need to form.
- Heat and UV exposure provide the energy that expands whatever is trapped underneath.
- Poor installation (uneven mopping, wet substrates) sets the stage before the roof ever sees its first summer.
Pro Tip: Water vapor is roughly twice as pressurizing inside a blister as dry air, according to Professional Roofing. That's why a "small" leak during installation can cause outsized damage months later.
Key Takeaways
Commercial roof blistering results from trapped moisture or air expanding under solar heat, and the fix depends on whether the blister is stable or actively growing.
| Point | Details |
|---|---|
| Moisture beats air | Water vapor creates far more expansion pressure in a blister than trapped air alone, making wet substrates the higher-risk cause. |
| Installation sets the stage | Skipped mopping, uneven substrates, and wrong application temperatures create the voids blisters need to form. |
| Monitor small, treat growing | Small stable interply blisters can be logged and watched; ruptured or expanding ones need repair before they leak. |
| Test before you cut | Moisture meters, infrared scans, and a few well-placed core samples confirm scope before repair decisions get made. |
| Prevention is cheaper than repair | Dry substrates, cover boards, and clear drains at installation prevent most blistering before it starts. |
What Are Roof Blisters, Exactly?
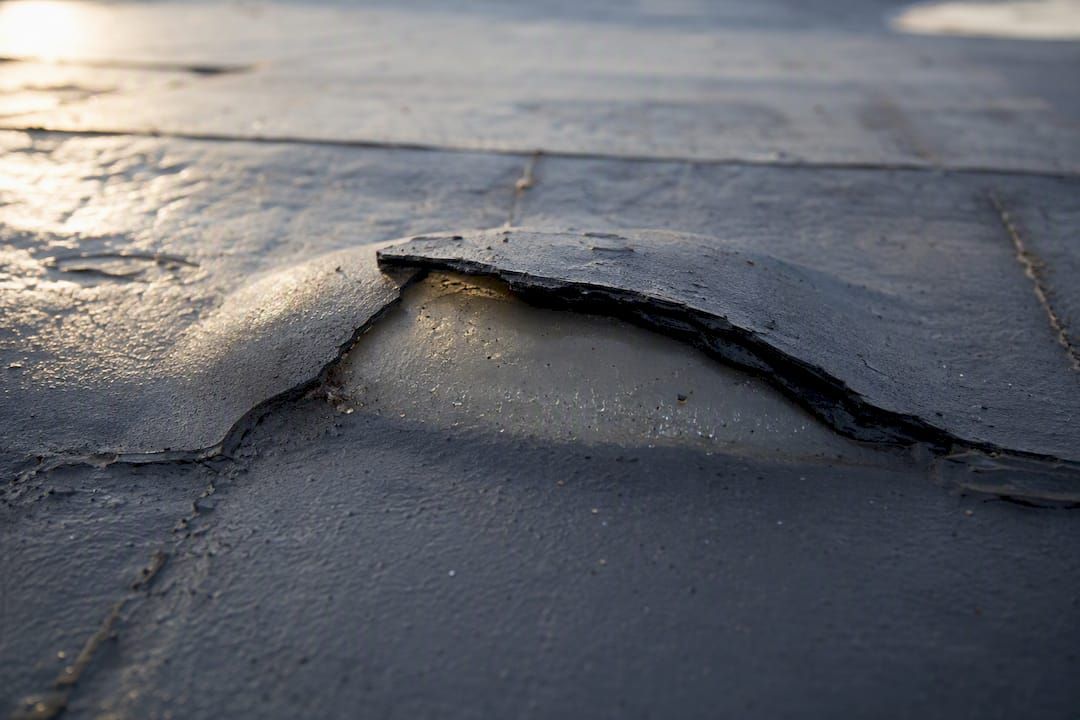
A roof blister is a pocket of trapped air or vapor sandwiched between membrane plies, or between the membrane and the substrate below it. Heat the pocket, and whatever's inside expands. Air expands modestly. Water vapor expands dramatically, which is why a blister born from a leak or wet felt behaves so differently from one born from a simple air gap.
That distinction matters for repair planning, not just curiosity. Three blister types show up most often on commercial roofs:
- Interply blisters form between layers of a built-up roof (BUR) and are usually the least urgent.
- Field or plate blisters appear in broad, flat sections and often trace back to substrate voids.
- Substrate blisters form where the membrane separates from the deck or insulation below, often signaling deeper moisture problems.
Blistering shows up most commonly on BUR and modified bitumen systems because of their multi-ply construction, but single-ply membranes like TPO and EPDM aren't exempt. Reference material on TPO roofing systems notes that blistering there almost always points to saturated insulation underneath, not a membrane-layer problem.
What Causes Commercial Roof Blistering? A Root-Cause Checklist
Blisters need two ingredients: a void and a temperature swing. Everything below either creates the void or supplies the heat that inflates it. Walk this list like an audit, because most roofs have more than one cause working at once.
- Wet substrate at installation. Roofing crews sometimes apply membrane over decking or insulation that hasn't fully dried, especially after a rain delay that cost them a workday. The trapped moisture has nowhere to go once the membrane seals it in.
- Saturated insulation from a prior leak. A flashing failure from three years ago can leave hidden moisture that surfaces as blistering long after the original leak got patched.
- Misrouted condensate lines. Rooftop HVAC units often drip condensate directly onto the membrane instead of into a proper drain, creating a steady moisture source in one concentrated spot.
- Skipped mopping and uneven substrate prep. Gaps in bitumen mopping, debris left under the membrane, or an uneven deck surface all create the air voids blisters need. Roofing Canada's bulletin on built-up roof blistering points to this as one of the most preventable causes on the list.
- Wrong mopping temperature or contaminated bitumen. Asphalt applied too cold won't bond evenly. Parting agents or debris in the mix create weak spots that separate under stress.
- Solar heating and daily thermal cycling. Blisters inflate under afternoon sun and partially deflate overnight. That daily "pumping" motion can pull in more air and moisture through micro-cracks, growing the blister over months.
- Ponding water. Ponding is the most common condition on flat commercial roofs, and standing water for 48 hours or more after rain accelerates membrane breakdown wherever it sits.
Pro Tip: Check your roof drains and condensate lines before blaming the membrane. A blister that keeps returning in the same spot after repair usually means the moisture source was never fixed, only the symptom.
When Is a Blister Cosmetic, and When Is It Urgent?
Not every blister is an emergency, and treating all of them that way wastes your maintenance budget. Small, firm interply blisters in a BUR system that stay the same size across two or three inspections are usually safe to monitor rather than repair immediately.
Escalate to repair when you see any of these:
- The blister has ruptured or you can see exposed felt or reinforcement fabric.
- It's grown noticeably since your last inspection, even by an inch or two.
- It sits near a penetration, flashing, or seam, where a rupture becomes a leak path fast.
- Water is actively tracking from the blister during or after rain.
Thermal cycling is patient. A blister that looks stable in spring can double in size by late summer after a season of daily inflation and deflation, so don't treat one good inspection as the final word.
How Do You Test for Blister Moisture and Severity?
Diagnosing a blister properly means combining what you can see with what a meter or a core sample tells you. Start with documentation, then move to testing.
- Photograph and map every blister, noting its location relative to drains, HVAC units, and flashings.
- Check inflation cycles by observing the same blister at midday heat and again at dawn. Ones that flatten and reinflate are actively cycling and likely growing.
- Run a capacitance moisture meter across suspect areas. It's fast and non-destructive, though it can give false readings near metal decking or wet insulation facers.
- Use infrared thermography at dusk, when wet insulation retains heat differently than dry areas and shows up clearly on a thermal scan.
- Core sample a handful of representative spots, especially near drains and repeat problem areas. A small number of well-placed cores tells you more than dozens of surface scans without one.
Since most water intrusion traces back to flashings, seams, and penetrations rather than the open field, concentrate your core samples there first. A commercial roof inspection checklist can help your team standardize this process before a contractor ever steps on the roof, and a professional roof inspection will document moisture readings for warranty or insurance purposes.
How Do You Prevent Commercial Roof Blisters?
Prevention here is mostly about controlling two things: moisture and voids. Get both right during installation, and you eliminate most of the risk before the roof ever sees its first heat wave.
- Insist on a dry substrate. Reputable crews test moisture content before applying membrane and won't work over a deck that rained on the night before.
- Use cover boards over cellular insulation. They spread heat more evenly and cut down on the void formation that starts blisters in the first place, according to NRCA's research on SBS-modified bitumen membranes.
- Apply bitumen at the correct temperature and in uniform passes. Skipped spots and cold asphalt are two of the easiest defects to catch during a walk-through, yet two of the most common.
- Keep drains clear and slope positive. Standing water compounds every other risk factor on this list, so drainage maintenance pays for itself.
- Restrict foot traffic and reroute condensate lines away from the membrane during rooftop equipment servicing.
Pro Tip: Ask your contractor what the weather looked like the week they installed your roof. Hot-applied systems installed during humid or unusually cold stretches carry a much higher blister risk down the road.
Material choice matters here too. A comparison of commercial roofing materials can help you weigh BUR against single-ply options if you're planning a re-roof rather than just a repair.
What Are Your Repair Options Once Blisters Show Up?
Repair scope depends entirely on what your inspection and moisture testing found. Don't let a contractor skip straight to "replace the whole roof" without first confirming how far the moisture has spread.
- Monitor and log. For small, stable, dry blisters, photograph and measure them at each inspection cycle rather than cutting into a roof that isn't actually failing.
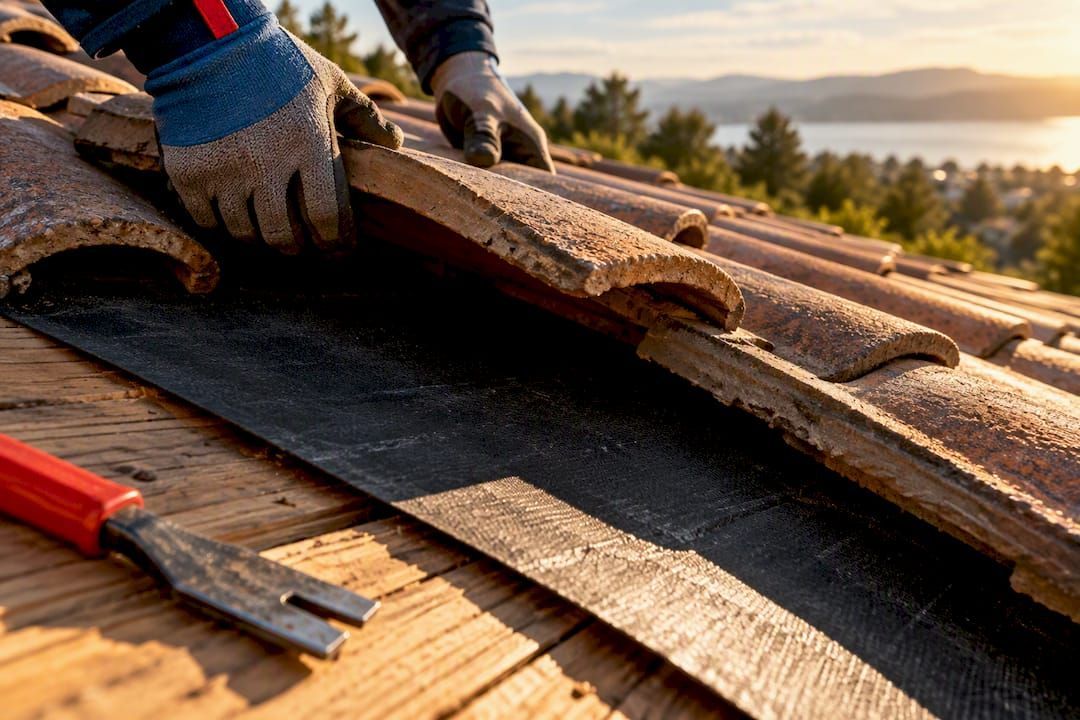
- Patch or cut-and-cover. Localized repairs work well for isolated blisters that have ruptured but haven't spread to surrounding insulation.
- Reconsider coatings carefully. Coating over a damp substrate often traps residual moisture and causes a second round of blistering. Confirm dryness first, and check that your roof coating application plan matches manufacturer guidance.
- Replace saturated insulation. Recurrent blisters across a wide area usually mean the insulation underneath is soaked and needs to come out.
- Coordinate with MEP trades. Fixing a condensate line or a blocked drain does nothing if the flashing detail feeding water underneath the membrane never gets addressed.
A commercial roof repair guide breaks down how contractors typically scope these decisions before quoting a job.
How Shieldguardroofing Approaches Blister Diagnosis
Shieldguardroofing is family-owned with more than 75 years of combined roofing experience across Northern California, working with commercial systems and premium materials including GAF, GAF Energy, and Brava Roofing Products.
- Crews apply the same moisture testing and core sampling protocols outlined above before recommending patch work over full replacement.
- Material expertise across BUR, modified bitumen, and single-ply systems informs whether cover boards, re-slope, or insulation replacement solves the underlying cause.
- Every commercial inspection includes drain, flashing, and penetration checks first, since that's where most leaks originate.
Where to Read More on Roof Blistering
- Professional Roofing covers the vapor-pressure mechanics behind blister formation.
- Flat Roof Report details inspection cues and monitoring versus repair thresholds.
- A contractor inspection walkthrough shows what professionals flag during a rooftop visit.
Why Facility Managers Get This Wrong
Most advice on roof blistering treats every bubble the same way, either "ignore it" or "replace the roof." Neither instinct holds up once you actually test the moisture. The real skill here is triage: knowing which blister is a cosmetic quirk of a BUR system and which one is a warning sign of soaked insulation underneath.
The conventional wisdom oversells visual inspection alone. A blister can look identical from the ground whether it's full of harmless trapped air or a pint of trapped water, and only a moisture meter or a core sample tells you which. Facility managers who skip that step end up either over-repairing a roof that had years of life left, or under-repairing one that's quietly saturating its insulation.
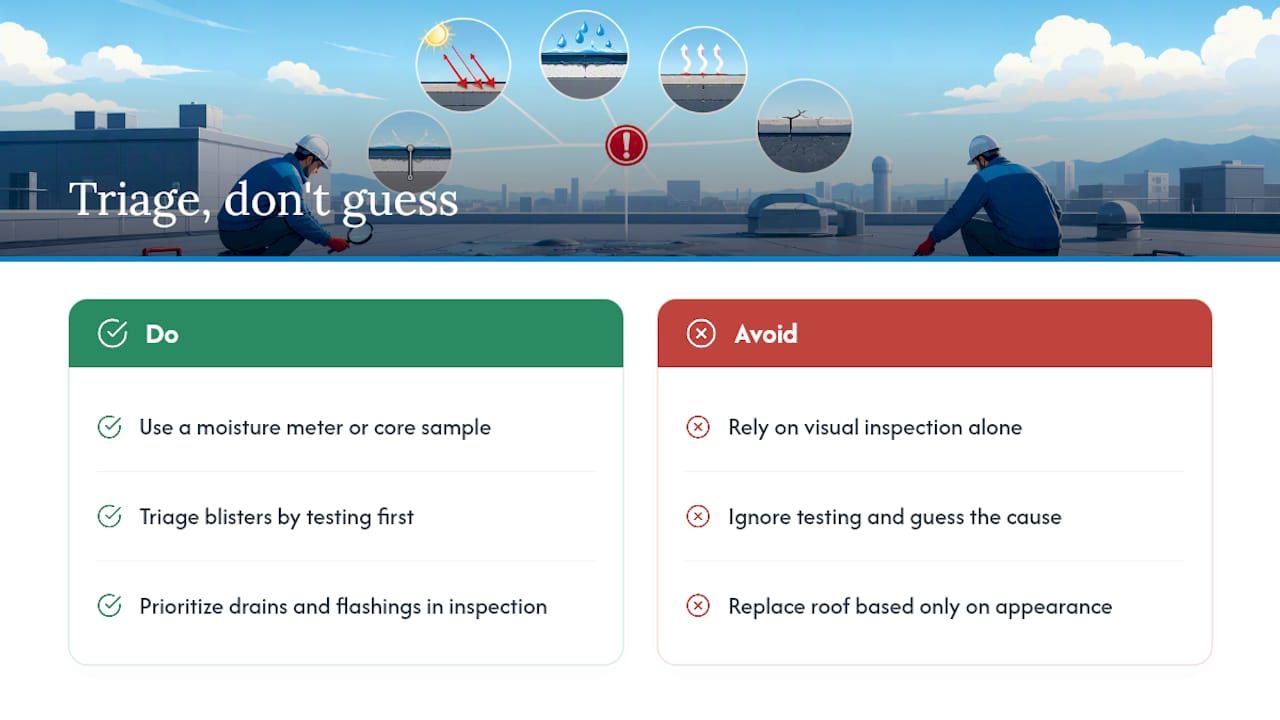
Prioritize the drains and flashings first. Nearly all water intrusion starts at transitions, not in the open field, so that's where your inspection budget should go before you worry about the field blisters everyone notices first.
Sources
Recommended