Storm Damage Roof Repairs: Real Examples for NorCal Homeowners
Storm Damage Roof Repairs: Real Examples for NorCal Homeowners
Storm damage roof repairs are defined as targeted restoration actions taken after severe weather events to restore a roof's structural integrity and weather resistance. The most common examples of storm damage roof repairs include replacing missing shingles, resealing flashing around chimneys and vents, patching compromised underlayment, and deploying emergency tarps within hours of a storm. For Northern California homeowners dealing with heavy rain, wind, and hail, knowing what each repair actually involves helps you make faster, smarter decisions about your home and your insurance claim.
1. What are the most common examples of storm damage roof repairs?
Typical storm damage repairs include shingle replacement, flashing repair, gutter reattachment, and selective underlayment replacement. Each of these restores weather-tight integrity on roofs that are still structurally sound but have taken localized hits from wind, rain, or hail. The repair you need depends on what the storm actually did to your roof, not just what you can see from the ground.
Here are the most common damage types and their matching repairs:
- Missing or cracked shingles: Sectional shingle replacement using matching material, such as GAF Timberline shingles, to restore coverage
- Granule loss from hail: Shingle replacement in affected zones, since granule loss and seal strip failure accelerate water intrusion even without visible leaks
- Wind-lifted shingles: Resealing or replacing shingles where the adhesive seal strip has broken from wind uplift
- Flashing separation: Resealing or replacing metal flashing around chimneys, skylights, and plumbing vents where gaps let water in
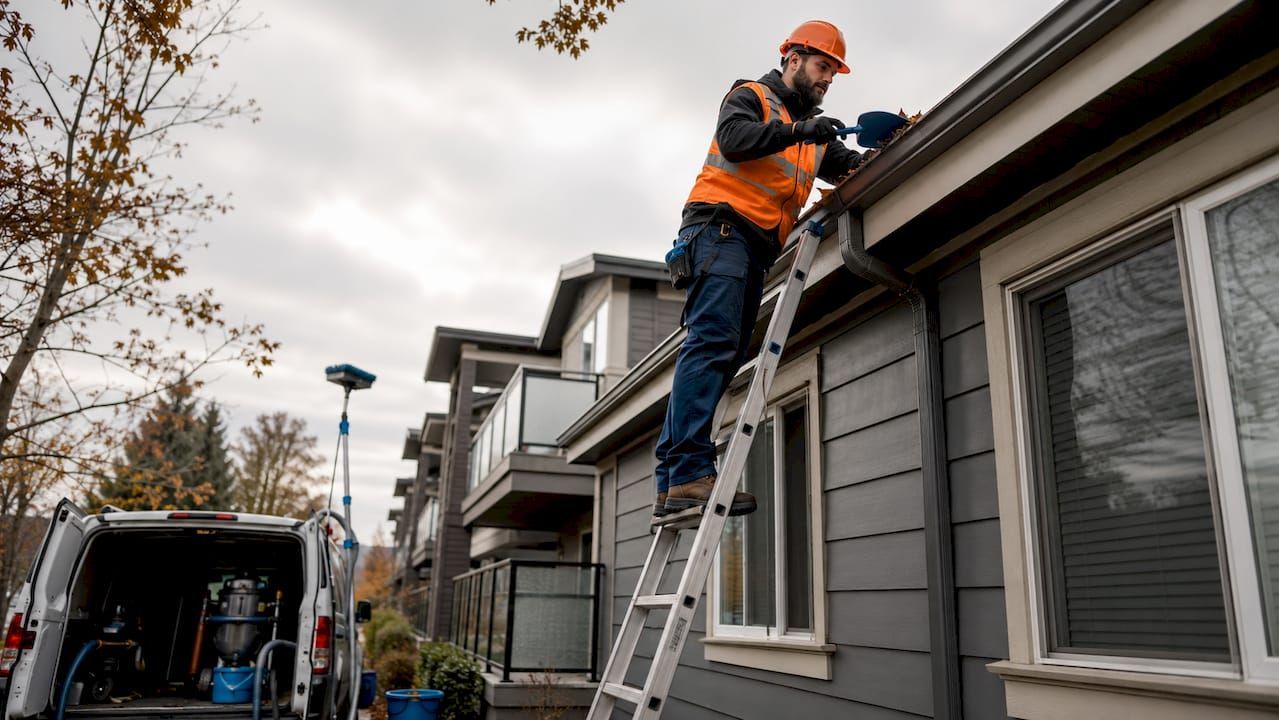
- Gutter damage: Reattaching or replacing gutters pulled away from the fascia by wind or debris weight
- Underlayment exposure: Patching or replacing the waterproof layer beneath shingles where the outer layer was torn away
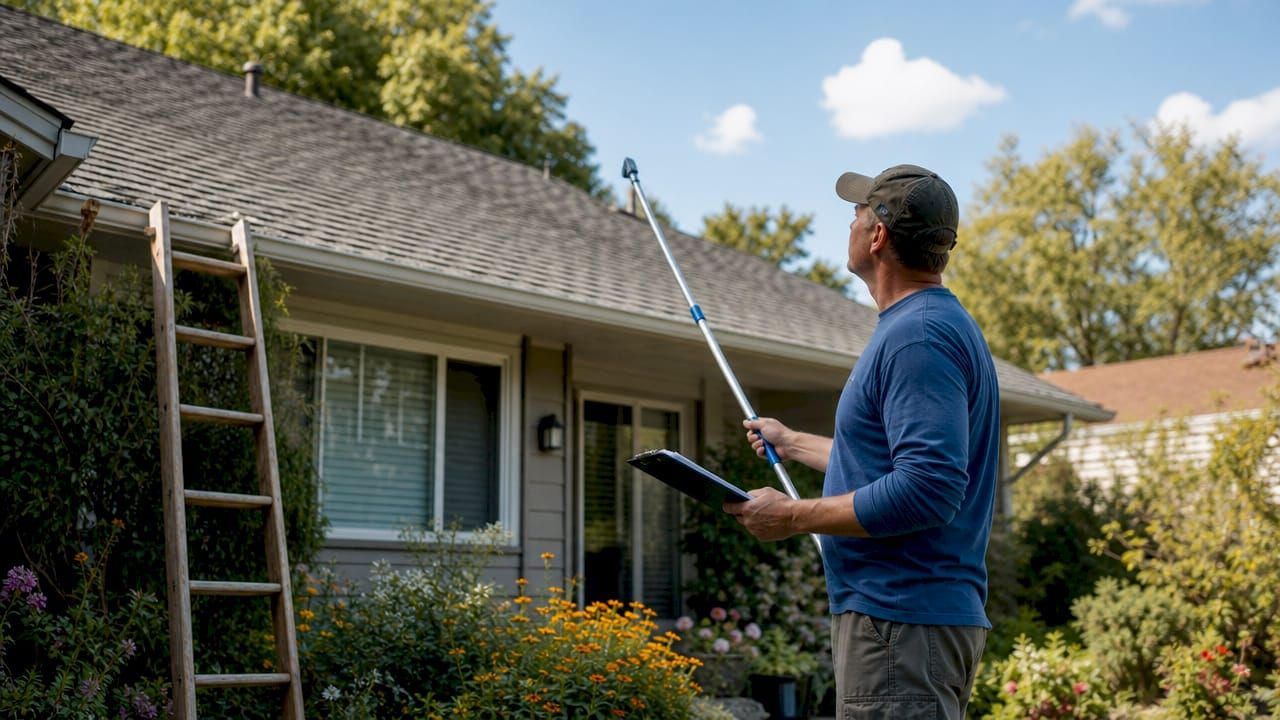
Pro Tip: Schedule a professional inspection within 48 hours of any storm, even if you see no leaks. Hail damage causes granule loss and seal strip breaks that create delayed leaks weeks or months later.
2. Step-by-step examples of targeted repairs after storm damage

Understanding the actual repair process helps you set realistic expectations for timelines and costs. Each repair type follows a distinct sequence, and knowing that sequence protects you from contractors who skip critical steps.
Example 1: Sectional asphalt shingle replacement
- Remove damaged shingles by lifting the edges of surrounding shingles and pulling the nails
- Inspect the decking beneath for soft spots, rot, or water staining
- Install new underlayment over any exposed decking
- Nail new shingles into place, matching the existing pattern and overlap
- Seal all nail heads and edges with roofing cement
This repair typically takes one to two hours for a small section and one full day for larger areas covering multiple squares.
Example 2: Flashing resealing and replacement
- Remove old caulk and corroded flashing around the chimney, vent pipe, or skylight
- Clean the surface and apply new metal flashing, cutting to fit the penetration
- Seal all edges with roofing cement or a compatible sealant
- Check the surrounding shingles for lifted edges and reseal as needed
Displaced vent boot seals and compromised flashing are among the most common causes of long-term leaks after storms. This repair costs far less than the water damage it prevents.
Example 3: Underlayment patching
- Remove the shingles in the affected zone
- Cut out the damaged underlayment and replace it with a matching product
- Reinstall shingles over the new underlayment
- Inspect the decking for any signs of rot or delamination before closing up
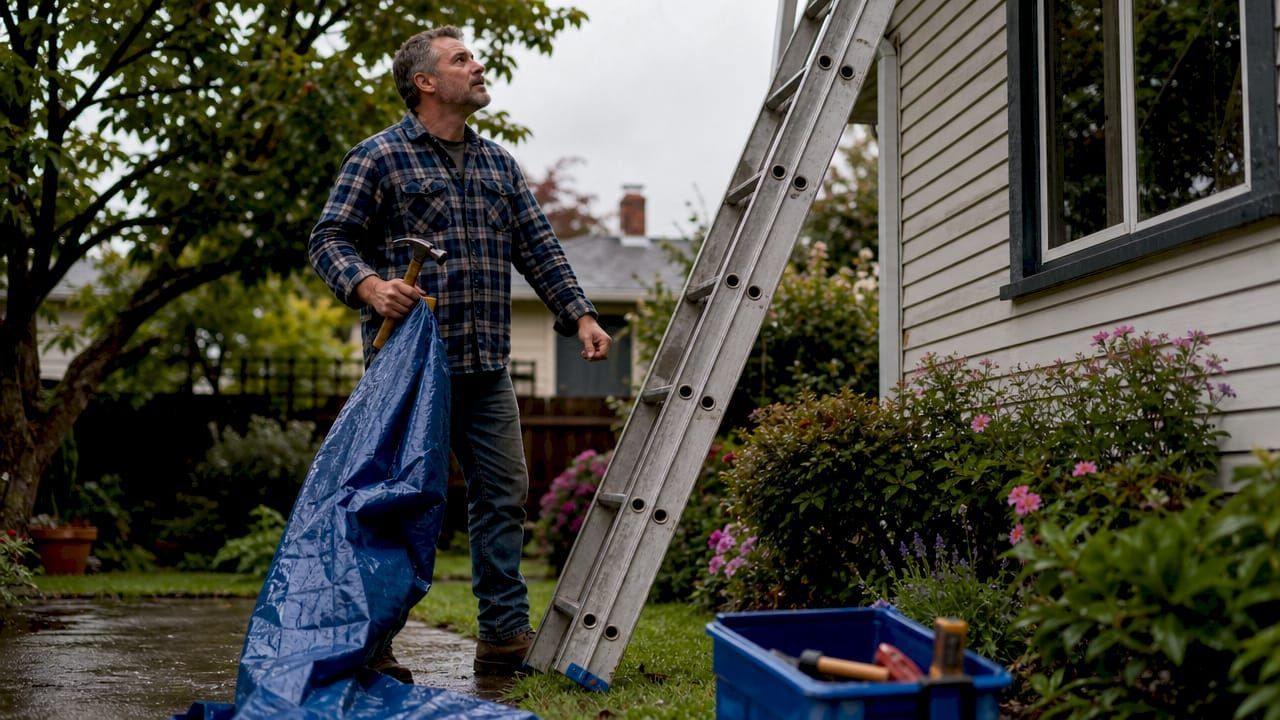
Emergency tarping
Emergency tarping must happen within 2–24 hours after storm damage to prevent secondary water intrusion and protect your insurance eligibility. Contractors secure heavy-duty tarps over exposed areas using battens and fasteners, covering the damaged zone completely until permanent repairs begin.
| Repair type | Typical timeline | Relative cost |
|---|---|---|
| Shingle replacement (small section) | 1–2 hours | Low |
| Flashing resealing | 2–4 hours | Low to moderate |
| Underlayment patching | Half to full day | Moderate |
| Emergency tarping | Within 24 hours | Low |
| Full roof replacement | 1–3 days on site | High |
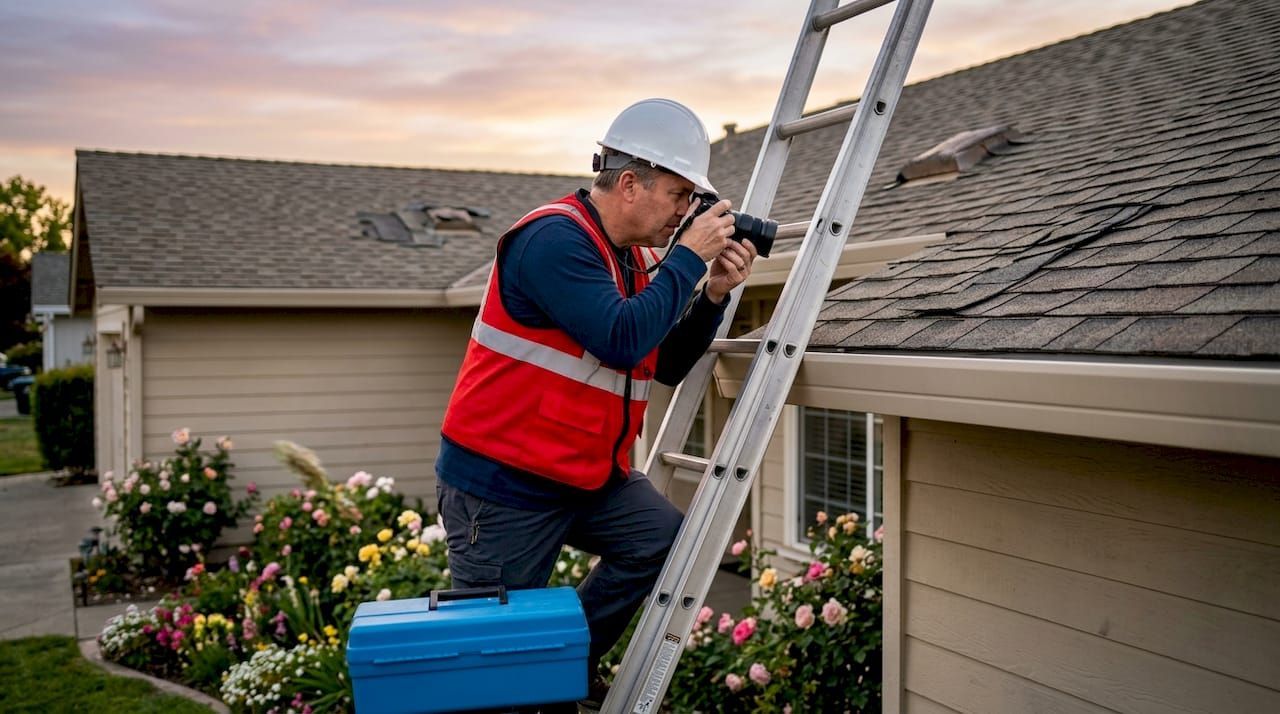
Pro Tip: Ask your contractor to photograph the decking and underlayment before they close up the repair. Professional inspections document both visible and hidden damage, and those photos are your strongest evidence for an insurance claim.
3. When should you repair vs. replace your storm-damaged roof?
The repair versus replacement decision comes down to two factors: how much of the roof is damaged and how old the roof is. When storm damage affects more than 25% of the roof surface, or the roof is 20–25 years old, full replacement is usually more cost-effective than repeated targeted repairs. Patching a roof that is already near the end of its service life creates a cycle of diminishing returns.
| Criteria | Repair | Replace |
|---|---|---|
| Damage area | Less than 25% of roof surface | More than 25% of roof surface |
| Roof age | Under 15–20 years | 20–25 years or older |
| Structural condition | Decking and underlayment intact | Decking rot, widespread underlayment failure |
| Shingle condition | Isolated damage, rest of roof sound | Widespread granule loss, curling, or brittleness |
| Insurance recommendation | Targeted repair approved | Full replacement approved or recommended |
Severe hail storms that blanket an entire roof with granule loss are a clear replacement scenario. Wind events that lift shingles in one section of an otherwise healthy roof are a clear repair scenario. The gray area falls in the middle, and that is exactly where a thorough professional inspection earns its value.
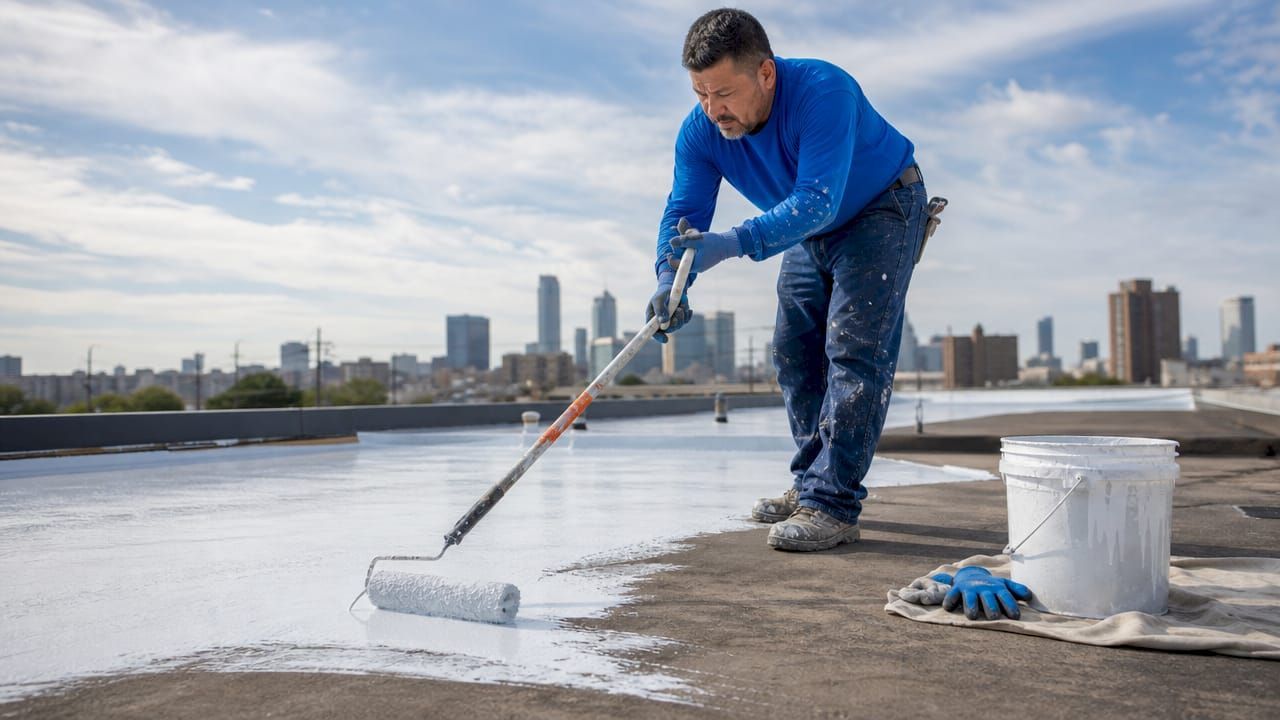
Roof restoration goes beyond simple repair. It is a proactive reinforcement strategy that upgrades roof resilience, often adding new underlayment, improved flashing, and upgraded shingles across the whole surface. For roofs in the 15 to 20 year range with moderate storm damage, restoration can extend service life significantly at a fraction of full replacement cost.
4. How to manage a storm damage roof repair project effectively
The first 24 hours after a storm are the most critical. Your actions in that window directly affect both the physical outcome and your insurance claim.
Before the contractor arrives:
- Take photos and video of all visible damage from the ground immediately after the storm
- Document the date and time of the storm and note any prior maintenance or repairs
- Do not attempt to walk on the roof yourself. Wet or damaged roofing is a serious fall hazard
- Contact your insurance company to open a claim before any permanent repairs begin
Choosing the right contractor:
- Select a licensed, insured roofing contractor with verifiable local references
- Ask specifically about their experience with storm damage claims and insurance documentation
- Confirm they will provide a written scope of work before starting
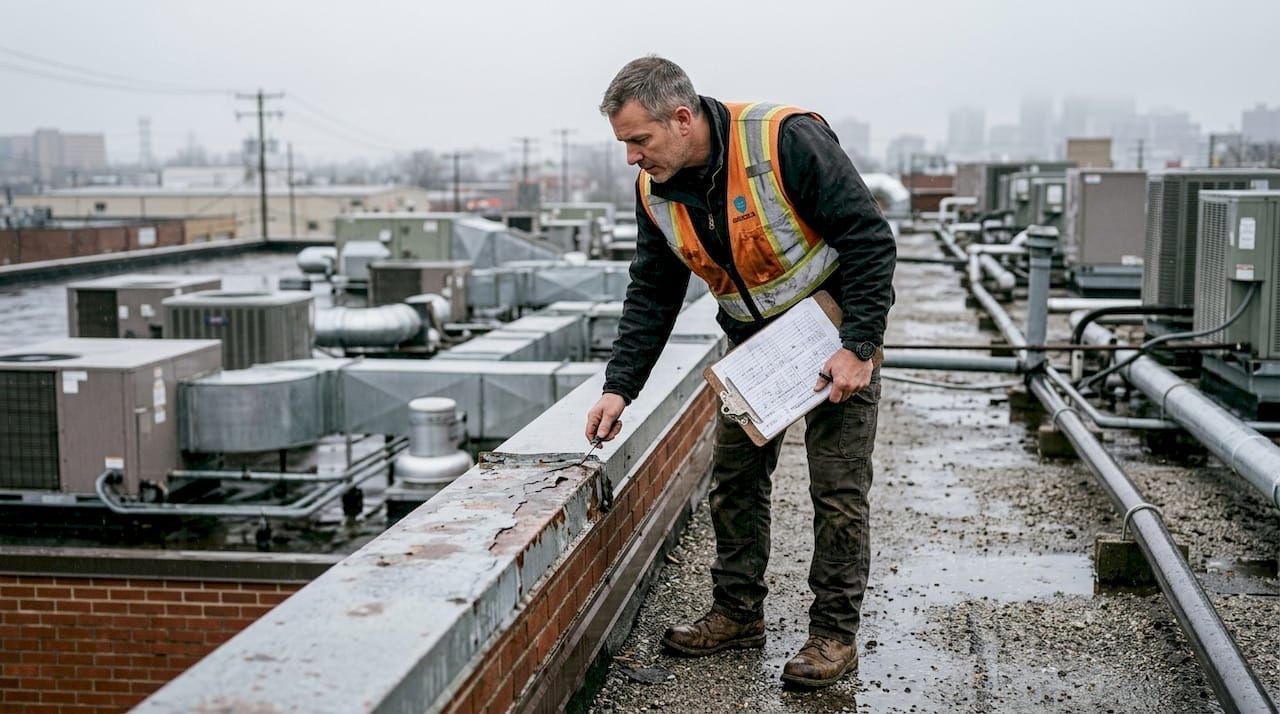
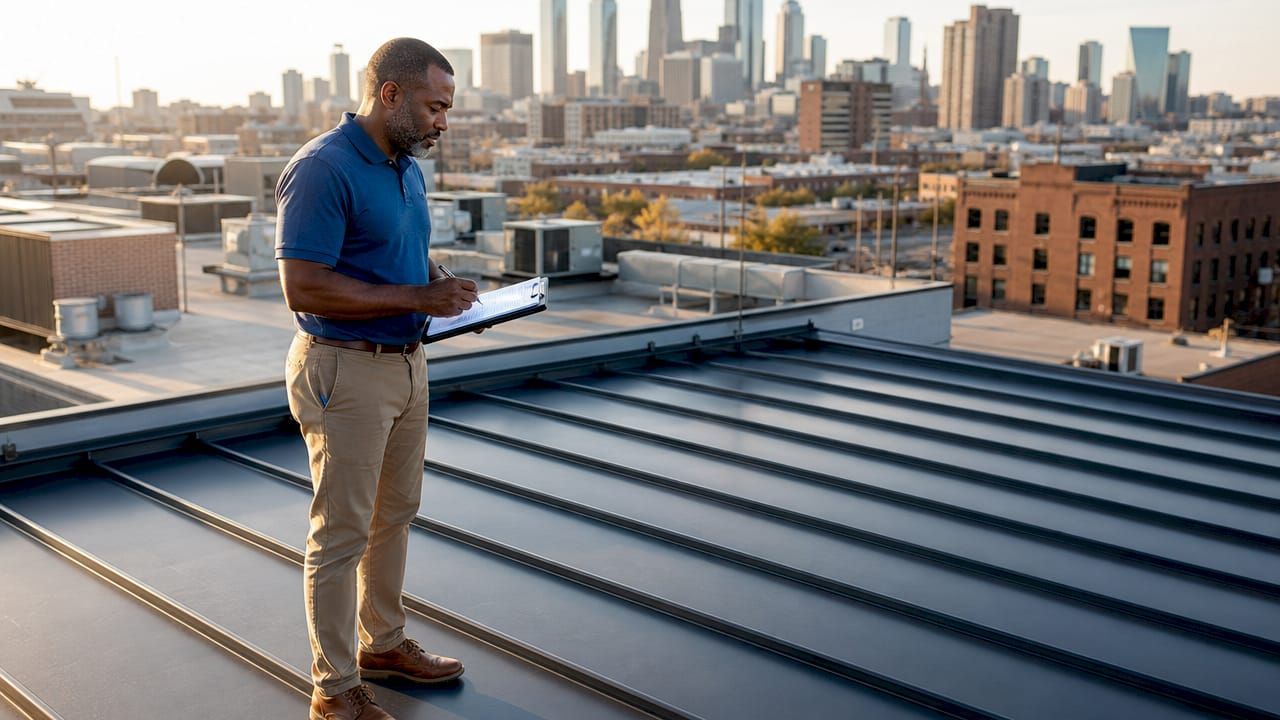
What to expect during the inspection:
Professional inspections document both visible and hidden damage with photos of the decking and underlayment. This documentation supports your insurance claim and defines the exact repair scope. A thorough inspection catches problems like displaced vent boot seals and granule adhesion failure that are invisible from the street.
One misconception to clear up:
No visible leaks does not mean no damage. Hail and high wind weaken shingles invisibly. Those weakened shingles fail months later during the next rain event, often after your insurance claim window has closed.
Key takeaways
Fixing a storm-damaged roof requires matching the right repair method to the specific damage type, acting within 24 hours for emergency stabilization, and documenting everything for a successful insurance claim.
| Point | Details |
|---|---|
| Act within 24 hours | Deploy emergency tarping immediately to prevent secondary damage and protect your insurance claim. |
| Match repair to damage type | Shingle replacement, flashing repair, and underlayment patching each address distinct storm damage scenarios. |
| Inspect for hidden damage | Granule loss and seal strip failure cause delayed leaks; always get a professional inspection after any storm. |
| Know the replacement threshold | Damage covering more than 25% of the roof or a roof aged 20–25 years typically warrants full replacement. |
| Document everything | Photos of decking and underlayment taken during repairs are your strongest evidence for insurance claims. |
What I've learned watching homeowners navigate storm repairs in NorCal
After years of working on roofs across Northern California, the pattern I see most often is delay. A homeowner spots a few missing shingles, assumes the rest of the roof is fine, and waits two or three weeks before calling anyone. By then, water has already worked its way under the underlayment and into the decking. What started as a $400 shingle repair becomes a $3,000 decking replacement.
The other mistake I see constantly is skipping the inspection because "there's no leak yet." That logic costs homeowners real money. Hail damage is almost always invisible from the ground. You need someone on the roof looking at granule adhesion, seal strip condition, and flashing integrity. Those are the details that determine whether your roof holds up through the next storm or fails quietly over the following six months.
What actually works is simple: call within 24 hours, get a documented inspection, tarp anything exposed, and let the photos do the talking with your insurance adjuster. Targeted repairs on a healthy roof are almost always the right call for moderate storm damage. Full replacement is the right call when the roof is old or the damage is widespread. The homeowners who get this right are the ones who stay informed, move fast, and work with a contractor who documents everything.
Northern California storms are not gentle. The atmospheric river events we see from november through march can dump inches of rain in hours. Your roof does not get a warning. You should not wait for one either.
— Cesar
Shieldguardroofing is ready when the storm clears
When a storm hits your Northern California home, you need a team that moves fast and knows exactly what to look for. Shieldguardroofing has over 75 years of combined roofing experience serving Sacramento and the surrounding region, with a track record of emergency response, thorough inspections, and insurance claim documentation that protects homeowners from start to finish.
From emergency tarping to full residential roof repairs in Sacramento , Shieldguardroofing handles every step of the storm damage restoration process. The team installs premium GAF and Brava materials backed by industry-leading warranties. If your roof took a hit this season, schedule your inspection with Shieldguardroofing and get a clear picture of exactly what needs to be done.
FAQ
What are the most common storm damage roof repairs?
The most common repairs are shingle replacement, flashing resealing, gutter reattachment, and underlayment patching. These targeted repairs restore weather-tight integrity on roofs that are structurally sound but have taken localized storm damage.
How soon should I tarp my roof after storm damage?
Emergency tarping should happen within 2–24 hours after storm damage. Delaying tarping risks secondary water intrusion and can result in denial of your insurance claim for interior damage.
Does no visible leak mean my roof is undamaged?
No. Hail and high wind damage shingles invisibly by stripping granules and breaking seal strips. These weaknesses cause delayed leaks months later, which is why a professional inspection after every significant storm is the right call.
When is full roof replacement better than repairs?
Full replacement is the better choice when storm damage covers more than 25% of the roof surface or the roof is 20–25 years old. Repeated targeted repairs on an aging or heavily damaged roof cost more over time than a single replacement.
How do I document storm damage for an insurance claim?
Take photos and video of all visible damage immediately after the storm. Have a professional contractor inspect and photograph the decking and underlayment before repairs begin. That documentation is the foundation of a successful insurance claim.
Recommended