Home Roof Leak Temporary Fix for NorCal Homeowners
Home Roof Leak Temporary Fix for NorCal Homeowners
A home roof leak temporary fix is a set of immediate measures homeowners take to limit water intrusion and protect their property until a licensed contractor can make permanent repairs. In roofing industry terms, this is called emergency roof repair or temporary roof protection. Northern California homeowners face a specific challenge: the region's atmospheric river storms can dump inches of rain in hours, turning a small drip into a serious interior flood fast. The right response combines interior damage control, safe exterior patching with tarps or roofing cement, and a clear plan to call a professional within 24–48 hours.
What should you do first when you find a roof leak inside?
Interior damage control is the first priority when you discover an active roof leak. Water spreads quickly along rafters and decking before it ever drips through your ceiling. Acting inside first protects your floors, furniture, and electrical system while you assess the roof situation.
Follow these steps in order:
- Place buckets and towels directly under drip points to catch falling water and protect flooring.
- Move electronics, furniture, and valuables away from the wet area immediately.
- Turn off electricity to any circuit near the leak. Water and live wiring are a life-threatening combination.
- Go into the attic if it is safe to access. Spread plastic sheeting to channel water toward containers rather than letting it soak insulation and drywall.
- Check the ceiling for sagging. A bulging or bowed ceiling holds pooled water. Puncture it carefully with a screwdriver at the lowest point to release water in a controlled stream rather than a sudden collapse.
Pro Tip: If water is touching any light fixture, outlet, or electrical panel, shut off the main breaker and call an electrician before doing anything else on the roof.
One detail most homeowners miss: the drip location inside your home rarely marks the actual roof entry point. Water travels along rafters and decking before it drops, sometimes traveling several feet from the true breach. Keep that in mind when you move to exterior inspection.
How to safely install a tarp and seal small openings
Exterior temporary fixes fall into two categories: tarp installation for larger damaged areas and roofing cement or tape for small cracks and holes. Both work, but only when applied correctly.
Safety before you climb
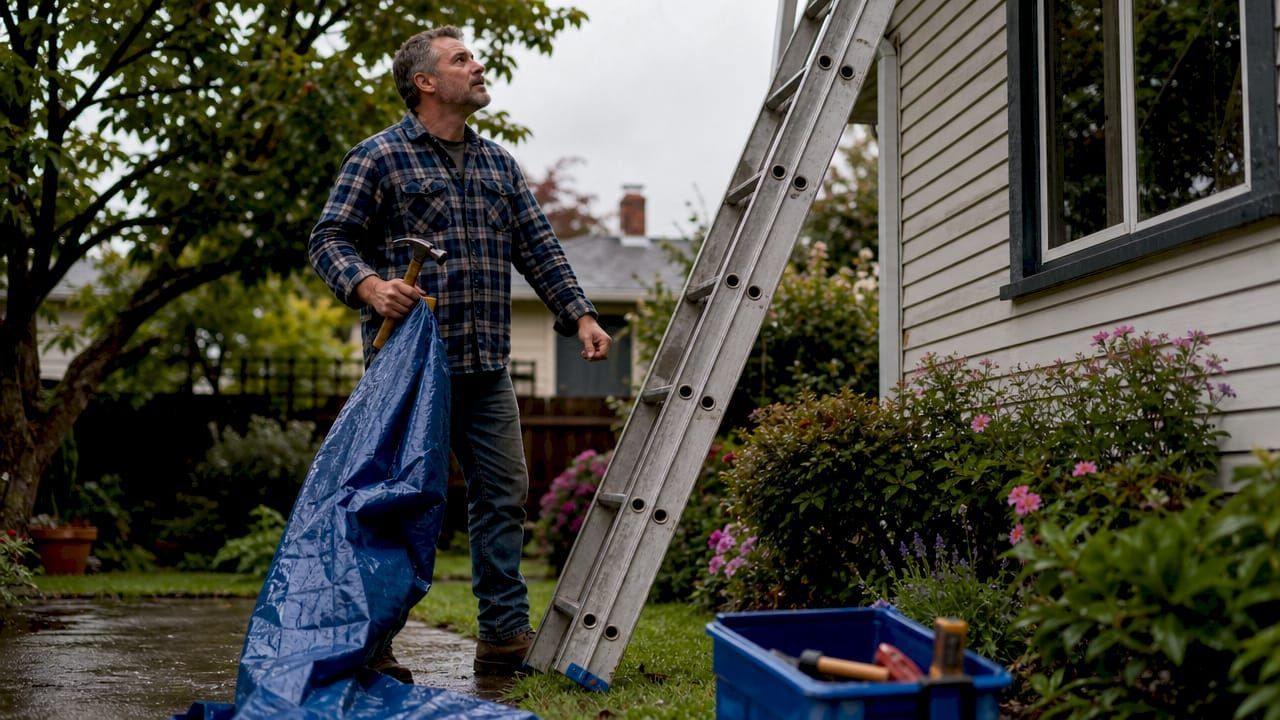
Never access a wet roof. Assess pitch, surface condition, and stability from the ground or a ladder first. If the roof is steep, slippery, or structurally suspect, stay off it. Your safety is worth more than stopping a drip.
Tarp installation step by step
Heavy-duty tarps are the most reliable emergency barrier available to homeowners. A properly installed tarp can protect a damaged area for 30–90 days depending on weather and installation quality.
- Select a tarp that covers the entire damaged section plus at least 4 feet beyond it on all sides.
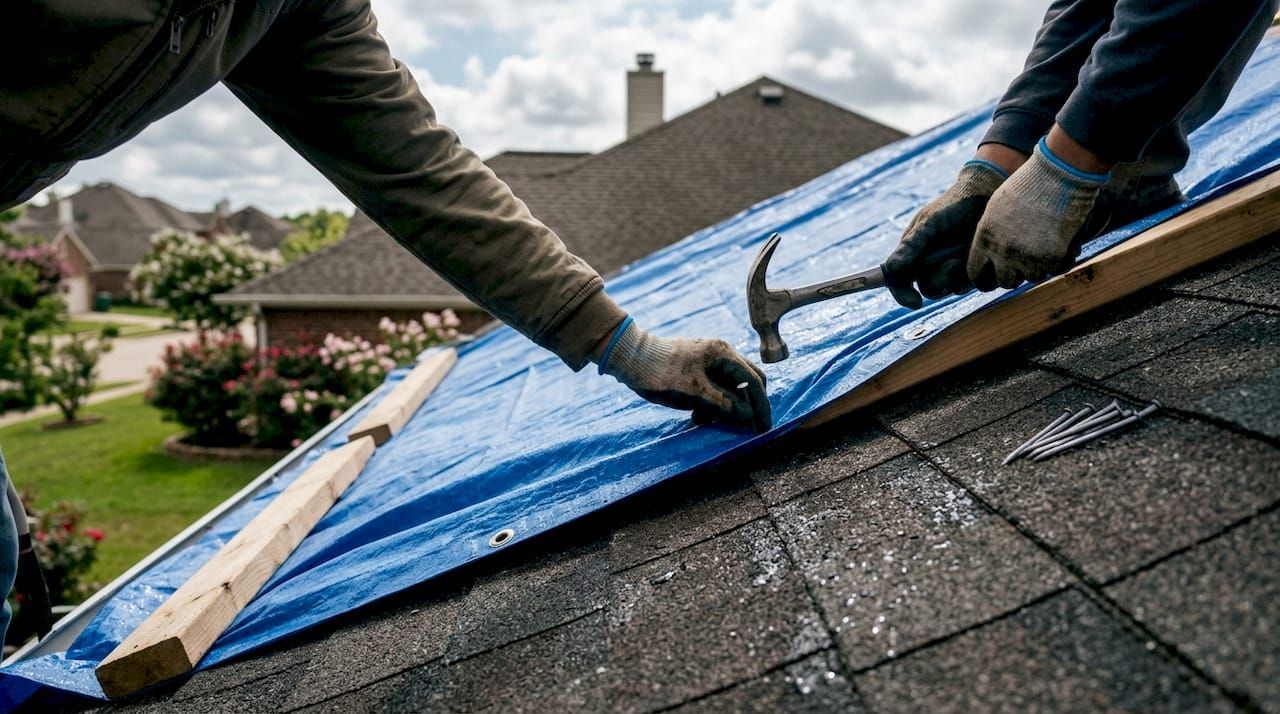
- Slide the upper edge of the tarp under the existing shingles or flashing above the damage. This is the most critical step. Incorrect tarp placement that leaves the upper edge exposed funnels water underneath and worsens the leak.
- Pull the tarp over the ridge if possible so water cannot pool at the top edge.
- Anchor all four edges using 2x4 boards laid over the tarp and secured with roofing nails or screws. Boards and mechanical fasteners distribute tension across the tarp and resist wind uplift far better than bungee cords or loose nails alone.
Pro Tip: Roll the tarp edge around a 2x4 before nailing it down. This creates a reinforced hem that holds under strong wind without tearing through the material.
Sealing small cracks and holes
Roofing cement and self-adhesive roofing tape handle localized damage effectively. Roofing cement bonds directly to shingles and flashing. Roofing tape provides a fast peel-and-stick waterproof patch for small punctures or lifted seams.
| Material | Best use | Typical durability | Application method |
|---|---|---|---|
| Roofing cement | Cracks, gaps around flashing | Weeks to months | Trowel or caulk gun |
| Self-adhesive roofing tape | Small holes, lifted seams | Weeks | Peel and press firmly |
| Heavy-duty polyethylene tarp | Large damaged areas | 30–90 days | Boards and mechanical fasteners |
| Plastic sheeting | Interior water diversion | Hours to days | Staple or tape to rafters |
What interior fixes work when roof access is unsafe?
Plastic sheeting inside the attic is your best option when the roof is too wet, steep, or damaged to access safely. Staple or tape the sheeting to rafters above the leak point and angle it to direct water into a large bucket or trash can below.
Interior-only fixes have real limits. Keep these points in mind:
- Roofing tape applied from inside can slow a small leak at an accessible rafter or decking joint, but it will not stop significant water entry.
- Fans and dehumidifiers are not optional after you contain the leak. Wet insulation and wood hold moisture for days, and moisture management after leak control is what prevents mold from taking hold within 24–72 hours.
- Do not attempt interior fixes if the ceiling is sagging, if water is near electrical fixtures, or if you smell burning. Those are signals to evacuate the area and call professionals.
- Interior fixes are damage control only. They buy you time. They do not repair the roof.
Pro Tip: Run a dehumidifier in the affected room and attic for at least 48 hours after the leak stops. Mold can begin growing on wet wood in as little as 24 hours under warm conditions.
How long do temporary fixes last and when should you call a pro?
Think of a temporary roof fix the way you think of a bandage on a deep cut. It stops the bleeding, but it is not the treatment. Emergency roof repair is first aid to buy time and limit damage, not a substitute for permanent repair.
Here is what to expect from each method:
- Tarps: 30–90 days with proper installation. Wind, UV exposure, and foot traffic shorten that window fast.
- Roofing cement: Weeks to a few months on small cracks. It can crack and shrink as temperatures change.
- Roofing tape: Similar to cement. Effective short-term but not a permanent seal.
Signs your temporary fix is failing:
- New drips appear inside the home after rain.
- The tarp has shifted, torn, or lifted at the edges.
- You see daylight through the attic decking.
- Staining or soft spots appear on ceilings or walls.
A licensed contractor should inspect your roof within 24–48 hours after a major storm or active leak. Delaying that call creates three compounding risks: structural wood rot, mold growth inside walls and insulation, and insurance complications if the insurer determines that delayed action worsened the damage.
Common pitfalls and expert tips for better results
Most temporary fix failures come down to a handful of repeated mistakes. Knowing them in advance puts you ahead of the problem.
- Undersized tarps are the most common error. If the tarp does not extend at least 4 feet past the damaged zone on every side, water finds its way around the edges.
- Skipping the upper-edge tuck. Throwing a tarp on the roof without sliding the top edge under existing shingles is one of the most widespread misconceptions about emergency roofing. It looks covered but actually channels water underneath.
- Using bungee cords instead of boards. Bungee cords stretch and snap under wind. Anchor tarp edges with 2x4 boards and mechanical fasteners every time.
- Assuming the drip marks the leak. Inspect the full roof surface for missing shingles, damaged flashing around chimneys and vents, and any penetrations that took storm impact.
- Skipping moisture management. Stopping the drip is step one. Drying the wet materials is step two. Both matter.
"A two-track response, active water intrusion control followed immediately by moisture management, is what separates a contained incident from a mold remediation project."
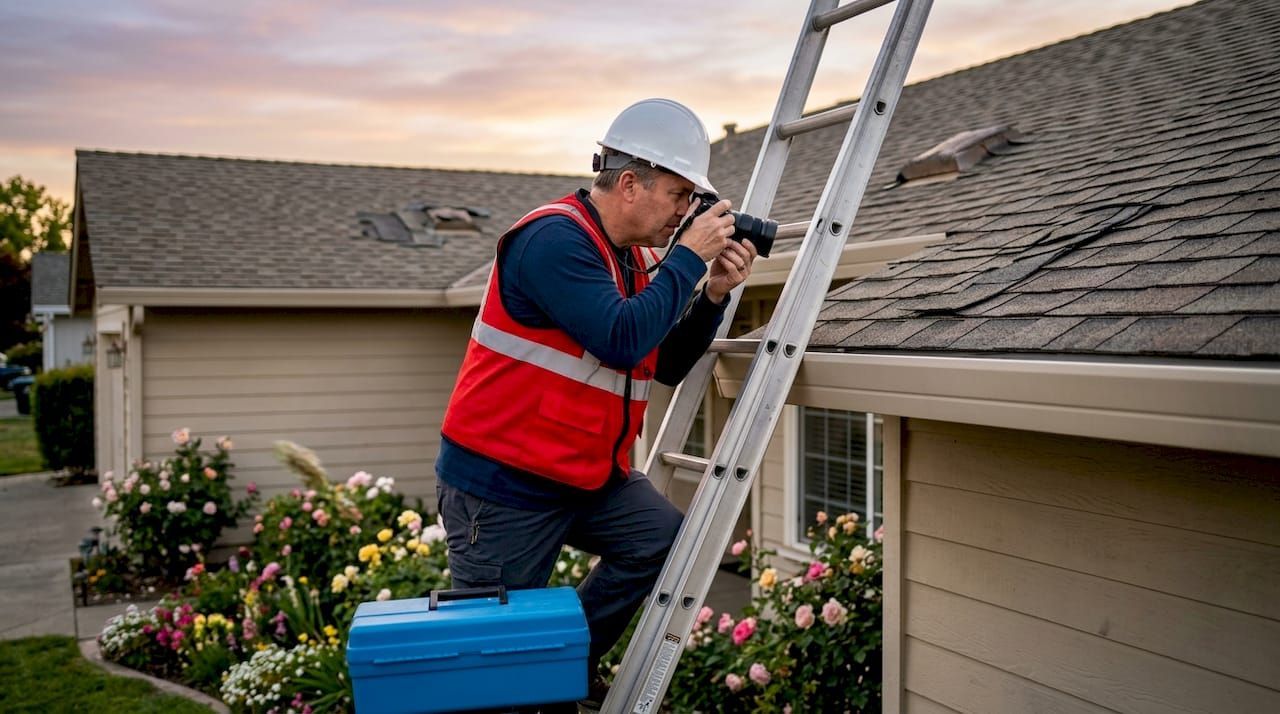
Pro Tip: After any storm, walk your property and photograph every area of visible roof damage before touching anything. Those photos are your evidence for an insurance claim.
Key takeaways
A properly installed tarp with its upper edge tucked under existing shingles, secured with 2x4 boards and mechanical fasteners, is the single most effective home roof leak temporary fix available to homeowners before a professional arrives.
| Point | Details |
|---|---|
| Interior first | Place buckets, move valuables, and shut off electricity near the leak before going on the roof. |
| Tarp upper-edge placement | Slide the tarp's top edge under intact shingles to shed water correctly, not funnel it underneath. |
| Secure with boards | Use 2x4 boards and roofing nails to anchor tarp edges. Bungee cords fail under wind. |
| Temporary fix lifespan | Tarps last 30–90 days. Roofing cement and tape last weeks. Neither replaces a permanent repair. |
| Call a pro within 48 hours | A licensed inspection within 24–48 hours prevents structural damage, mold, and insurance issues. |
What I've learned from watching homeowners handle roof leaks
By Cesar
After years working with Northern California homeowners through storm season, the pattern I see most often is this: homeowners spend too much time on the roof and not enough time inside. They want to fix the problem at the source, which is understandable. But a rushed tarp job done on a wet roof in the dark causes more damage than the original leak.
The interior steps are not a consolation prize. They are the most important moves you make in the first hour. Getting water off your floors, out of your insulation, and away from your electrical system buys you the time to do the exterior work safely and correctly.
The other thing I want homeowners to understand is that temporary fixes are genuinely useful. They are not a sign of failure or a shortcut. A well-installed tarp from a team with experience can protect a home through multiple storms while a repair is scheduled. The problem is when homeowners treat a temporary fix as a permanent solution and never call for an inspection. That is when a manageable repair turns into a full roof replacement.
My honest advice: do the interior steps yourself, call a professional for the exterior work if there is any doubt about safety, and get a licensed contractor on-site within 48 hours. The cost of a professional inspection is a fraction of what mold remediation or structural repair runs.
— Cesar
Shieldguardroofing is ready to help Northern California homeowners
When a temporary patch has done its job and you are ready for a permanent solution, Shieldguardroofing is the team Northern California homeowners trust. With over 75 combined years of roofing experience and a family-owned commitment to honest workmanship, Shieldguardroofing handles everything from emergency tarping to full residential roof repairs in Sacramento.

Shieldguardroofing serves homeowners across NorCal with GAF and Brava roofing materials, industry-leading warranties, and a team that shows up when it matters most. Whether you need a same-week inspection or a complete repair plan, you can schedule a site visit or submit a roofing service request online today. Do not let a temporary fix become a permanent problem.
FAQ
What is the fastest temporary fix for a roof leak?
A heavy-duty polyethylene tarp secured with 2x4 boards and roofing nails is the fastest and most reliable emergency roof repair for large damaged areas. For small cracks, self-adhesive roofing tape applied directly to the affected shingle or flashing provides an immediate waterproof patch.
How long does a temporary roof patch last?
A properly installed tarp lasts 30–90 days depending on weather exposure and installation quality. Roofing cement and self-adhesive tape patches typically hold for several weeks but can degrade faster under intense UV or temperature swings common in Northern California.
Is it safe to go on the roof during or after a storm?
Never access a wet or storm-damaged roof. If the surface is slippery, the pitch is steep, or you see structural damage, stay off the roof and focus on interior damage control until conditions are safe and a professional can assess the situation.
When should I call a roofing contractor after a leak?
A licensed contractor should inspect your roof within 24–48 hours after an active leak or major storm. Delaying beyond that window increases the risk of wood rot, mold growth, and insurance claim complications.
Can I seal a roof leak from inside the attic?
You can use plastic sheeting to divert water into containers and apply roofing tape to small accessible gaps from inside the attic. These are damage control measures only. They do not repair the roof and must be followed by a professional exterior inspection and permanent repair.
Recommended