Roof Replacement Disruption Tips for Commercial Buildings
Roof Replacement Disruption Tips for Commercial Buildings
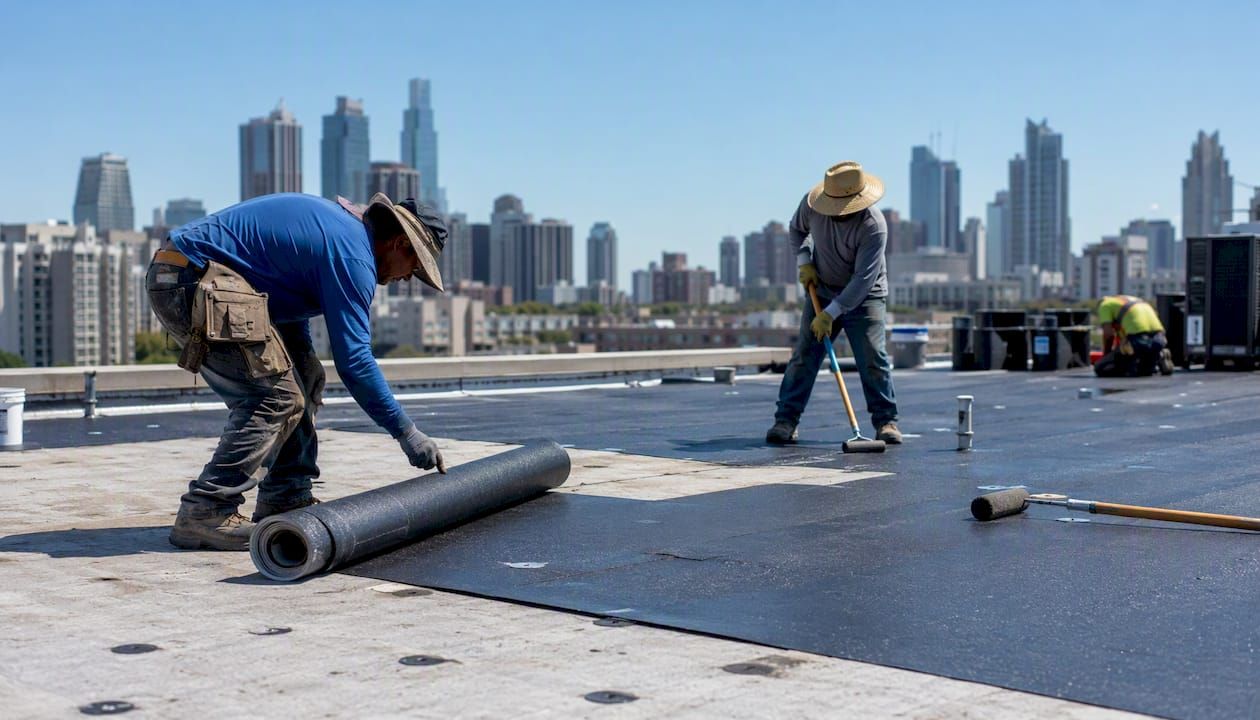
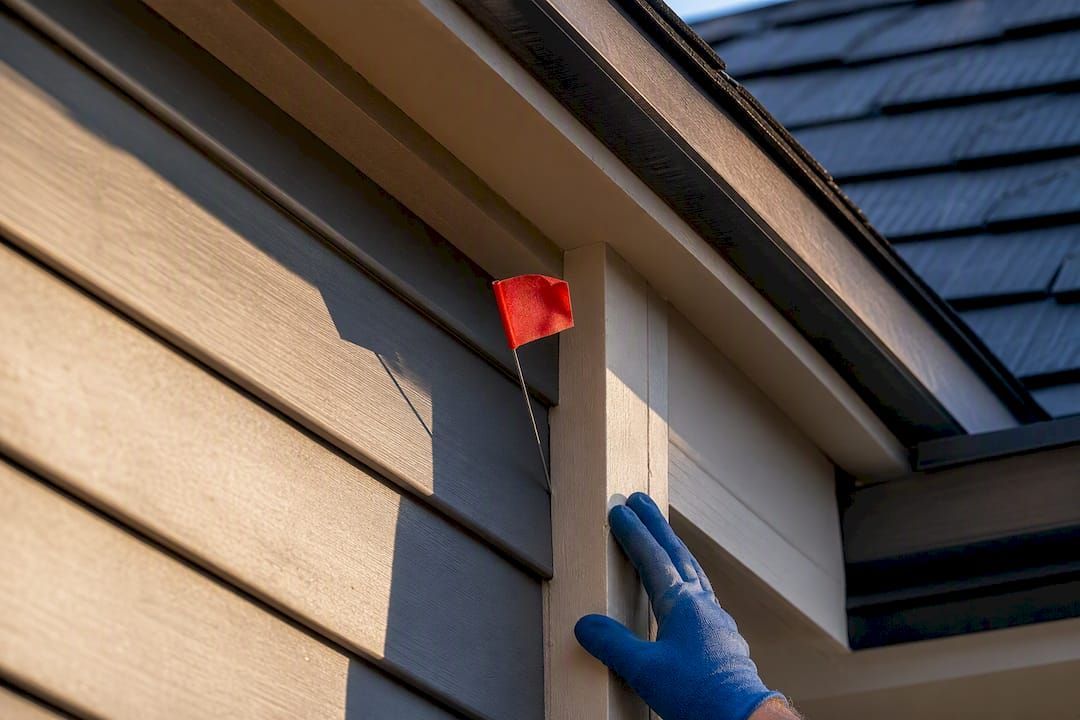
Keep your commercial building open during a roof replacement by doing six things before the first crew arrives: phase the work by zone, schedule noisy tear-off during off-peak hours, map and protect every rooftop asset (HVAC, solar, antennas), assign a single named project contact with a clear escalation order, put a written tarp protocol in the contract, and require daily photo updates from the contractor. That checklist, applied before mobilization, is the difference between a project that runs alongside your operations and one that shuts you down.
Pre-Start Operations Checklist (print and hand to your contractor):
- Confirm phased/zoned work plan with daily dry-in goals for each section
- Schedule compressor start-up, tear-off, and forklift traffic outside peak business hours
- Complete a rooftop asset map: HVAC units, solar panels, antennas, exhaust vents
- Require a written equipment protection and bypass plan for each asset
- Assign one project contact (name, cell, escalation backup) and post it at the site office
- Confirm permit is pulled and in hand before mobilization date
- Require a signed tarp/temporary weatherproof protocol with installer name and review date
- Set a daily update cadence: morning briefing by 7:30 AM, end-of-day photo report by 5:00 PM
Project Contact Line: Name: __________ | Cell: __________ | Escalation backup: __________ | Available: 7 AM to 6 PM daily during active work.
Why planning matters: realistic timelines and the real cost of schedule slip
A commercial roof replacement on a small building (under 10,000 sq ft) typically runs 3–5 days under ideal conditions. A mid-size building (10,000–50,000 sq ft) usually takes 1–3 weeks. Large facilities above 50,000 sq ft can run 4–8 weeks or longer, especially when phased work is required to keep portions of the building operational. Those ranges assume no hidden deck damage, no permit delays, and cooperative weather — three conditions that rarely all hold at once.
Meticulous pre-project planning can reduce overall project duration by 15–20% and cut unexpected interruptions significantly. That figure matters because every day of unplanned downtime carries a real operating cost: lost productivity, rerouted deliveries, tenant complaints, and in some cases, temporary relocation expenses. Budget for the project, but also budget for the buffer.
| Roof Size | Typical Duration | Phased Duration | Primary Risk Factors |
|---|---|---|---|
| Under 10,000 sq ft | 3–5 days | extended duration due to phased work | Weather, permit delays |
| 10,000–50,000 sq ft | 1–3 weeks | longer phased durations possible | Hidden deck damage, material lead times |
| 50,000 sq ft and above | 4–8 weeks or longer | extended phased durations possible | Sequencing complexity, HVAC protection |
Schedule risk callout: Permits add 1–10 business days in most U.S. cities and up to 6 weeks in busy markets. Build a 1–2 week weather buffer during spring and fall, when Northern California sees its most unpredictable conditions.
The most common hidden causes of schedule extension:
- Rotted or water-damaged roof decking discovered after tear-off begins
- Permit delays from backlogged municipal inspection departments
- Material substitutions when specified products are backordered
- Unexpected rooftop penetrations (abandoned HVAC curbs, old antenna mounts)
- Weather windows that close mid-project without a contingency plan in place
Understanding these risks upfront lets you negotiate realistic milestones and hold contractors accountable to a schedule that accounts for them. Review commercial roof replacement cost factors before you sign a contract so disruption-mitigation measures are priced in, not added as change orders later.
How to phase and sequence work so parts of the building stay open
Phased replacement is the single most effective tool for keeping an occupied commercial building operational. The trade-off is straightforward: phasing adds calendar time (sometimes 30–50% more than a full tear-off), but it preserves revenue-generating operations in the sections not under active work. For most occupied buildings, that trade is worth it.
Three sequencing templates cover the majority of commercial projects:
1. Quadrant sequencing. Divide the roof into four roughly equal zones and work one at a time. Each zone is torn off, dried in, and waterproofed before the crew moves to the next. This works well for rectangular buildings with uniform occupancy and no single critical zone that must stay protected throughout.
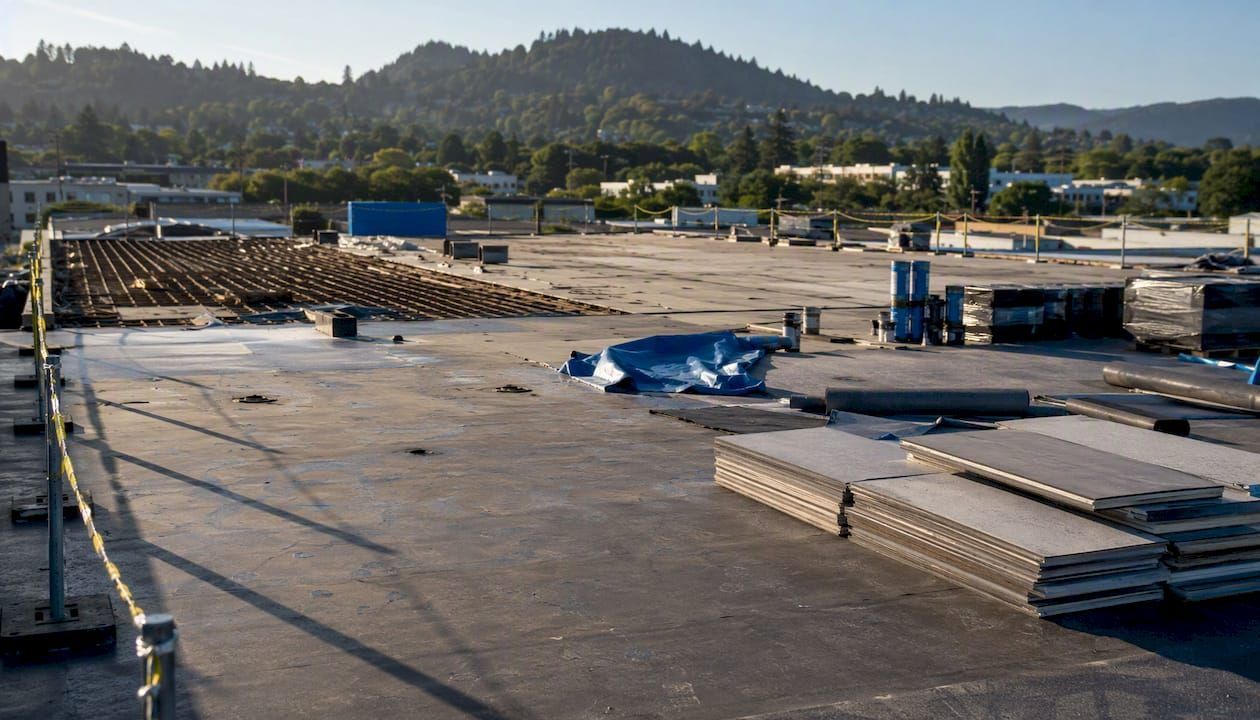
2. Perimeter-first sequencing. Work the roof edges and drains first, then move inward. This approach protects interior spaces from water intrusion early in the project and is especially useful when the building has a flat membrane roof with known edge deterioration.
3. Critical-area exclusion. Identify the zones directly above server rooms, medical equipment, food preparation areas, or other sensitive operations. Exclude those zones from active work until all other sections are complete and fully waterproofed. This requires more contractor coordination but protects your highest-value spaces.
For phased roof replacement in Northern California, the perimeter-first approach often makes the most sense given the region's wet winters and dry summers — protecting drainage early reduces the risk of interior water damage if a weather window closes unexpectedly.
Operational logistics required to support phasing:
- Daily dry-in goal: every active section must be fully waterproofed before crew departure
- Sectional dumpster placement: one dumpster per active zone, repositioned as zones shift
- Temporary roof/waterproofing: approved tarp or temporary membrane on any open section at day's end
- Day-end weatherproof check: a supervisor sign-off confirming all open areas are sealed
Phased vs. full tear-off: quick comparison
Phased replacement pros: Building stays partially open; lower single-day disruption; easier to manage tenant communication zone by zone.
Phased replacement cons: Longer total project duration; higher labor cost due to repeated mobilization; more complex scheduling and permit coordination.
Full tear-off pros: Faster total completion; lower per-square-foot labor cost; simpler logistics.
Full tear-off cons: Maximum disruption to all building occupants simultaneously; higher risk of weather exposure across the entire roof at once; harder to protect all rooftop equipment at the same time.
How should you schedule around business hours, permits, and weather?
The best scheduling approach for occupied commercial sites combines phased daytime work with off-peak windows for the noisiest tasks. Compressor operation, mechanical tear-off, and forklift traffic should be scheduled before 7:00 AM or after 6:00 PM whenever local noise ordinances and crew safety allow. Quieter tasks like membrane installation, seam welding, and flashing work can run during standard business hours without significant disruption to most tenants.
Pull the permit the day the contract is signed. Permit lead times vary widely: most U.S. jurisdictions process roofing permits in 1–10 business days, but high-volume markets can take up to 6 weeks. Waiting until the week before mobilization to apply is one of the most common and avoidable causes of project delay. Track the permit status weekly and confirm receipt before scheduling crew.
Weather-buffer rules:
- Add 1–2 weeks of buffer to any project scheduled during spring (March–May) or fall (October–November)
- For projects over 20,000 sq ft, add one additional buffer day per 5,000 sq ft above that threshold
- Require a 24–48 hour pre-start confirmation routine: the contractor confirms weather forecast, crew availability, and material delivery before mobilization
Schedule sign-off checklist for facilities teams:
- [ ] Permit in hand and posted at the job site
- [ ] Weather forecast reviewed for the full project window
- [ ] Noisy operations scheduled outside peak occupancy hours
- [ ] Tenant and staff notification sent at least 5 business days before start
- [ ] Material delivery confirmed with supplier lead-time documentation
- [ ] Emergency contact list distributed to all building staff
Pro Tip: Ask your contractor to provide a day-by-day schedule in writing before you sign off on mobilization. A contractor who cannot produce a written schedule with daily milestones is not ready to start.
Managing materials and lead times to prevent costly delays
Require the contractor to present a materials and lead-time plan before mobilization. This is not optional paperwork. It is the document that tells you whether the project can actually start on the proposed date without idle crews waiting on a backordered product.
Material lead times for premium or specialty roofing products can range from 6 to 18 weeks, depending on the supplier and product type. Standard shingles typically arrive in approximately 4 weeks; premium membrane systems and specialty products can take 12–18 weeks. Order long-lead items on the day the contract is signed, not when the permit arrives.
| Material Type | Typical Lead Time | Recommended Order Trigger | Buffer Strategy |
|---|---|---|---|
| Standard asphalt shingles | ~4 weeks | Contract signing | 10% overage on-site |
| Premium membrane systems | 8–12 weeks | Contract signing | Dual-source supplier |
| Specialty/custom products | 12–18 weeks | Pre-contract confirmation | Substitution clause required |
| Flashing and accessories | 2–4 weeks | Permit application | Stock at distributor |
Dual-sourcing and buffer stock rules:
- When lead times exceed 4 weeks, require the contractor to identify a secondary supplier for the same product or an approved equivalent
- For volatile materials, require on-site buffer stock of at least 10% above the estimated quantity
- For stable materials with reliable local distributors, vendor-managed delivery (JIT) is acceptable
Sample contract language to request:
- Lead-time confirmation clause: "Contractor confirms all specified materials are available within [X] weeks of contract execution. If lead times exceed this window, contractor will notify owner within 3 business days and propose an approved substitution."
- Quote-expiration language: Estimates must include verified supplier pricing, freight assumptions, and a quote-expiration date — typically 30 days for standard materials and 15 days for specialty products in volatile markets.
- Substitution approval workflow: "No material substitution may proceed without written owner approval within 48 hours of contractor notification."
- Float/penalty clause: "Project delays caused by contractor failure to order materials on time are not compensable; delays caused by documented supplier shortages are subject to a mutually agreed schedule extension."
Pro Tip: Review your contractor's commercial roofing materials comparison before finalizing specs. Choosing a product with a shorter lead time and equivalent performance can shave weeks off your project start date.
How do you protect rooftop equipment and HVAC during replacement?
Map every rooftop asset before work begins and require a written protection and access plan for each one. This single step prevents the most expensive surprises: a damaged HVAC unit, a disconnected antenna, or a solar panel cracked by a misplaced ladder.
A pre-start rooftop asset map should include the make, model, and location of every unit, the clearance required around it, and the name of the mechanical contractor responsible for any temporary isolation or bypass work. The roofing contractor and the mechanical contractor must coordinate before mobilization, not during it.
Rooftop equipment protection callout: HVAC systems that are not properly isolated during tear-off can draw debris and dust into ductwork, contaminating air handling systems and triggering costly cleaning or repair. Require a written bypass or isolation plan for every active unit before tear-off begins on any adjacent section.
Pre-start equipment confirmation checklist:
- [ ] All HVAC units mapped with clearance zones marked on the roof plan
- [ ] Temporary ductwork or bypass plan confirmed with mechanical contractor
- [ ] Lifting and crane zones identified and cleared of equipment
- [ ] Rooftop walk routes marked with protected pathways (plywood or foam padding)
- [ ] Solar panel isolation confirmed with electrical contractor
- [ ] Antenna and communication equipment flagged and protected
Staging checklist:
- Material staging area: minimum 20 ft from any active HVAC unit
- Crane placement: confirmed with structural engineer for load capacity
- Dumpster location: accessible to crew without crossing tenant entry points
- Protected walkways: marked with cones and barriers, updated daily as zones shift
Coordinate the timing of any roof-penetration work (new curbs, drains, pipe boots) with the mechanical contractor so service interruptions are scheduled, not accidental. A one-hour planned HVAC shutdown is manageable. An unplanned shutdown during a heat wave is not.
What does a good tenant and staff communication plan look like?
Require a single project contact and daily updates from day one. Mixed messages from multiple crew members are one of the top sources of tenant complaints during occupied roof projects. One person owns all external communication, and that person's name and number are posted at every building entrance before work starts.
Daily briefings and consistent messages across staff significantly reduce complaints and maintain tenant trust throughout an occupied roof project. The communication cadence below gives you a plug-and-play structure.
Recommended notification timeline:
- 5 business days before start: Written notice to all tenants and staff. Include project scope, expected duration, daily work hours, and the project contact's name and number.
- Day before mobilization: Reminder notice with specific access changes, parking impacts, and any temporary entry re-routes.
- Each morning (by 7:30 AM): Brief update: which zone is active today, expected noise windows, and any access changes.
- Each evening (by 5:00 PM): Photo report: progress photos, completed zone status, and next-day plan.
| Communication Type | Timing | Content Required | Sent By |
|---|---|---|---|
| Pre-start tenant notice | 5 days before | Scope, duration, hours, contact | Property manager |
| Day-before reminder | 24 hours before | Access changes, parking, entry routes | Project contact |
| Morning update | 7:30 AM daily | Active zone, noise windows, access | Project contact |
| End-of-day photo report | 5:00 PM daily | Progress photos, zone status, next-day plan | Contractor superintendent |
Signage and access-control tactics:
- Post directional signage at all affected entrances 48 hours before work begins
- Re-route delivery traffic with clearly marked temporary loading zones
- Update digital building directories and intercom listings if lobby access changes
- Place barrier tape and cones at all active work zones with daily refresh
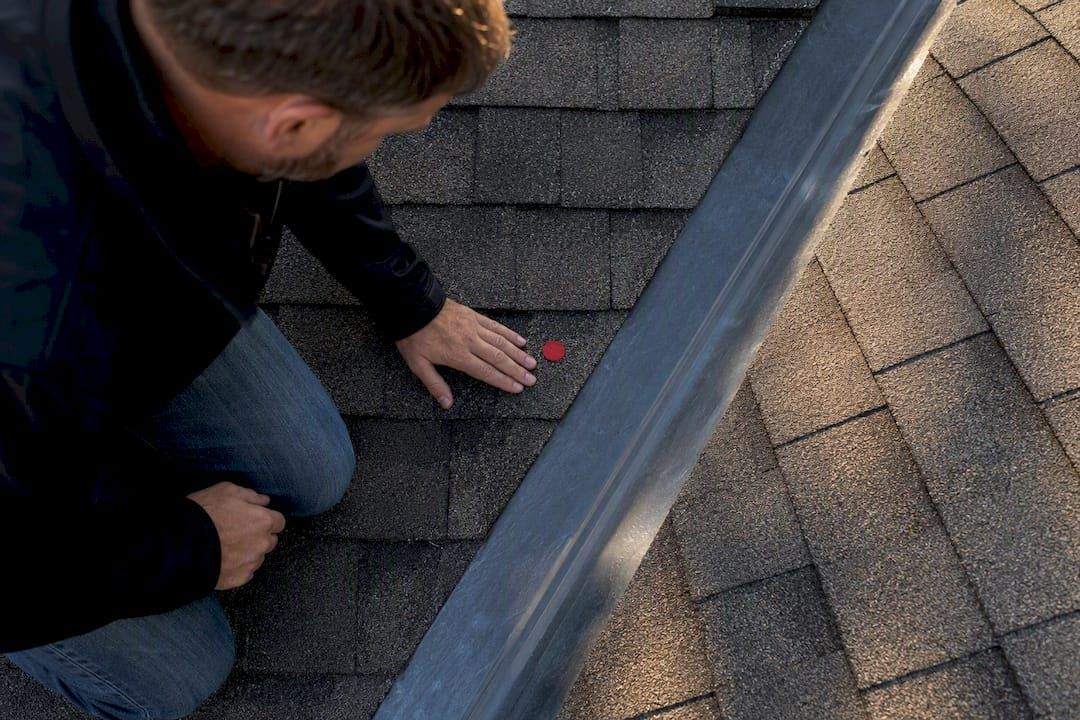
Photo and drone documentation standards: Require the contractor to photograph every section before tear-off, during installation, and after completion. Drone documentation is the most efficient method for large roofs and provides a defensible condition record if a warranty dispute arises. All photos should be date-stamped, geotagged, and stored in a shared folder the building owner can access at any time. Tools like AccuLynx and RoofSnap give contractors a structured platform for photo logs, project timelines, and client-facing progress reports, making it easier to maintain the documentation standards your building should require.
Managing safety, noise, dust, and access during occupied work
Require the contractor to submit a site-specific safety and noise mitigation plan before mobilization. Your facilities team should review and approve it, not just receive it. A plan that sits in a file drawer does not protect your tenants or your liability exposure.
Noise-control tactics and scheduling rules:
- Compressors and pneumatic nailers: before 7:00 AM or after 6:00 PM, or during confirmed low-occupancy windows
- Mechanical tear-off equipment: schedule in 2-hour blocks with 30-minute quiet intervals during peak business hours
- Forklift and material-handling traffic: restrict to designated routes, away from customer-facing entrances
Dust-control checklist:
- [ ] Temporary dust barriers installed at all interior access points adjacent to active zones
- [ ] Negative pressure units deployed in sensitive areas (server rooms, medical offices, food prep)
- [ ] HVAC intake filters checked and replaced at the start of each new work zone
- [ ] Daily sweep of all common areas adjacent to active work
- [ ] Debris netting installed on roof perimeter to contain falling material
Access management during active work:
- Designate alternate entrances for tenants and customers before work begins
- Post daily access maps at all building entries, updated each morning
- Assign a crew member as a dedicated pedestrian spotter during material lifts
- Coordinate delivery schedules with building management to avoid conflicts with crane or forklift operations
For general disruption-mitigation tactics that apply across exterior renovation projects, the guidance on minimizing disruption during exterior work offers useful parallels on signage, staging, and tenant communication that translate directly to commercial roofing projects.
What contingency protocols should your contract require?
Require a written tarp and temporary weatherproof protocol before the first nail is pulled. This document should log the date, the installer's name, the area covered, and a scheduled follow-up review date. Documenting every temporary repair with this level of detail prevents the most dangerous post-event leaks and the liability that follows them.
Emergency-response checklist:
- [ ] Emergency contact list posted at site office: contractor superintendent, project manager, building owner, mechanical contractor
- [ ] Response SLA defined in contract: contractor on-site within 4 hours of a weather event or reported leak
- [ ] Emergency tarp materials staged on-site or at a confirmed nearby location
- [ ] Interim protection steps documented: who applies the tarp, what area is covered, who signs off
Change-order workflow owners should require:
- Contractor photographs the uncovered condition immediately upon discovery
- Contractor submits a written estimate for the additional work within 24 hours
- Owner has a defined approval window (typically 48 hours) to approve, reject, or negotiate
- No work proceeds on the change-order scope until written approval is received
- Approved change orders are logged with photos, cost, and revised schedule impact
Rapid escalation cadence during contingency work:
- Daily standup at 7:00 AM: contractor superintendent, project manager, and building facilities contact review open contingency items
- Any new discovery (deck damage, hidden penetration, weather event) triggers an immediate photo and written notification to the building owner
- Surge-response protocols should prioritize by harm level and set crew rotation rules before events occur to avoid fatigue and documentation gaps
- Contingency work is closed out with a written summary and updated project schedule before the next zone begins
Review commercial roof decking considerations before mobilization so your team understands what hidden deck damage looks like and how it affects both cost and schedule.
Final cleanup, inspection, magnet sweep, and closeout
Require a documented closeout inspection and warranty handoff as a contract milestone tied to final payment. Do not release the final payment until every item on the closeout checklist is complete and signed.
Closeout checklist (numbered for sign-off):
- Magnet sweep of all ground-level areas, parking lots, and landscaping adjacent to the building
- Debris removal from all roof surfaces, gutters, and drains within 24 hours of project completion
- Final roof inspection by the contractor superintendent with the building owner or facilities manager present
- Municipal inspection completed and certificate of occupancy or permit closure obtained where required
- Warranty paperwork signed and delivered: manufacturer's warranty (GAF, Brava, or equivalent) and contractor workmanship warranty
- As-built documentation: updated roof plan showing all new penetrations, drains, and flashing locations
- Photo documentation package delivered to the building owner in a shared digital folder
Additional closeout actions:
- Verify all rooftop equipment is reconnected and operational (HVAC, solar, antennas)
- Confirm all temporary barriers, signage, and staging equipment are removed
- Walk all tenant-adjacent areas to confirm no interior damage occurred during the project
- Request a Google or industry review from the building owner at sign-off — this is the right moment, when the project is fresh and the result is visible
The commercial roof inspection checklist gives your facilities team a structured format for the final walkthrough that covers drainage, seams, flashing, and penetrations in a single document.
How do you choose the right contractor and protect yourself in the contract?
Require contractors to demonstrate experience on occupied commercial sites specifically. A contractor who has only worked on vacant buildings during off-hours does not have the same operational awareness your project needs. Ask for references from projects where the building remained open throughout, and call those references.
Contractor selection checkpoints:
- Proof of general liability insurance (minimum $2 million per occurrence for commercial projects)
- Surety bond coverage confirmed in writing
- OSHA 300 log reviewed for the past 3 years
- NRCA membership or equivalent industry certification verified
- Sample project timeline from a comparable occupied-site project
- Named project manager (not just a sales rep) who will be on-site daily
Essential contract terms for occupied commercial projects:
| Contract Term | What to Require | Why It Matters |
|---|---|---|
| Lead-time confirmation | Written confirmation of material availability before mobilization | Prevents idle crews and schedule slip |
| Quote expiration | 30-day expiration on standard materials, 15 days on specialty | Protects against price escalation |
| Substitution approval | Written owner approval required within 48 hours | Prevents unauthorized material swaps |
| Float/penalty clause | Contractor-caused delays are not compensable | Aligns contractor incentives with your schedule |
| Change-order terms | Photo + written estimate + owner approval before work proceeds | Prevents surprise cost additions |
| Payment milestones | Tied to zone completion, not calendar days | Keeps payment aligned with actual progress |
Insurance and verification checklist before mobilization:
- [ ] Certificate of insurance received and verified with the issuing carrier
- [ ] Additional insured endorsement naming your building entity confirmed
- [ ] Workers' compensation coverage confirmed for all crew members
- [ ] Subcontractor insurance verified if any work is subcontracted
- [ ] Bond amount confirmed as sufficient for the contract value
Use the commercial roofing contractor qualities checklist to structure your RFP and reference-check process before you invite bids.
How Shieldguardroofing keeps buildings open during replacement
On a recent commercial project in Northern California, Shieldguardroofing used quadrant sequencing to replace a large flat roof while the building remained fully occupied. The team protected two rooftop HVAC units with temporary bypass plans coordinated with the mechanical contractor, staged materials in a designated corner of the parking lot away from tenant entries, and delivered daily photo reports to the property manager each evening. The building never closed. Tenants received written notices five days before work started and morning updates throughout.
Three things to request from Shieldguardroofing (or any contractor with comparable capabilities) when you issue your RFP:
- A completed pre-start checklist covering permits, materials, equipment protection, and communication plan
- A daily photo log protocol with shared digital access for the building owner
- A signed tarp and change-order protocol with defined response times and approval windows
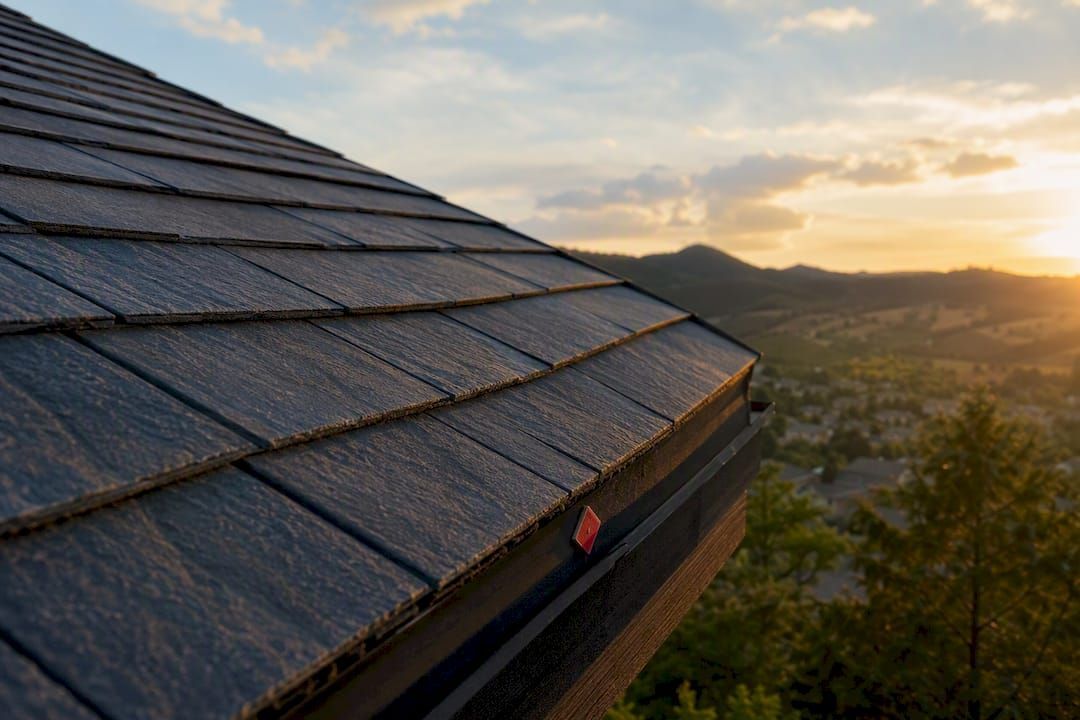
Shieldguardroofing installs GAF, GAF Energy, and Brava Roofing products, all of which carry manufacturer warranties that are part of the closeout package. The team brings over 75 years of combined roofing experience to every commercial project in Northern California.
How your internal operations team can reduce disruption from the inside
The contractor controls what happens on the roof. Your internal operations team controls what happens below it, and that coordination is where most building owners leave value on the table.
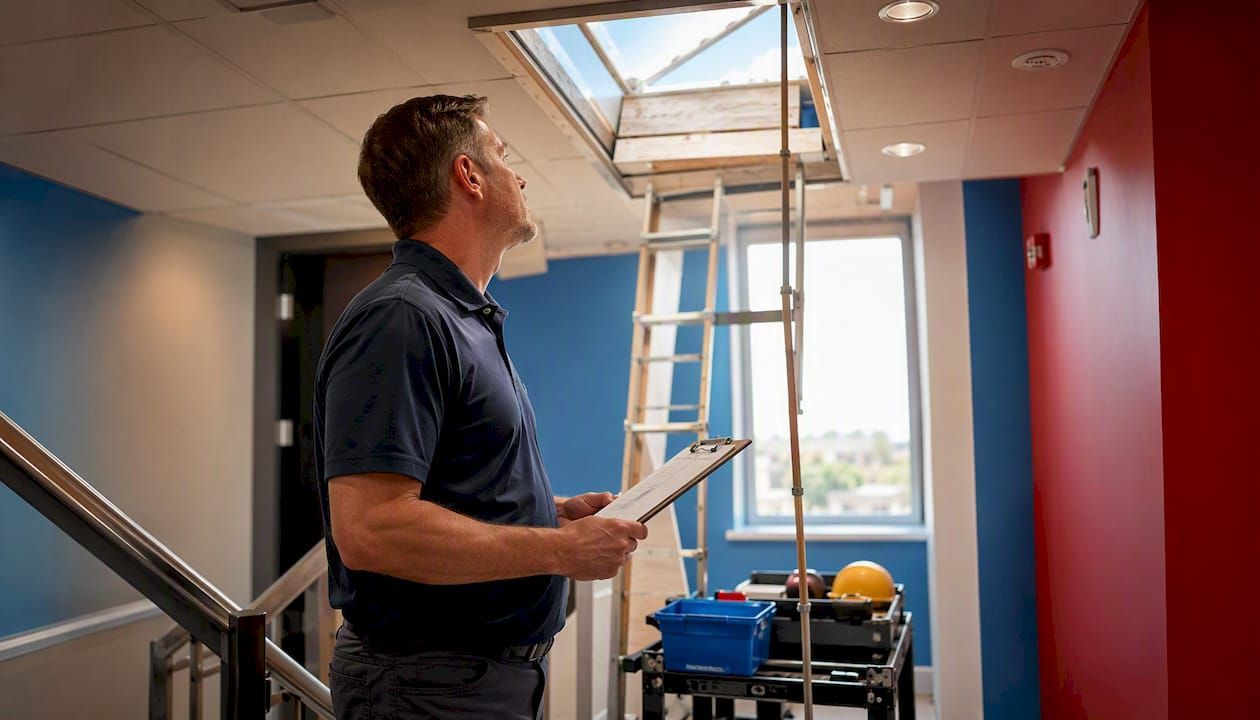
Assign an internal facilities coordinator as the single point of contact between your operations team and the contractor's project manager. This person attends the daily standup, relays morning updates to department heads, and flags any interior issues (noise complaints, dust infiltration, access conflicts) before they escalate. Without this role filled, complaints go directly to the contractor or, worse, to building management after the fact.
Noise management inside the building:
Schedule internal meetings, calls, and client-facing activities away from the zones directly below active tear-off. A simple daily calendar note from the facilities coordinator, sent each morning with the active zone identified, lets department heads plan around the noisiest windows. Conference rooms on upper floors directly below active work should be temporarily reassigned.
Dust infiltration is the most underestimated interior risk. Even with exterior dust barriers in place, fine particles can enter through HVAC intakes, stairwells, and elevator shafts. Replace HVAC filters at the start of each new work zone and inspect them again at the end of each week. In buildings with sensitive operations (labs, medical offices, food service), deploy portable HEPA air filtration units in affected areas for the duration of work in adjacent zones.
Delivery and vendor coordination:
Reroute all deliveries to a designated alternate loading area before work begins. Notify regular vendors in writing with the new delivery instructions and a project end date. Forklift and crane activity near loading docks is the most common conflict point between roofing crews and building operations, and it is entirely preventable with a written delivery schedule shared between the contractor and your receiving team.
Operational preparedness is a leadership-level activity that protects margins. Building owners who treat internal coordination as a project management task, not a facilities afterthought, consistently report fewer complaints, fewer change orders, and faster project completion.
Key Takeaways
Phased work, off-peak scheduling, a named project contact, and a written tarp protocol are the four non-negotiable foundations of a commercial roof replacement that keeps your building open and your operations running.
| Point | Details |
|---|---|
| Phase the work by zone | Quadrant or perimeter-first sequencing keeps parts of the building open while replacement proceeds. |
| Pull permits at contract signing | Permit delays of 1–10 business days (up to 6 weeks in busy markets) are avoidable with early action. |
| Order long-lead materials immediately | Premium products can take 12–18 weeks; order on contract day and require a dual-source backup. |
| Assign one project contact | A single named contact with a clear escalation order eliminates mixed messages and speeds decisions. |
| Require a written tarp protocol | Every temporary repair must log date, installer, covered area, and a follow-up review date. |
| Shieldguardroofing for NorCal projects | Shieldguardroofing delivers phased commercial replacements with daily photo logs, equipment protection plans, and full warranty closeout packages across Northern California. |
Operational preparedness is profit protection
Most building owners treat a roof replacement as a construction event. The ones who protect their margins treat it as an operations management challenge that happens to involve a contractor.
The gap shows up in the numbers. A project that slips two weeks because permits were not pulled early, or because a specialty membrane was not ordered until mobilization day, does not just cost the contractor time. It costs you: in rerouted deliveries, in tenant complaints that affect lease renewals, in emergency tarp work billed as a change order, and in the staff hours spent managing a crisis that a written protocol would have prevented.
Maintain a contingency fund specifically for roofing projects, sized at 10–15% of the contract value. Require documented processes from every contractor before you sign, not after a problem surfaces. And treat the pre-start checklist as a contract deliverable, not a courtesy. Contractors who resist providing it are telling you something important about how they manage projects.
The building owners who come out of a roof replacement with their operations intact and their tenants satisfied are not lucky. They planned earlier, asked harder questions, and held contractors to written commitments. That is the discipline that protects your margin.
Shieldguardroofing supports occupied commercial replacements in NorCal
Commercial roof replacement on an occupied building is not a standard roofing job. It requires phased scheduling, equipment protection coordination, tenant communication, and documented contingency protocols that most general contractors are not set up to deliver. Shieldguardroofing is.
With over 75 years of combined roofing experience and premium materials from GAF, GAF Energy, and Brava Roofing, Shieldguardroofing handles the full scope of occupied commercial replacements across Northern California: phased work plans, daily photo updates, written tarp and change-order protocols, and manufacturer warranty closeout packages. Your building stays open. Your tenants stay informed. Your operations stay on track.
When you request a quote, ask for three specific deliverables: the pre-start checklist, the daily photo log protocol, and the signed tarp and change-order process. These are the documents that separate a contractor who manages occupied sites from one who simply works on them.
Request a commercial roofing quote from Shieldguardroofing and get a pre-start checklist with your proposal.
Useful sources and industry references
The sources below give facilities teams direct access to benchmarks, templates, and planning guidance referenced throughout this article.
Industry and planning references:
- How to Determine a Roofing Project Timeline (Contractor Guide 2026)
- Staying ahead of the next big disruption
- When global events reach the rooftop
- Maximize production: plan around roofing material lead times
- 5 signs roofing operations manager storm surge over return to normal ops
- 5 steps to storm response rapid deployment roofing company
- Minimizing Business Disruption During Commercial Roof Replacement
- How to Minimize Business Downtime During Roof Replacement - Shieldline Roofing
Shieldguardroofing resources for next steps:
| Resource | What It Covers |
|---|---|
| Commercial roofing services | Full scope of Shieldguardroofing's commercial capabilities and project examples |
| Commercial roofing materials comparison | Material selection tradeoffs and lead-time implications for commercial projects |
| Contractor qualities checklist | Selection and verification checklist for RFP and reference-check processes |
| Commercial roof inspection checklist | Structured format for pre-project assessments and final closeout inspections |
| Phased roof replacement guide | Sequencing templates and tradeoffs specific to Northern California projects |
Recommended