Commercial Roof Inspection Checklist for Property Managers
Commercial Roof Inspection Checklist for Property Managers
A commercial roof inspection checklist is a structured assessment tool property managers use to systematically evaluate roof condition, catch damage early, and protect building integrity. Think of it like a car's maintenance schedule. Skip the oil changes and you pay for an engine rebuild. Skip your roof inspections and you pay for a full replacement. Biannual professional inspections in spring and fall are the industry standard, with additional checks required after major storms. Advanced tools like infrared cameras and drones have made the process faster and more thorough than ever. This guide gives you the full checklist, the right tools, and the documentation standards that protect your warranties and your budget.
What does a commercial roof inspection checklist include?
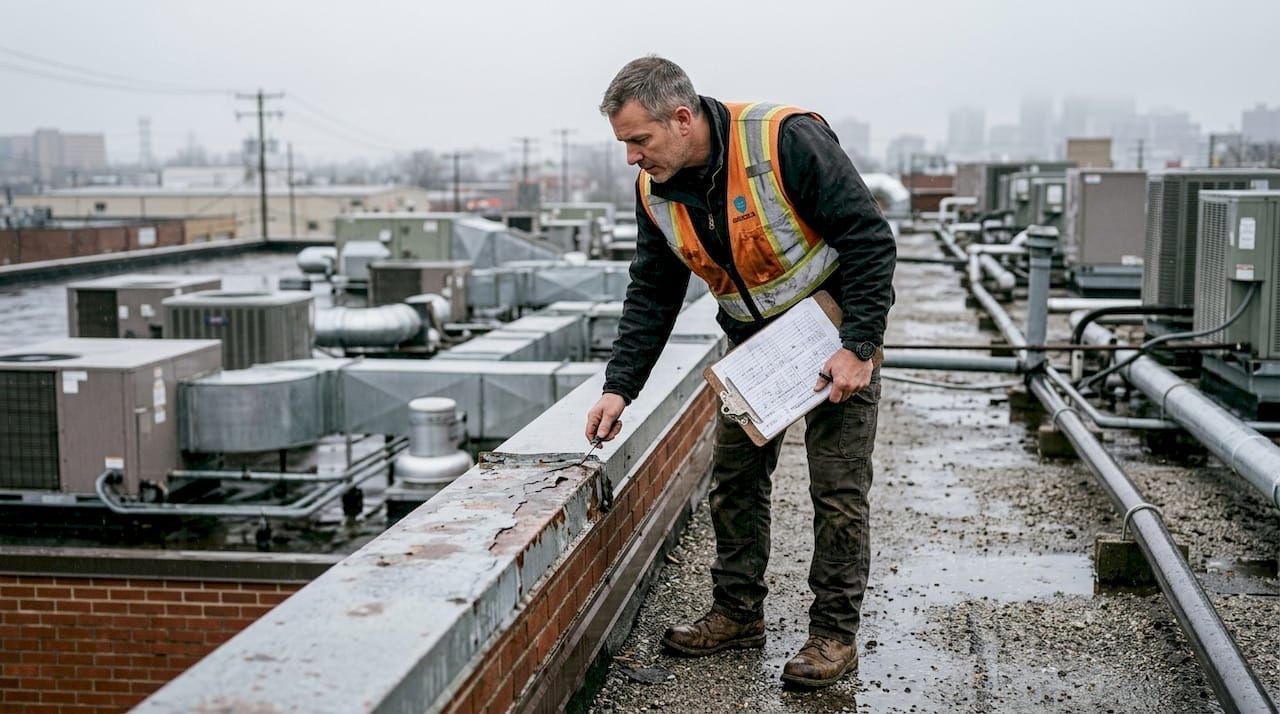
A complete commercial roof inspection checklist covers six core zones: the membrane surface, seams and flashings, roof edges and parapets, drainage systems, penetrations, and equipment areas. Each zone has specific failure points that, if missed, become expensive repairs. Seams, flashings, and drainage account for the majority of leak sources in commercial roofing. Catching a failed flashing early costs a few hundred dollars. Ignoring it for two seasons can mean interior water damage, mold remediation, and a warranty dispute.
The checklist also defines inspection type. A routine maintenance inspection focuses on visual assessment and preventive upkeep. An acquisition inspection requires infrared scanning and core sampling to evaluate a roof before purchase. A post-storm inspection documents conditions within 48 hours for insurance purposes. Knowing which type you need before you start determines your tools, your scope, and your report format.
What tools and preparation does an effective inspection require?
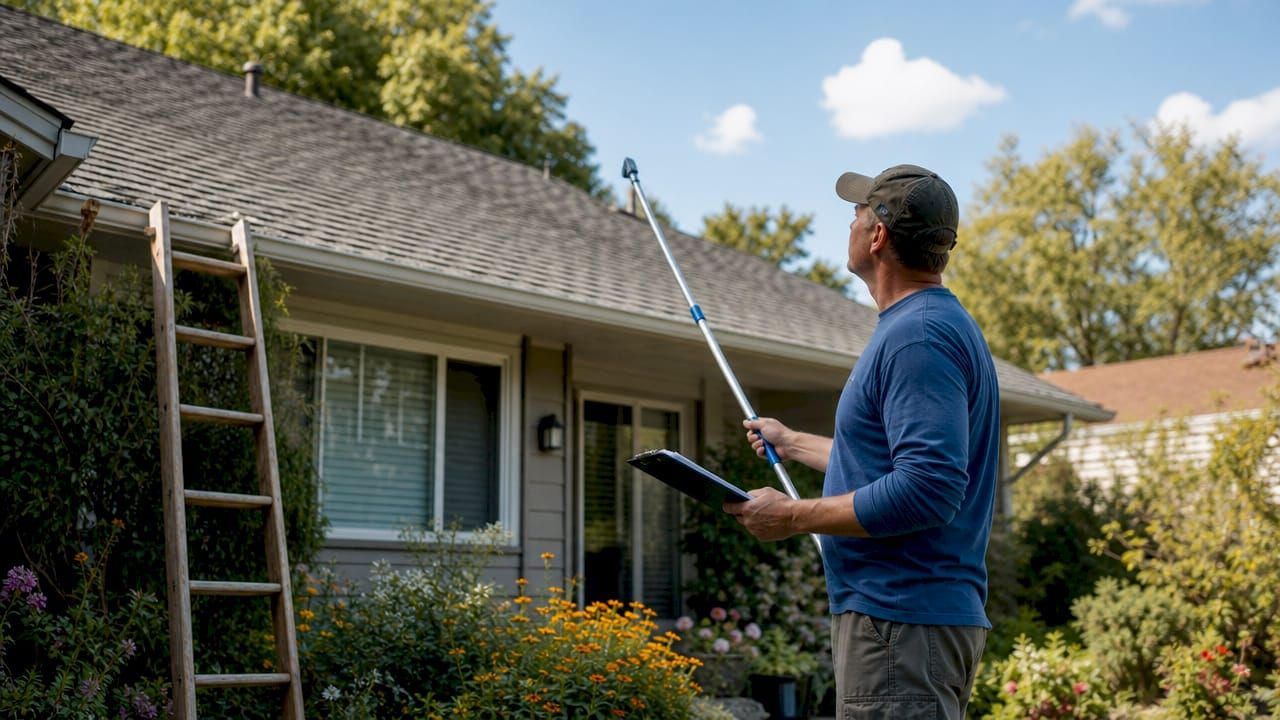
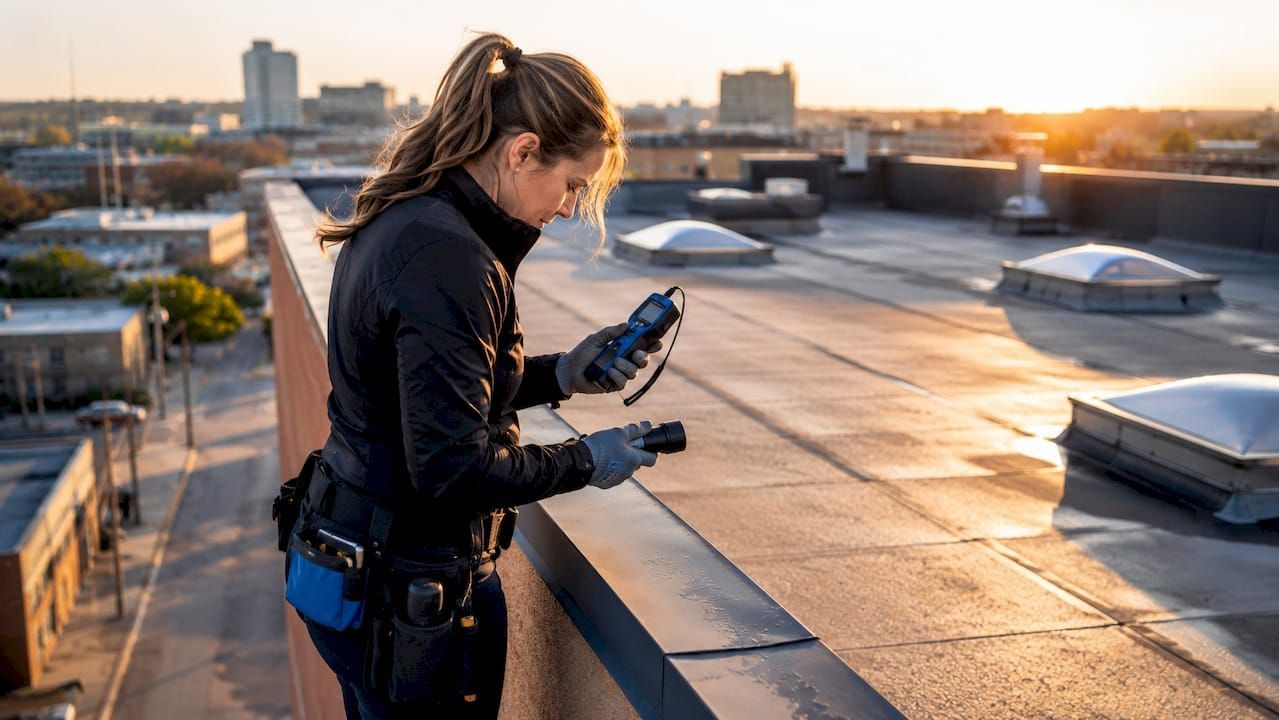
The right tools determine what you find. A routine inspection requires a moisture meter, binoculars, a flashlight, a tape measure, and a camera with a wide-angle lens. An acquisition inspection adds an infrared camera for moisture scanning and may include core sampling equipment. The table below shows the difference clearly.
| Tool | Routine Inspection | Acquisition Inspection |
|---|---|---|
| Moisture meter | Required | Required |
| Infrared camera | Optional | Required |
| Drone | Recommended | Recommended |
| Core sampling kit | Not used | Required |
| Camera (wide + close-up) | Required | Required |
| Safety harness | Required | Required |
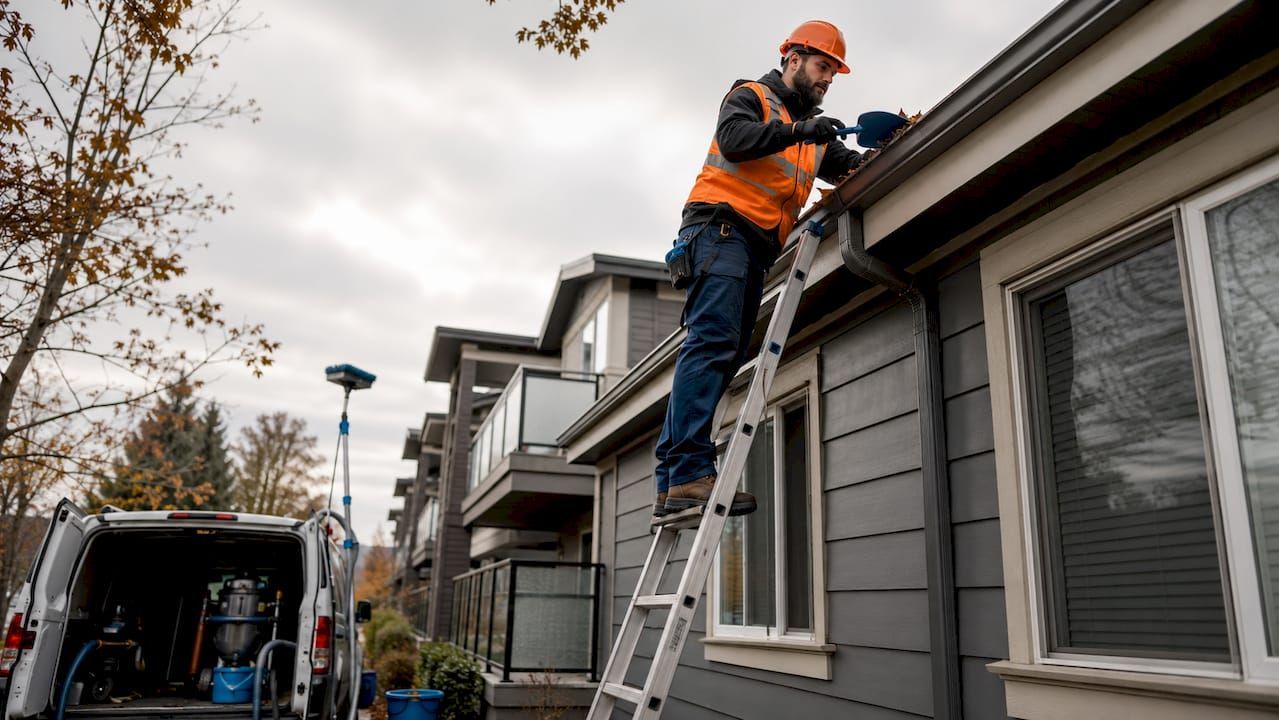
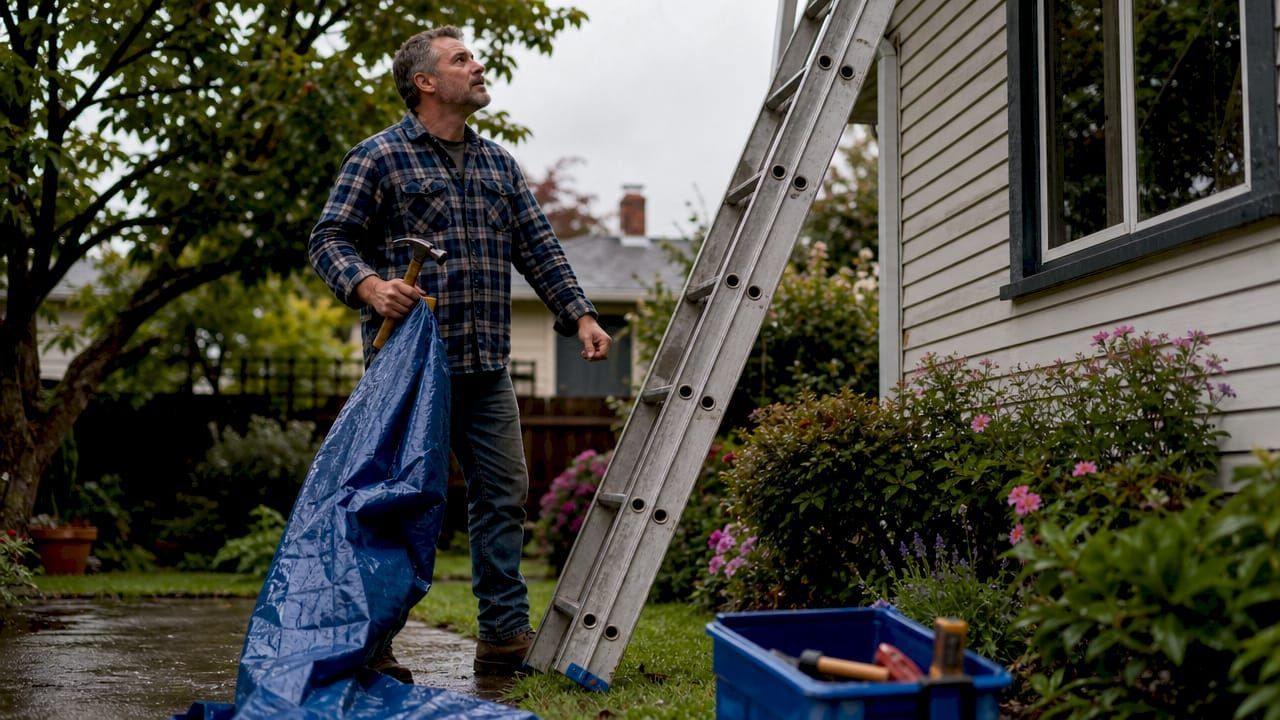
Safety preparation comes before any tool selection. Verify ladder and hatch condition and survey for hazards like overhead power lines before accessing the roof. These steps are often skipped and create real liability exposure. Write a brief pre-inspection safety plan that notes access points, weather conditions, and any known hazards.
Weather matters more than most property managers realize. Inspect on a dry day with no forecast rain. Wet surfaces hide ponding patterns, make walking hazardous, and compromise infrared readings. Schedule inspections for mid-morning when thermal contrast is highest for infrared work.
Pro Tip: For roofs over 20,000 square feet or with complex geometry, use a drone. Drone surveys cover entire roofs in 30–60 minutes without working-at-height risks, and the footage serves as documentation.
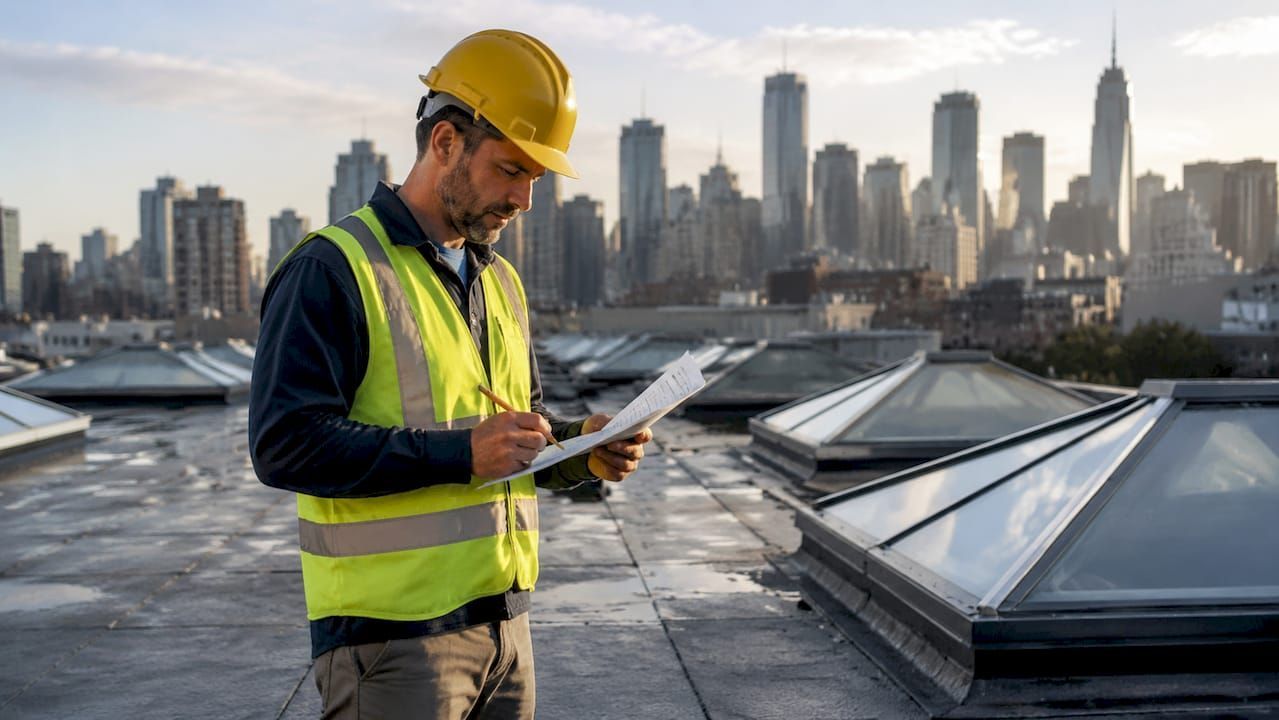
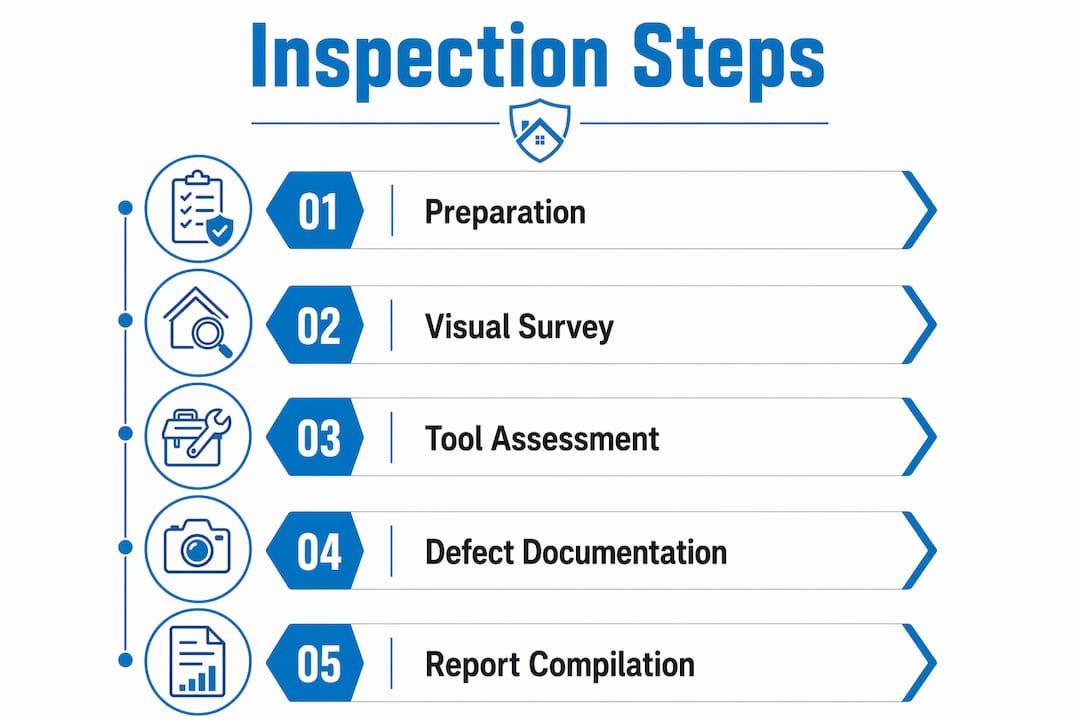
Step-by-step commercial building roof assessment checklist
Work through the inspection in a fixed sequence every time. Consistency prevents missed zones and makes report comparisons meaningful across seasons.
- Review prior inspection reports before accessing the roof. Note any flagged items from the last visit and check whether repairs were completed.
- Inspect the interior ceiling and upper walls for water stains, efflorescence, or mold. Interior evidence often reveals leak locations before you reach the roof surface.
- Assess the membrane surface for blisters, cracks, punctures, and granule loss. On TPO and EPDM roofs, look for shrinkage at edges and seam separation.
- Check all seams and laps for lifting, bubbling, or adhesive failure. Run your hand along seams to feel for separation that the eye might miss.
- Inspect flashings at every penetration including HVAC curbs, skylights, pipes, and drains. Flashing failures are the single most common source of commercial roof leaks.
- Examine roof edges and parapets for coping cap displacement, caulk cracking, and metal corrosion. Wind damage concentrates at edges first.
- Clear and test all drains and scuppers. Blocked drainage causes ponding water, which accelerates membrane deterioration and adds structural load.
- Evaluate equipment areas around HVAC units, exhaust fans, and satellite mounts. Foot traffic around equipment creates concentrated wear patterns.
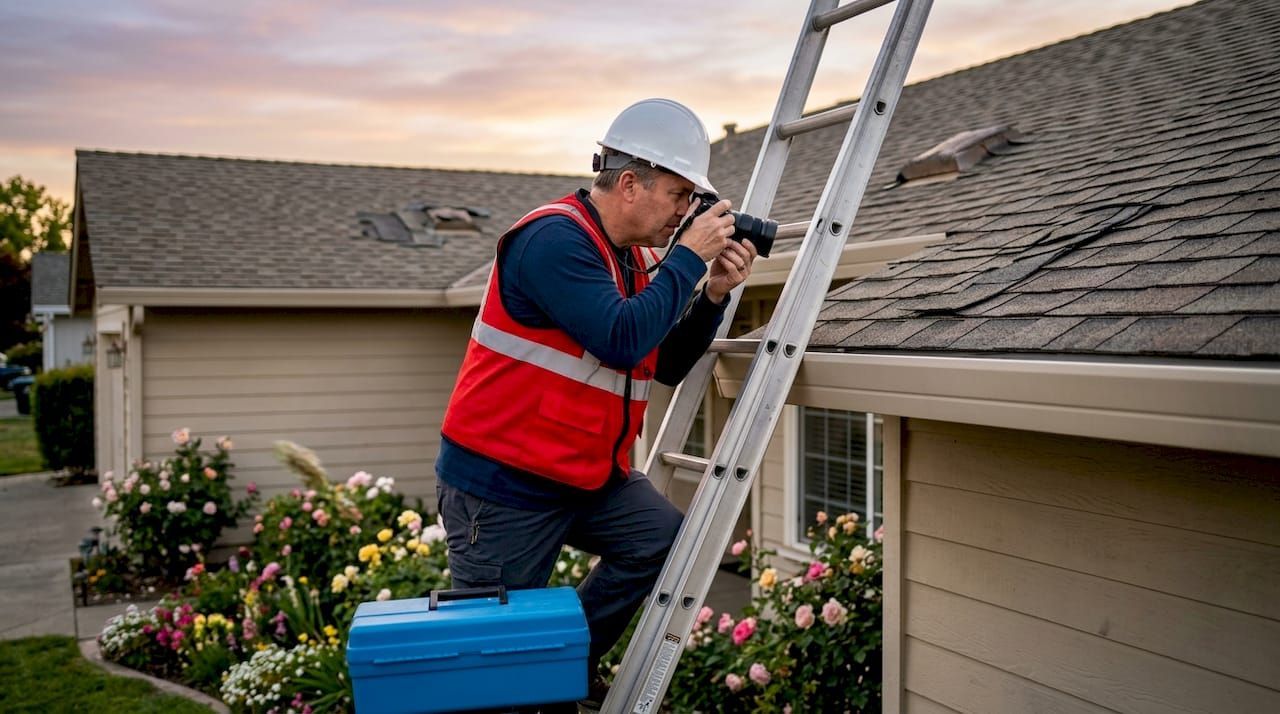
- Document every defect with photos before moving to the next zone.
For each defect found, assign a severity rating. Use three categories: urgent (active leak or structural risk, repair within 7 days), routine (deterioration present, schedule within 90 days), and monitor (early-stage wear, note and recheck at next inspection).
- Ponding water deeper than one inch after 48 hours: urgent
- Seam separation longer than six inches: urgent
- Minor granule loss on modified bitumen: monitor
- Flashing caulk cracking without separation: routine
- Drain debris buildup: routine
Pro Tip: Photograph defects in three shots: wide shot for location context, medium shot for surrounding condition, close-up for defect detail. This sequence lets contractors find and fix the issue without on-site guidance.
Common mistakes that undermine commercial roof inspections
The most costly mistake is skipping high-risk zones. Inspectors who walk only the center field of a roof miss the edges, parapets, and penetrations where failures concentrate. A center-field walk looks thorough but leaves the most vulnerable areas unchecked.
Poor photo documentation is the second most common failure. A single blurry close-up of a crack tells a contractor nothing about where on the roof it is or how large the surrounding damage area is. Without the three-shot sequence, repair bids come in inaccurate and contractors waste time locating the defect.
- Skipping the interior pre-check: Always start inside. Water travels before it shows up on the roof surface.
- Inspecting in wet conditions: Rain obscures ponding patterns and makes infrared readings unreliable.
- Performing core sampling on routine inspections: Core sampling is a destructive test suited for acquisitions only. Using it during routine maintenance creates unnecessary damage.
- No documented inspection history: 81% of commercial roof failures at insured properties lack documented inspection history within the previous 24 months. That gap voids warranties and complicates insurance claims.
"A roof with no inspection history is a liability, not an asset. When a failure occurs, you have no baseline to prove the condition was maintained."
Pro Tip: Keep a digital folder for each property with dated inspection reports, photos, and repair invoices. This record is your first line of defense in a warranty or insurance dispute.
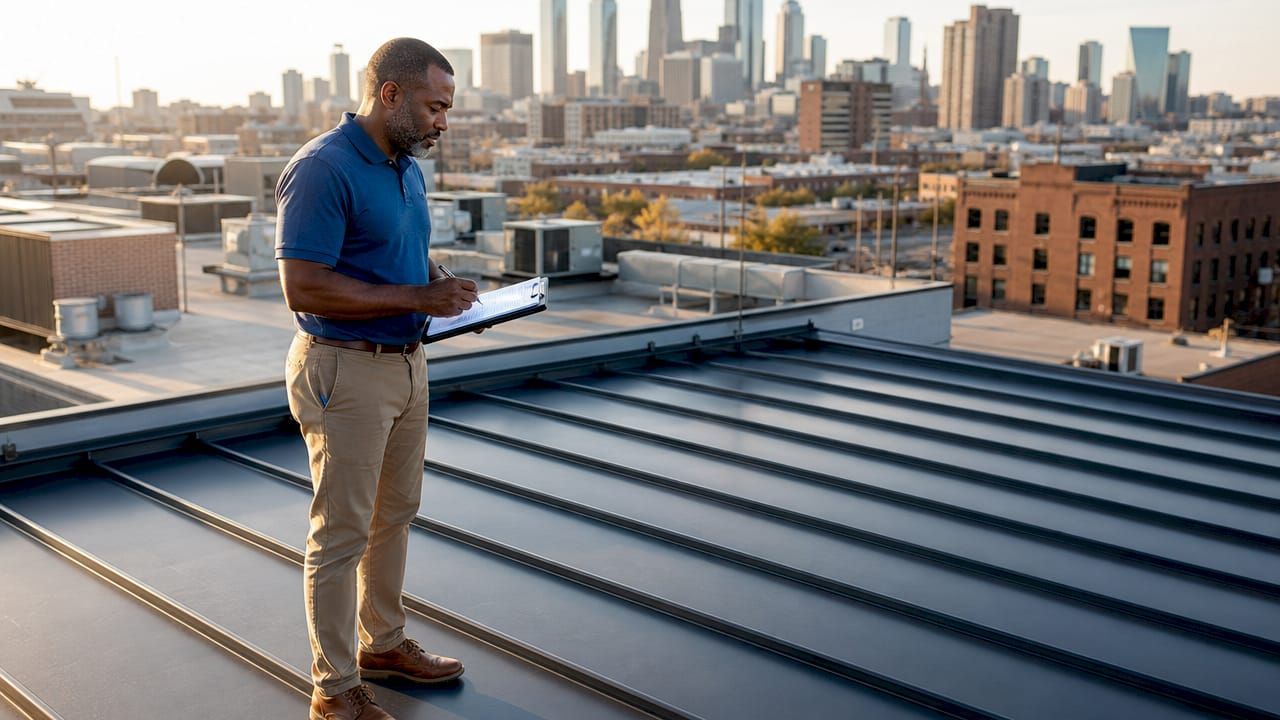
How to document and report inspection findings
A professional inspection report protects your warranty, supports insurance claims, and creates a repair roadmap. Reports delivered within 48 hours of the inspection are critical for maintaining roof warranties and supporting maintenance planning. After a storm, that 48-hour window is also the threshold for insurance documentation.
Every report must include the inspector's name and credentials, the date and weather conditions at time of inspection, annotated photos with scale references, a numeric roof condition rating (typically 1–10), and a prioritized repair list. Condition ratings give you a trend line. A roof rated 7 this spring and 5 next fall is telling you something urgent.
Structure your repair list in three tiers:
| Priority | Timeframe | Example |
|---|---|---|
| Urgent | Within 7 days | Active leak, structural compromise |
| Routine | Within 90 days | Seam separation, flashing failure |
| Monitor | Next inspection | Early granule loss, minor caulk cracking |
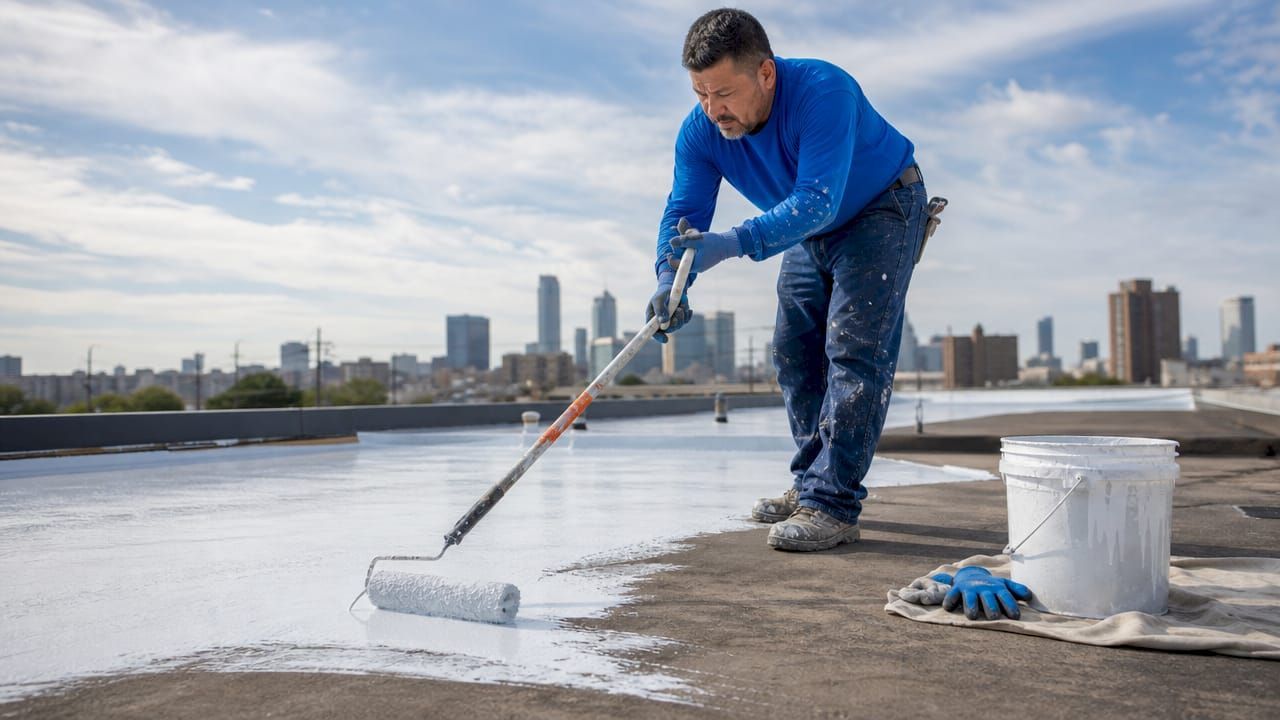
Store every report in a centralized system, whether that is a property management platform or a shared cloud folder. Physical binders get lost. Digital records with timestamps are defensible in court and with insurance adjusters. For commercial roof repair follow-up , match each repair invoice to the inspection report that flagged the defect. That paper trail is what keeps your manufacturer warranty intact.
Most manufacturer warranties require at least biannual professional inspections in spring and fall to remain valid. Missing a single cycle can void coverage on a roof that still has years of life left. The cost of a professional inspection, typically $300 to $1,000 for a 10,000-square-foot roof, is trivial compared to a voided warranty on a $200,000 roof system.
Key Takeaways
A disciplined commercial roof inspection process, conducted twice yearly and after every major storm, is the most cost-effective way to extend roof life and prevent expensive failures.
| Point | Details |
|---|---|
| Inspect twice yearly | Schedule inspections in spring and fall to meet warranty requirements and catch seasonal damage. |
| Use the right tools | Match tools to inspection type: drones and moisture meters for routine, infrared cameras for acquisitions. |
| Cover all six zones | Inspect membrane, seams, flashings, edges, drainage, and equipment areas without skipping any zone. |
| Document in three shots | Photograph every defect with wide, medium, and close-up shots for accurate contractor guidance. |
| Report within 48 hours | Deliver written reports within 48 hours to protect warranties and support insurance claims. |
What 20 years of roof inspections actually taught me
I have seen property managers spend tens of thousands of dollars on emergency repairs that a $500 inspection would have prevented. The pattern is always the same: a busy season, a skipped inspection, and then a ceiling tile falls in a tenant's office. The roof did not fail overnight. It gave warnings for two or three inspection cycles that nobody recorded.
The shift to drone inspections has been genuinely useful for large commercial properties. I was skeptical at first. Walking a roof gives you tactile feedback that a camera cannot replicate. But for roofs over 15,000 square feet, drones catch edge and parapet conditions that walkovers miss because inspectors naturally avoid the perimeter. The footage also creates a permanent visual record that photos alone cannot match.
The documentation discipline is where most property managers fall short. Not because they do not care, but because the reporting feels like paperwork after the real work is done. Flip that thinking. The report is the product. The walk is just the data collection. A well-structured report with condition ratings and a prioritized repair list is what turns an inspection into a maintenance plan. Without it, you are just taking a walk on the roof.
If you manage more than one commercial property, build a seasonal inspection schedule that staggers your spring and fall inspections across properties. Trying to inspect everything in the same two-week window creates rushed work and missed defects.
— Cesar
Schedule your commercial roof inspection with Shieldguardroofing
Shieldguardroofing serves commercial property owners and managers across Northern California with professional roof inspections, maintenance programs, and repair services backed by over 75 years of combined roofing experience.
Whether you need a routine biannual assessment, a post-storm documentation inspection, or a full commercial roofing evaluation before a property acquisition, Shieldguardroofing delivers thorough reports with prioritized repair recommendations. The team works with GAF, GAF Energy, and Brava roofing products and carries the warranties that protect your investment. If your last inspection was more than six months ago, your roof is overdue. Contact Shieldguardroofing to schedule your inspection and get a written report within 48 hours.
FAQ
How often should a commercial roof be inspected?
Biannual inspections in spring and fall are the industry standard and a requirement for most manufacturer warranties. Additional inspections are required within 48 hours after hail, high winds, or heavy snow events.
What does a commercial roof inspection cost?
Routine inspections typically cost $300 to $1,000 for a 10,000-square-foot roof. Advanced inspections with infrared scanning for larger buildings can range from $3,000 to $7,000.
What is the difference between a routine and an acquisition inspection?
A routine inspection uses visual assessment and moisture meters to identify maintenance needs. An acquisition inspection adds infrared scanning and core sampling to evaluate the full condition of a roof before a property purchase.
Why is inspection documentation so critical?
81% of commercial roof failures at insured properties lack documented inspection history within the prior 24 months. Without records, warranty claims fail and insurance payouts are reduced or denied.
Can I conduct a commercial roof inspection myself?
A basic visual check is possible for trained facility staff, but professional inspections with calibrated moisture meters, infrared cameras, and certified inspectors are required to maintain manufacturer warranties and produce legally defensible reports.
Recommended