NorCal Commercial Storm Damage Signs: What to Check First
NorCal Commercial Storm Damage Signs: What to Check First
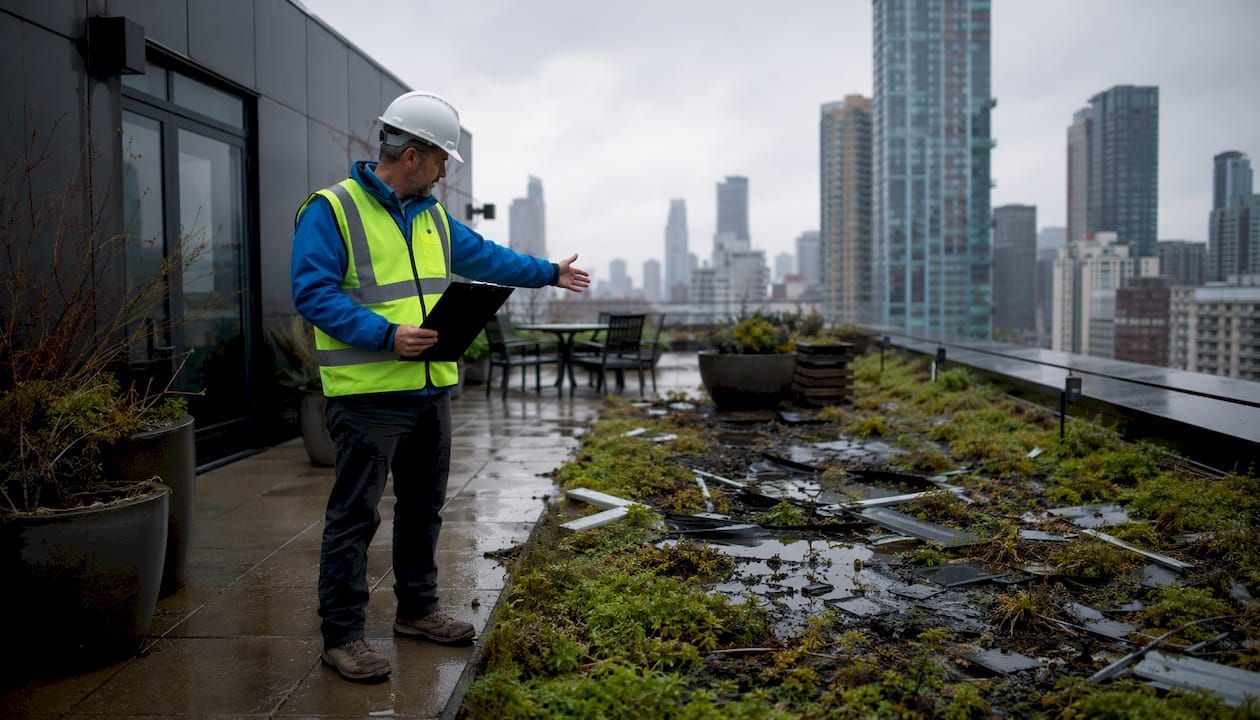
After a NorCal storm, the most urgent commercial roof damage signs are interior water stains or active leaks, torn or missing membrane sections, blisters and bubbles in single-ply roofing, ponding water that won't drain, damaged flashings or gutters, hail dents on metal surfaces, punctures from debris, and compromised rooftop HVAC units or signage. These are the norcal commercial storm damage signs that determine whether you're looking at a quick repair or a much bigger problem.
Your first three actions:
- Stay off the roof. Wet surfaces, loose debris, and potential structural damage make rooftop access dangerous without proper fall protection.
- Photograph and date-stamp everything visible from safe ground-level or upper-floor vantage points. Use your phone's timestamp feature or a drone if available.
- Secure temporary protection only if it's safe to do so. If there's any doubt, call a licensed roofer to handle emergency tarping.
Pro Tip: Before you do anything else, check for downed power lines near the building and any flickering or dead rooftop signage. Water intrusion into LED sign components can cause electrical short-circuits and fire hazards that require immediate power disconnection. Don't assume a dark sign is just a burned-out bulb.
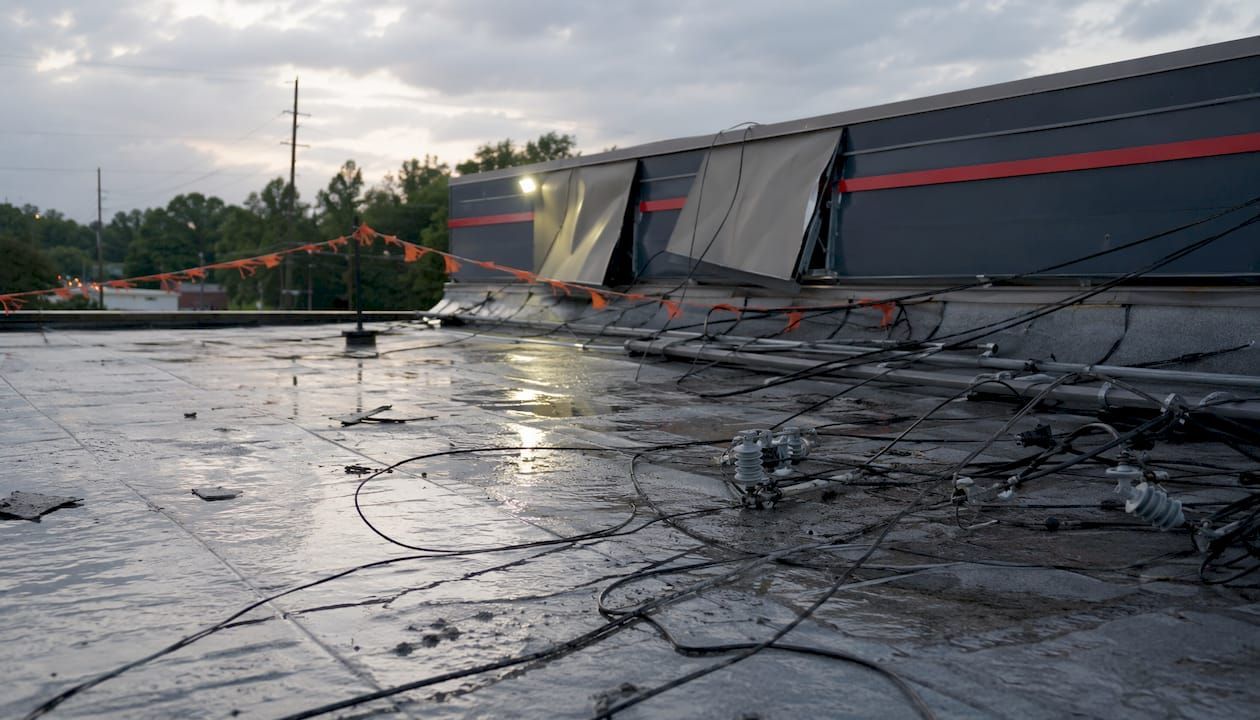
What do NorCal commercial storm damage signs actually look like?
Knowing what you're looking for cuts the time between a storm passing and a contractor getting the right information. Each sign below has a cause, a consequence, and an urgency level so you can triage without guessing.
Interior water stains and active leaks
Brown ceiling stains, wet insulation tiles, or dripping water inside the building are the most obvious indicators. They tell you the membrane above has already been breached. Urgency: immediate. Active leaks accelerate mold growth and can trigger tenant displacement.
Missing or torn membrane and shingles
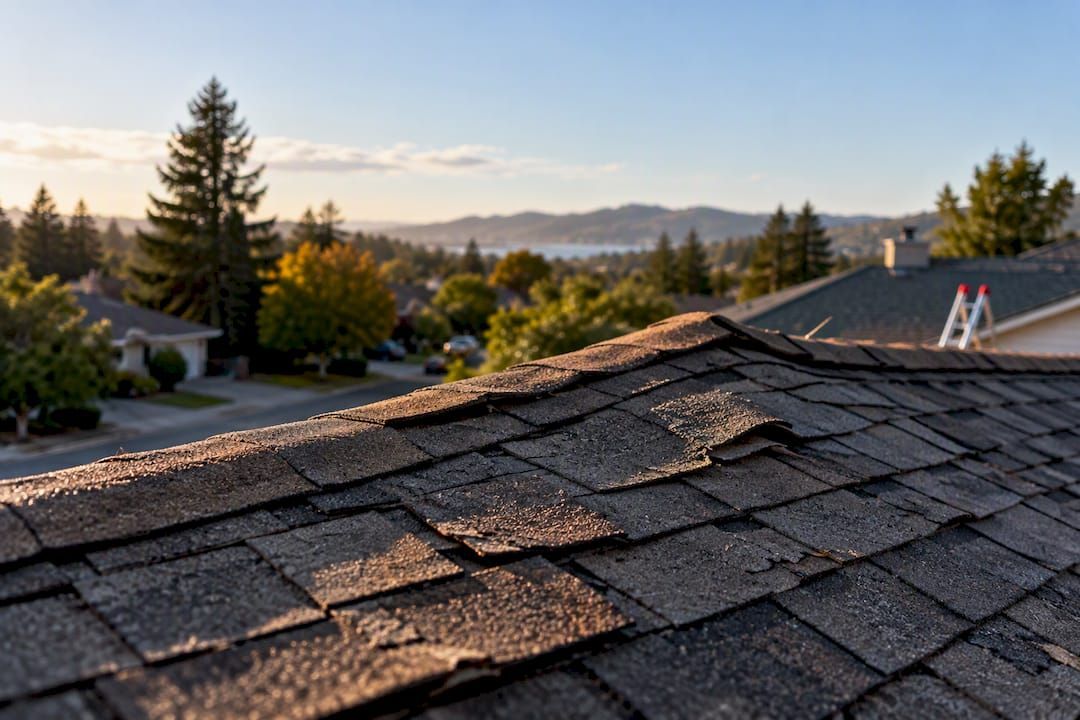
Wind lifts membrane edges and shingle tabs, leaving raw deck exposed. GAF's storm damage guidance specifically flags missing or damaged shingles and membranes as primary signs to check after any storm event. Urgency: immediate.
Bubbles and blisters in single-ply membranes
Blisters form when moisture gets trapped beneath TPO, EPDM, or modified bitumen layers. They look like raised domes on the roof surface. Left alone, they expand and eventually rupture. Urgency: schedule within days.
Ponding and pooling water
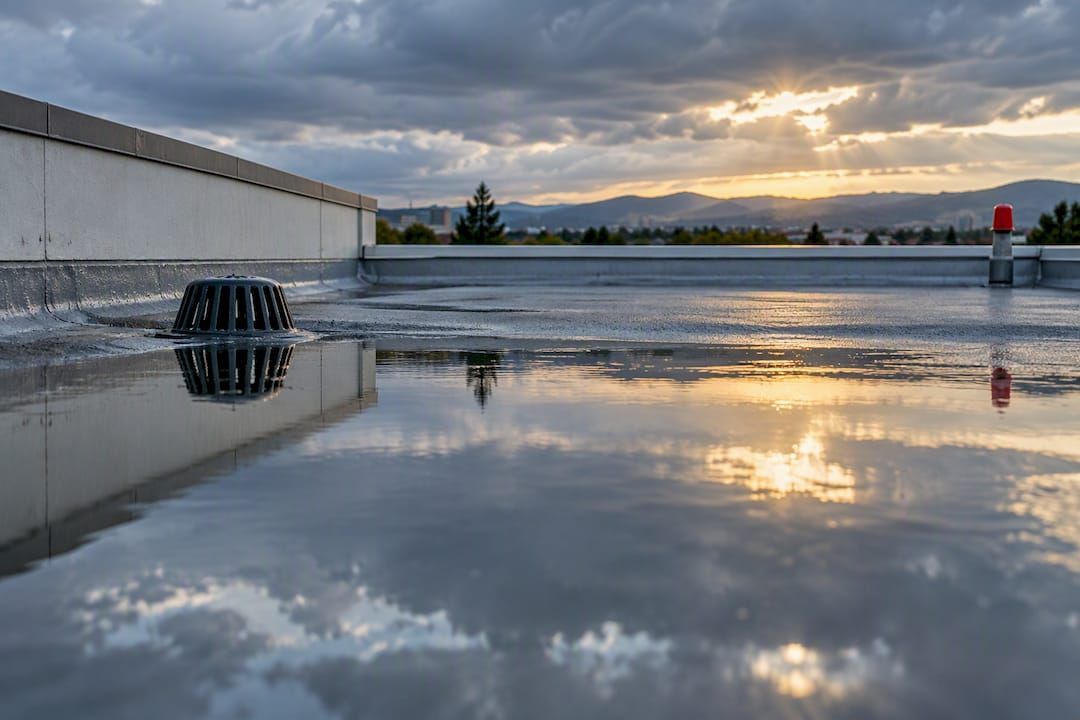
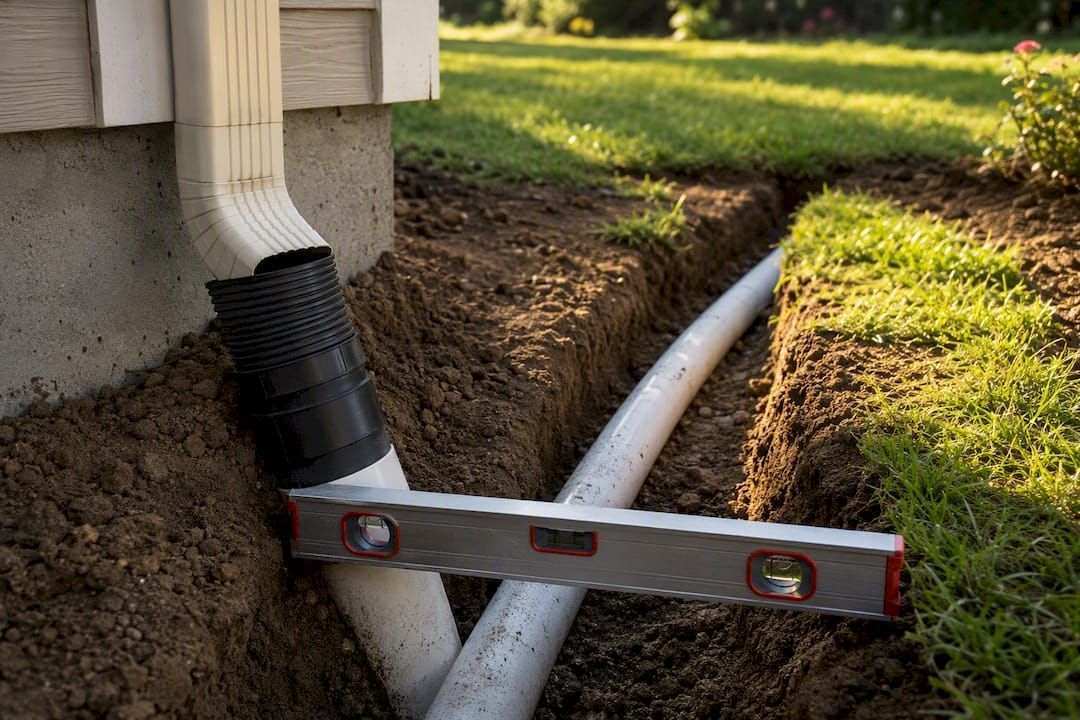
Flat commercial roofs are especially vulnerable. Water that sits for more than 48 hours after a storm indicates a drainage problem, a sagging deck, or both. NorCal's atmospheric river events can dump several inches of rain in hours, overwhelming drains that were already partially blocked. Check your gutters and drainage for debris blockages first. Urgency: monitor closely, repair promptly.
Granule loss and hail damage
After a hailstorm, check gutters for granule accumulation. Bare spots on shingles or surface abrasion on modified bitumen membranes mean the UV-protective layer is gone. Metal panels show as dents or dimples. Urgency: schedule inspection within the week.
Damaged flashings, seams, and gutters
Flashings around HVAC curbs, skylights, and parapet walls are the most common entry points for water. Wind pulls them loose; heavy rain exploits the gap immediately. Separated seams on built-up roofing or single-ply systems are equally serious. Urgency: immediate if open, monitor if bent.
Punctures and open seams from debris
Branches, equipment, and airborne debris can punch straight through a membrane. Even a small puncture allows water to track laterally under the roofing layer, causing damage far from the visible entry point. Urgency: immediate.
Rooftop HVAC and equipment damage
Tilted HVAC units, disconnected ductwork, and loose curb flashings are common after high-wind events. Beyond the roofing concern, a tilted unit can stress refrigerant lines and create a fall hazard for service technicians. Urgency: immediate safety check.
Exterior signage damage
Leaning sign structures, cracked faces, exposed wiring, and flickering LED modules are all storm damage indicators that carry a direct public safety risk. Cut power to any sign showing signs of water intrusion and call a licensed sign repair team before re-energizing. Urgency: immediate.
Foundation and structural movement indicators
NorCal's expansive clay soils absorb water rapidly during atmospheric river events, causing differential heave and footing scour that can show up as diagonal stair-step cracks in masonry, stem wall separation, or misaligned door frames. These are not roofing issues, but they often appear alongside roof damage after severe storms. Urgency: call a structural specialist.
| Damage Sign | Probable Cause | Urgency |
|---|---|---|
| Interior water stains / active leak | Membrane breach, open seam | Immediate |
| Missing or torn membrane | Wind-lift | Immediate |
| Bubbles / blisters | Trapped moisture | Days |
| Ponding water (48+ hours) | Drain blockage, deck sag | Prompt |
| Granule loss / hail dents | Hail impact | Within the week |
| Damaged flashings / gutters | Wind-lift, debris impact | Immediate if open |
| Punctures from debris | Impact | Immediate |
| HVAC tilt / loose ductwork | High winds | Immediate safety check |
| Signage electrical damage | Water intrusion | Immediate |
| Diagonal masonry cracks | Clay heave / footing scour | Structural specialist |
Industry note: Twice-yearly professional roof inspections — spring and fall — are the standard preventative measure for catching minor issues before a storm turns them into emergency repairs.
How do you safely inspect a commercial roof after a storm?
Safety comes first, always. A roof that looks accessible can be dangerously slick, structurally compromised, or carrying live electrical hazards from damaged rooftop equipment. Here's a step-by-step approach that keeps you safe while capturing the information you need.
-
Do a ground-level exterior walkaround first. Walk the full perimeter of the building. Look up at parapet walls, gutters, visible membrane edges, and any rooftop signage. Note anything that looks displaced, torn, or missing.
-
Check the interior before you go near the roof. Walk every floor of the building and look at ceilings, light fixtures, and walls near exterior faces. Active drips or fresh stains tell you exactly where to focus your exterior inspection. For a systematic approach, use a commercial roof leak detection method that maps interior findings to probable roof entry points.
-
Use binoculars or a drone for elevated views. A good pair of binoculars from a parking structure or adjacent building gives you a clear view of membrane condition, ponding, and HVAC positioning without setting foot on the roof. A drone with a camera is even better: you get close-up imagery, GPS-tagged photos, and video documentation in one pass.
-
Only approach rooftop edges when conditions are safe. If the roof surface is dry, guardrails are intact, and there's no visible structural damage or downed electrical equipment, a careful edge inspection is reasonable. Do not walk across the full roof surface without fall protection and a second person present.
-
Photograph and geotag every finding. Use your phone's location services so each photo carries GPS coordinates. Capture wide shots for context and close-ups for detail. Date and time stamps are automatic on most smartphones, but double-check that your clock is set correctly.
-
Stop and call a professional if you see any of these: structural sagging, displaced HVAC units, downed power lines or sparking equipment, missing guardrails, or any sign that the deck beneath you may be compromised.
Pro Tip: If you're unsure whether it's safe to get closer, it isn't. A licensed roofer with fall protection gear and a drone can complete a full commercial roof inspection in a fraction of the time it takes you to assess from the ground, and they'll produce a written report you can hand directly to your insurer.
How to document roof damage for an insurance claim
Good documentation is the difference between a smooth claim and a drawn-out dispute. Insurers want to see that the damage was sudden, storm-related, and distinct from pre-existing wear. Here's how to build that case.
The photo-plus-context rule: Every photo needs a story. Shoot from three distances: wide (showing the building and surrounding context), medium (showing the damaged section in relation to nearby features like HVAC curbs or skylights), and close-up (showing the actual tear, blister, or dent). Interior water stain photos should show the stain's location relative to a fixed building feature like a column or doorway so an adjuster can map it to the roof above.
Document temporary repairs separately. Keep every invoice for emergency tarping, debris removal, or temporary bracing. Separate documentation for temporary emergency work and permanent repair scopes speeds insurer approvals and prevents mitigation costs from being conflated with permanent repair costs.
Preserve damaged materials when safe. If a section of membrane tears free, keep it. A physical sample showing impact damage or wind-lift failure is harder for an adjuster to dismiss than a photo alone.
Collect pre-storm maintenance records. Inspection reports, repair invoices, and maintenance logs from the past two to three years demonstrate that the damage is new, not the result of neglect.
What insurers often request: a professional inspection report with drone imagery and moisture scan results, a written contractor estimate, dated photographs, and evidence that the damage is storm-related rather than pre-existing. A targeted checklist and photo evidence reduces the chance that an adjuster misses hidden hail or seam damage during claim review.
One more thing: if your building shows signs of foundation movement after a heavy storm, such as cracked masonry or sticking doors, be aware that insurance adjusters frequently misclassify storm-induced foundation damage as pre-existing settlement. A forensic evaluation by a licensed structural specialist is often required to establish storm causation for those claims.
When should you call a professional roofer?
Some situations don't need a checklist. Call a licensed commercial roofer immediately if you see:
- Visible membrane tears or open seams exposing the roof deck
- Ponding water covering a large area of the roof surface
- Structural sagging or any sign the deck is deflecting under load
- Tilted or displaced HVAC units
- Rooftop signage showing exposed wiring or flickering electrical components (also call an electrician)
- Interior flooding affecting occupied spaces or electrical panels
For anything short of those immediate triggers, a professional inspection within 24–72 hours is still the right call. A licensed roofer will deliver a safety assessment, a written roof condition report, moisture scan results, drone or aerial photographs, emergency tarping if needed, and a written recommendation distinguishing temporary repairs from permanent work.
When you're vetting contractors, ask these questions directly:
- Are you licensed and insured for commercial roofing in California?
- Do you carry general liability and workers' compensation?
- What's your typical response time for post-storm inspections?
- Do you work with GAF or other commercial-grade membrane systems?
- Will your written scope separate emergency mitigation from permanent repair costs?
- What warranty do you offer on materials and labor?
A reputable contractor will answer all of these without hesitation. For a full vetting framework, the commercial roofing contractor qualities checklist covers licensing verification, insurance requirements, and warranty expectations in detail.
Pro Tip: Request dated photographic documentation and a written scope before any work begins. That document is your primary evidence for the insurance claim and your protection if a dispute arises later about what was temporary versus permanent.
What affects repair timeline and cost after storm damage?
There's no single price for storm repairs, and any contractor who quotes you a flat number before seeing the roof is guessing. The factors below drive the largest variations in both timeline and cost.
Roof type and size matter most. A 20,000-square-foot TPO membrane roof requires different materials, labor, and equipment than a smaller modified bitumen system. Membrane penetration repairs are faster than full section replacements.
Deck condition is often the hidden variable. Once a roofer opens a damaged section, they may find wet or rotted decking beneath. Substrate repairs add both time and cost, and they can't be fully scoped until the membrane is pulled back.
Rooftop equipment work adds complexity. Repositioning or re-flashing HVAC curbs requires coordination with mechanical contractors and may trigger permit requirements.
Material lead times vary by season. After a major NorCal storm event, demand for commercial membrane materials spikes regionally. Ordering quickly after a storm assessment reduces delays.
Typical repair phases run in this sequence: emergency inspection and tarping (within 24–72 hours of the storm) → detailed written assessment and estimate (days) → permit application if required (days to weeks depending on jurisdiction) → scheduled permanent repair or replacement (days to weeks depending on scope). A straightforward membrane patch can be completed in a day. A full commercial roof replacement on a large building takes weeks.
The case for proactive inspections: Twice-yearly professional inspections — spring and fall — are the industry standard for reducing the likelihood of small issues becoming emergency repairs after storms. A roof that's been inspected and maintained recently is also easier to document as storm-damaged rather than neglected, which matters directly for your claim.
For cost guidance specific to your building, get a written local estimate. Material choice, access logistics, and whether structural repairs are needed cause the largest price swings, and those variables are building-specific.
Key Takeaways
After a NorCal storm, the most important step is acting quickly: document visible damage from safe vantage points, separate temporary repair costs from permanent repair scopes, and get a licensed professional on-site within 24–72 hours.
| Point | Details |
|---|---|
| Top signs to check first | Interior leaks, torn membrane, ponding water, damaged flashings, HVAC displacement, and signage electrical hazards. |
| Safety before access | Never climb a wet or structurally suspect roof; use binoculars, drones, or a licensed roofer with fall protection. |
| Documentation for insurance | Date-stamped photos at three distances, separate invoices for temporary and permanent work, and pre-storm maintenance records. |
| Twice-yearly inspections reduce risk | Spring and fall professional inspections are the industry standard for catching issues before storms make them emergencies. |
| Shieldguardroofing for NorCal | Shieldguardroofing provides emergency tarping, commercial inspections, moisture scanning, and written insurance reports across Northern California. |
Post-storm checklist for NorCal commercial property managers:
- Check for downed power lines and electrical signage hazards before approaching the building
- Photograph the full building perimeter from ground level
- Walk interior spaces and mark every ceiling stain or active drip on a floor plan
- Use binoculars or a drone to document membrane, flashing, and HVAC conditions
- Call an emergency roofer if you see open membrane, structural sagging, or interior flooding
- Secure written invoices for any temporary tarping or debris removal
- Collect pre-storm maintenance records and prior inspection reports
- Watch for NorCal-specific signs: clay soil saturation, diagonal masonry cracks, and sticking doors or windows after heavy atmospheric river rainfall
What NorCal storms reveal that most managers miss
The pattern I see most often after a major NorCal storm isn't dramatic roof failure. It's the slow damage: a flashing that lifted just enough to let water track under the membrane, a drain that was partially blocked before the storm and is now completely overwhelmed, and a rooftop HVAC curb that was never re-sealed after the last service call. These are the things that turn a $1,500 repair into a $15,000 replacement.
NorCal's atmospheric river events are particularly unforgiving for flat commercial roofs. The rainfall intensity is high, the duration is long, and the clay soils beneath many Sacramento Valley and Bay Area commercial parcels saturate fast. When that happens, you're not just dealing with a roof problem. You may be looking at differential foundation movement that shows up weeks later as cracked masonry or doors that won't close. Prioritize moisture mapping and floor-elevation checks on any building sitting on expansive clay soils after a heavy storm.
The other thing managers consistently underestimate is the documentation gap. A professional inspection with drone imagery, moisture scan results, and a written scope that separates emergency work from permanent repairs is not just good practice. It's often the difference between a full claim approval and a partial payout. Shieldguardroofing's team has seen this play out repeatedly across NorCal commercial properties, and the buildings with clean pre-storm maintenance records and fast post-storm documentation always fare better in the claims process.
Shieldguardroofing is ready when NorCal storms hit your property
Fast documentation and a licensed inspection are the two things that protect your building and your insurance claim after a storm. Shieldguardroofing delivers both, with same-day or next-business-day inspection scheduling for commercial properties across Northern California.
When you call, here's what you get: a full safety assessment, drone and close-up photography, moisture scanning, and a written report that clearly separates temporary emergency work from permanent repair recommendations. Materials are GAF-certified, and warranty options are available on both labor and products. Whether you need emergency tarping today or a full commercial roof repair scoped for your insurer, the team is ready.
Shieldguardroofing is a family-owned company with over 75 combined years of roofing experience, serving commercial property owners and managers across NorCal. Request your post-storm inspection at shieldguardroofing.com/commercial-roofing or call directly to get on the schedule before the next weather system moves in.
Useful sources for commercial storm damage and claims
These resources support the claims in this article and offer deeper reading on specific topics:
- How Commercial Roof Damage Is Assessed — Covers drone imagery, moisture scanning, and how to structure a written scope for insurance; useful for understanding what a professional inspection report should contain.
- Commercial Storm Damage Foundation Inspection in Alamo, CA — Explains NorCal-specific clay soil risks, foundation movement indicators, and why forensic evaluations matter for storm claims.
- Storm damage impacts on exterior signage — Details electrical hazards from water intrusion into sign components and recommended immediate steps.
- GAF: Understanding roof storm damage — Manufacturer-level guidance on identifying membrane, shingle, flashing, and granule damage after storms.
- Protecting Your Commercial Property During Storms — Industry best practices for inspection frequency and pre-storm preparation.
- Why Adjusters Miss Storm Damage Items — Explains common claim oversights and how a contractor's written checklist reduces adjuster errors.
- EPA: Mold and Health — Authoritative guidance on health risks from mold growth following water intrusion; relevant when interior leaks go unaddressed.
Recommended