How Residential Roof Replacement Works: 2026 Guide
How Residential Roof Replacement Works: 2026 Guide
Residential roof replacement is the process of removing your home's existing roof system down to the deck and installing entirely new materials to restore weather protection, prevent leaks, and maintain structural integrity. The industry term for this work is a "full reroof" or "tear-off replacement," and it differs from a simple repair or an overlay in one critical way: every layer comes off before anything new goes on. Most homeowners face this project once or twice in a lifetime, with costs averaging $17,631 in 2025 and timelines running one to three days for standard asphalt shingle roofs. Materials like GAF shingles, ice-and-water shield membranes, and synthetic underlayment all play specific roles in the sequence. Knowing how the process unfolds puts you in control.
What are the main steps in the residential roof replacement process?
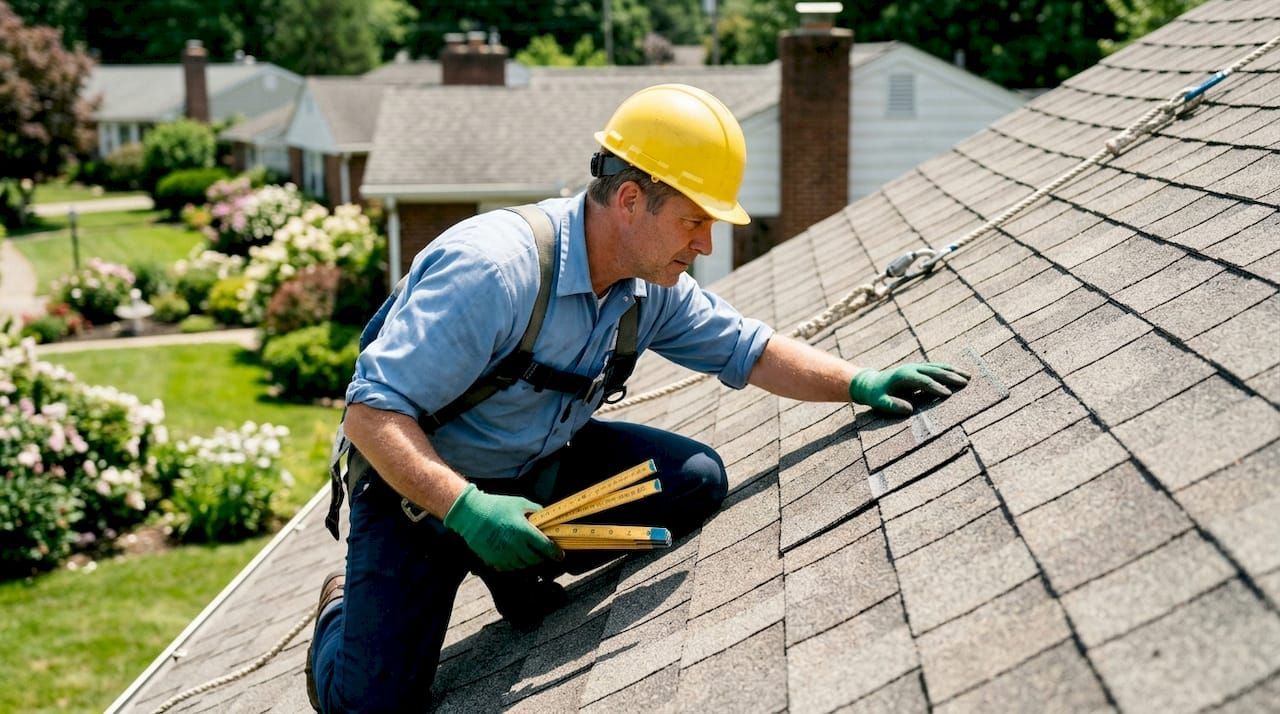
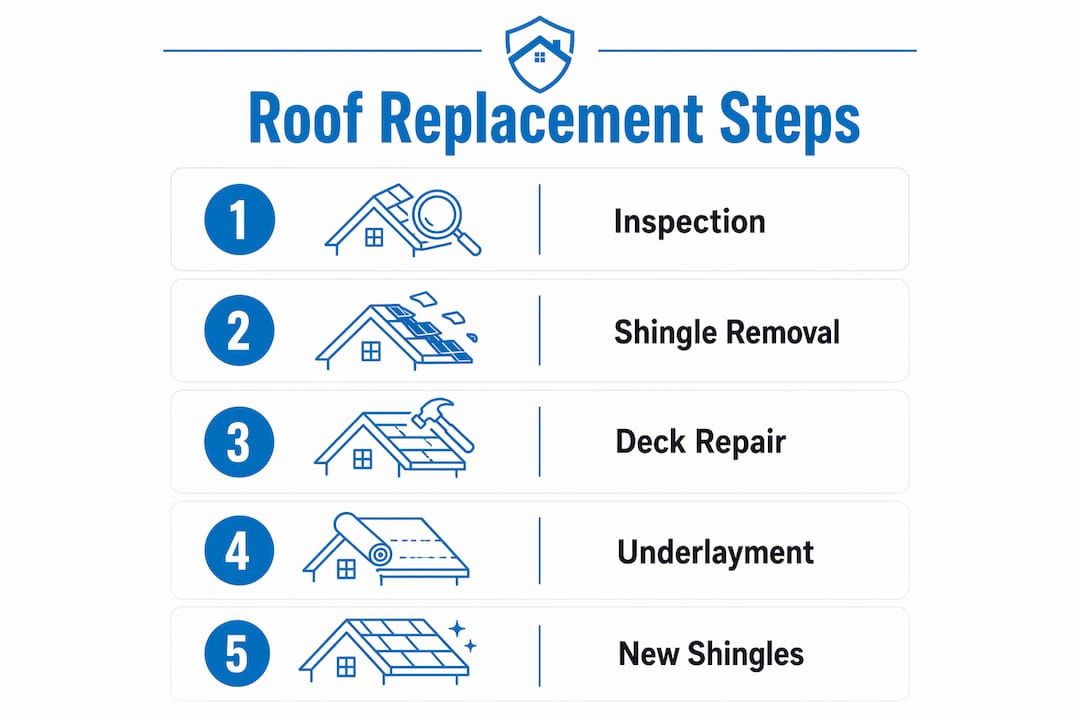
The residential roof replacement process follows a fixed sequence, and skipping or rushing any step creates problems that show up years later. Here is what happens from the first morning to final cleanup.
-
Material delivery and staging. The crew delivers shingles, underlayment, flashing, and drip edge to your property, usually the day before or the morning of the job. Bundles are staged on the roof or in the driveway to minimize handling time.
-
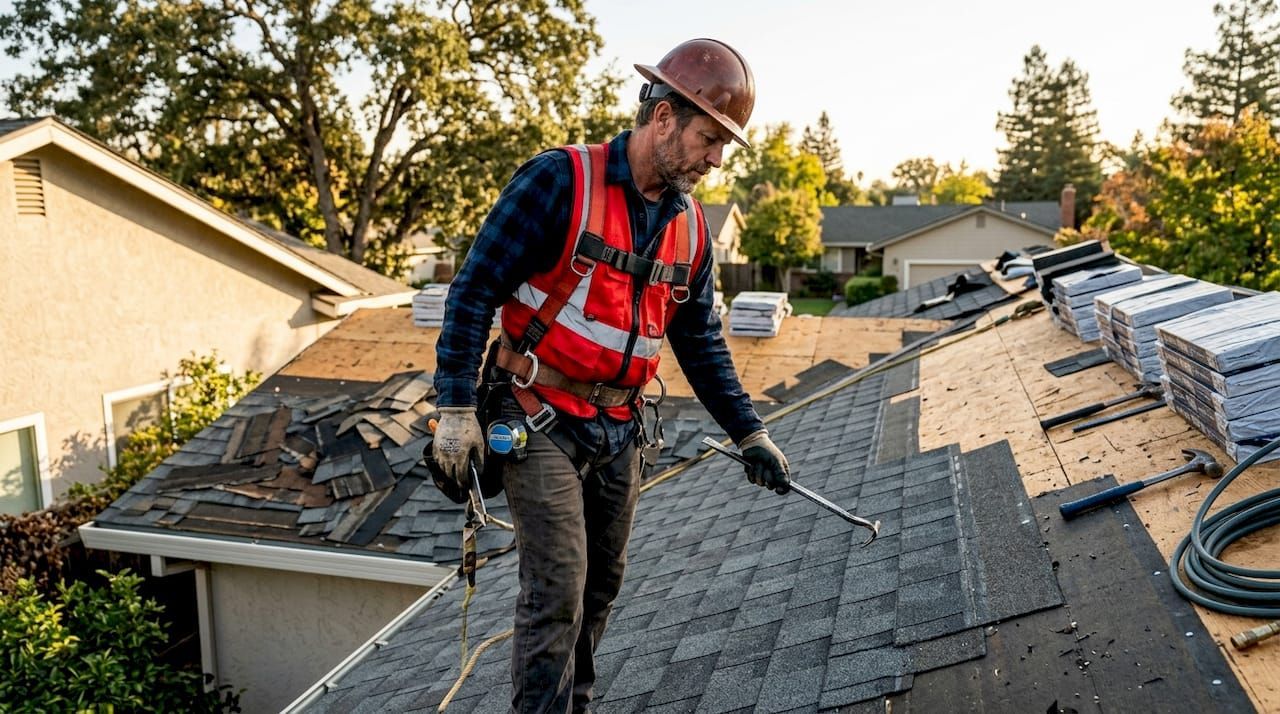
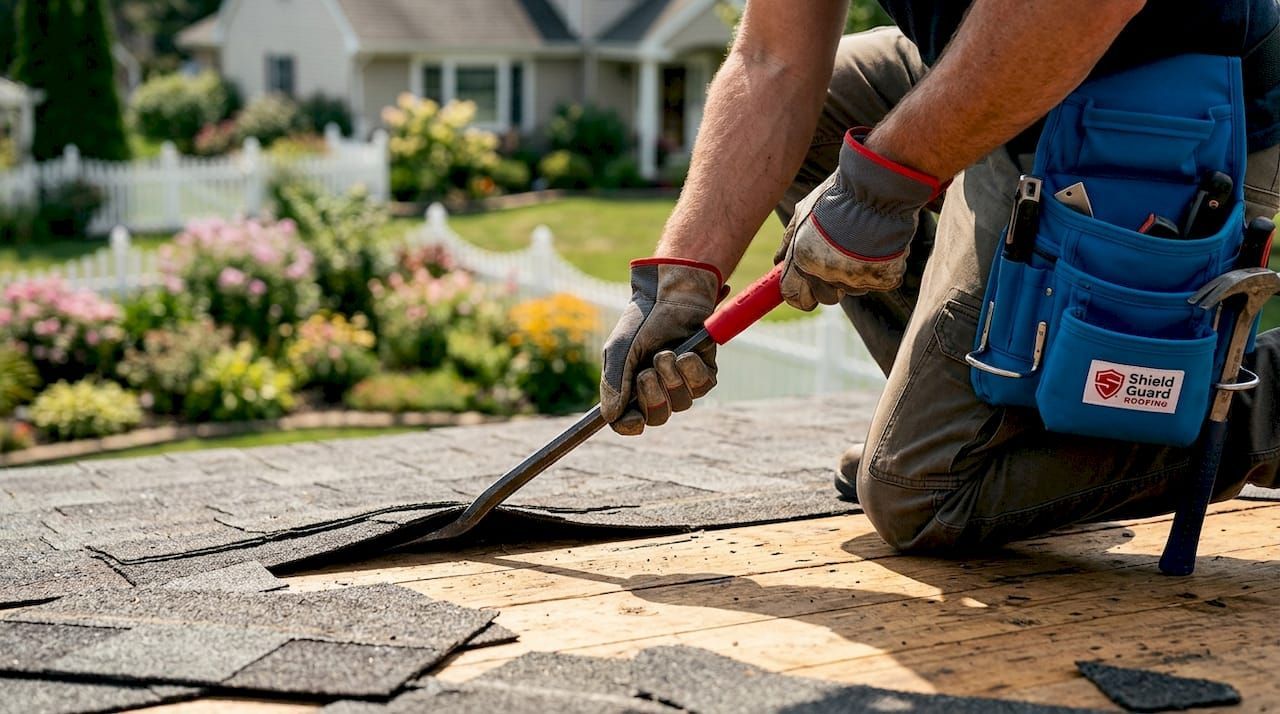
Tear-off. Workers strip all existing shingles, flashings, and drip edge down to the bare deck. This is the loudest, most disruptive phase. A full tear-off typically takes half a day on a standard single-story home.
-
Deck inspection and repair. Immediately after tear-off, the crew walks the deck to identify soft spots, rot, or damaged plywood. This step cannot happen once new material covers the deck, so it is non-negotiable. Damaged sections get replaced with new OSB or plywood before anything else proceeds.
-
Drip edge installation. Metal drip edge goes along the eaves first, then along the rakes after underlayment is laid. This sequence matters for proper water shedding.
-
Ice-and-water shield placement. This self-adhering membrane goes at eaves, valleys, and other vulnerable zones. Code specifies exact coverage dimensions, which are covered in the next section.
-
Synthetic underlayment. Synthetic underlayment has largely replaced traditional #15 felt because it is lighter, more tear-resistant, and safer to walk on during installation. It covers the full deck above the ice-and-water shield zones.
-
Flashing replacement. Step flashing at walls, valley flashing, and pipe boot flashings are all replaced with new material. Reusing old flashing is a common shortcut that leads directly to leaks.
-
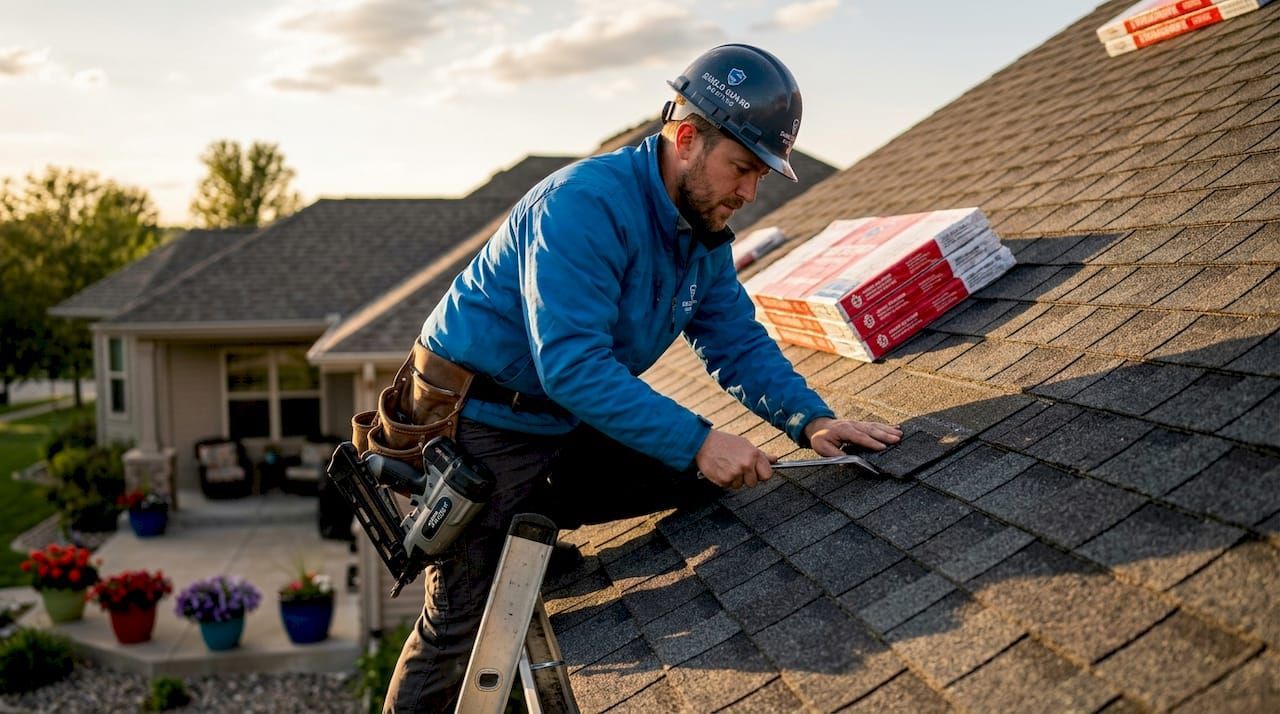
Shingle installation. The crew lays a starter course along the eaves, then installs field shingles in overlapping rows up the roof. Ridge cap shingles and ridge vents finish the peak.
-
Final inspection and nail sweep. A magnetic nail sweep passes over the yard and driveway to collect stray fasteners. This step is standard professional practice, but it is easy to overlook without homeowner awareness.
Most asphalt shingle roofs are completed in one to three days. Tile roofs take six to twelve days due to the additional care each piece requires.
Pro Tip: Before the crew leaves, ask specifically whether the magnetic nail sweep has been completed. Walk the driveway and lawn yourself if you have children or pets. A single stray roofing nail can puncture a tire or injure a foot.
How do building codes and permits affect the process?
Permits are not optional for most residential roof replacements, and skipping them creates real liability. Here is what code compliance looks like in practice.
-
Permit requirement. Most jurisdictions require a permit for a full tear-off replacement. In cities like Bend, Oregon, permit processing typically runs three to four days from application to approval, with a final inspection required to close the permit. Your jurisdiction may be faster or slower, but the requirement is nearly universal.
-
IRC underlayment standards. The International Residential Code specifies that ice barriers must extend at least 24 inches past the interior wall line at eaves and use 36-inch-wide coverage in valleys. These are minimums, not suggestions. Inspectors verify membrane layout during the inspection.
-
Deck repair documentation. When a permit is pulled, inspectors often require the deck to be visible before underlayment goes down. This protects you because it forces the contractor to document and repair any damaged sections rather than cover them up.
-
Jurisdiction variations. California, for example, has its own Title 24 energy requirements that can affect underlayment and ventilation specifications. Always confirm local amendments to the IRC with your contractor before work begins.
-
DIY considerations. Pulling your own permit as a homeowner is legal in many states, but code-based complexity around ice barriers, flashing, and ventilation makes DIY replacement risky without significant roofing experience. Licensed contractors carry the liability and know the local inspection process.
Hiring a licensed contractor is the most reliable way to stay compliant. Before signing any contract, confirm the company will pull the permit and schedule all required inspections. If a contractor suggests skipping the permit to save time, that is a warning sign worth taking seriously.
What factors influence cost and timeline?
Understanding the financial variables before you get quotes prevents sticker shock and helps you evaluate bids accurately.
Homeowner budgets in 2026 range broadly from $7,000 to $35,000, with a national average around $13,500. The 2025 Verisk data puts the average even higher at $17,631, reflecting a 33% increase over the prior four-year average. That gap between sources reflects regional pricing differences and material grade selection.
| Cost factor | Impact on price and timeline |
|---|---|
| Roof size and pitch | Larger and steeper roofs require more labor hours and material, directly raising both cost and project duration. |
| Number of existing layers | Each additional layer of old shingles adds tear-off labor and disposal fees, sometimes $500 to $1,500 extra. |
| Deck condition | Rotted or damaged decking requires replacement at additional cost, typically billed per sheet of plywood or OSB. |
| Material selection | GAF architectural shingles cost more than three-tab but carry better warranties; Brava composite tiles sit at the premium end of the range. |
| Overlay vs. full tear-off | Overlays cost less upfront but mask deck problems and reduce shingle lifespan, making them a poor long-term value. |
Weather delays are the most common timeline disruptor. Rain, high winds, or extreme heat can pause installation mid-project. Most contractors build one buffer day into their schedule for this reason. If your roof has multiple layers or significant deck damage, add one to two extra days to your planning window.
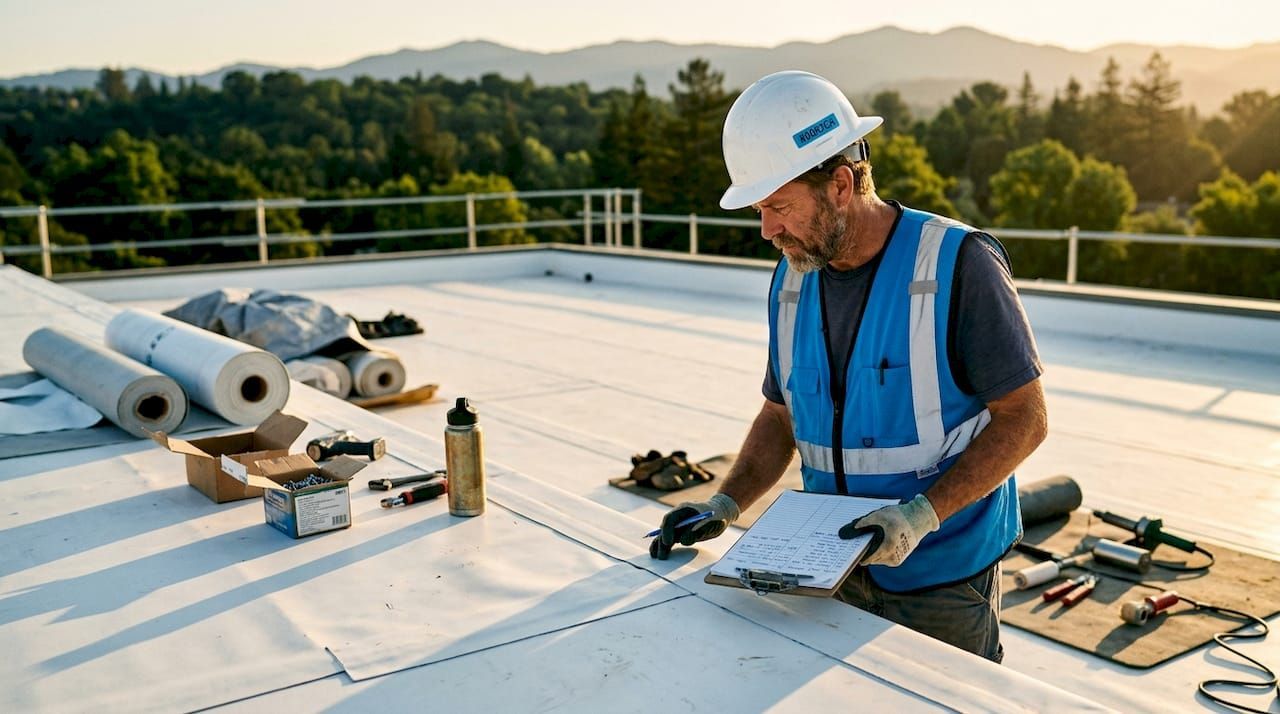
Pro Tip: Ask every contractor for a line-item estimate that separates labor, materials, tear-off, disposal, and potential deck repair costs. A single lump-sum number makes it impossible to compare bids fairly or understand where your money is going.
What are common challenges and best practices?
Even a well-planned replacement can go sideways if specific details are handled carelessly. These are the issues that come up most often.
-
Overlays hiding deck damage. Installing new shingles over old ones saves money upfront but prevents any deck inspection. Rot, mold, and structural weakness stay hidden until they cause a ceiling collapse or a failed inspection years later. A full tear-off is the only way to verify deck condition.
-
Improper or reused flashing. Reusing old flashing is one of the most common contractor shortcuts. Step flashing at dormers and walls, valley flashing, and pipe boots all need to be replaced with new material. Leaks from bad flashing often appear one to three years after installation, long after the crew is gone.
-
Ice-and-water shield layout errors. Homeowners often misunderstand ice barrier coverage requirements, and so do some contractors. Measuring roughly instead of following code precisely reduces the membrane's effectiveness and can result in a failed inspection.
-
Nail placement and pattern. Shingles have a nailing zone printed on them. Nails placed too high or too low reduce wind resistance and can void the manufacturer warranty. Ask your contractor which wind rating the installation is designed to meet.
-
Synthetic vs. felt underlayment. Synthetic underlayment meets ASTM and ICC standards and outperforms felt in nearly every category. If a contractor proposes standard felt, ask why and whether it meets current code for your jurisdiction.
-
Deck repair verification. Before underlayment goes down, walk the deck with your contractor or ask for photos of any repaired sections. Once the new roof is on, you cannot verify what is underneath without tearing it off again.
Open communication with your crew matters more than most homeowners realize. A quick conversation at the start of each day about what phase is being completed and what to expect keeps surprises to a minimum.
Key takeaways
A full tear-off replacement, done to code with quality materials like GAF shingles and synthetic underlayment, is the most reliable way to restore your home's weather protection and avoid costly hidden problems.
| Point | Details |
|---|---|
| Follow the full sequence | Skipping steps like deck inspection or flashing replacement creates leaks and structural problems that appear years later. |
| Budget for the real range | Costs run from $7,000 to $35,000 depending on size, materials, and deck condition, with a 2025 national average of $17,631. |
| Pull the permit | Permits protect you legally and force proper inspections of deck repairs and underlayment layout. |
| Choose full tear-off | Overlays hide deck damage and shorten shingle lifespan, making them a poor long-term investment. |
| Confirm the nail sweep | Always verify the magnetic nail sweep was completed before the crew leaves your property. |
What I've learned after years of watching roofs go on and come off
I have seen hundreds of roofs replaced across Northern California, and the pattern that separates a roof that lasts 30 years from one that leaks in five almost always comes down to two things: deck inspection and flashing.
Most homeowners focus on shingle color and brand, which matters, but the deck is the foundation everything else sits on. A crew that rushes past a soft spot to stay on schedule is setting you up for a much bigger problem down the road. I always recommend watching the deck phase personally or asking for photos before underlayment goes down. It takes five minutes and gives you documentation that the job was done right.
On flashing, the temptation to reuse existing metal is real because it saves time. But old flashing has already conformed to the shape of the old roof. When new shingles go on, the fit is never perfect, and water finds those gaps. New flashing on every replacement is not a premium upgrade. It is the baseline.
One more thing: the nail sweep conversation feels awkward to have, but have it anyway. A handful of roofing nails in your driveway can cost you a tire or worse. Any professional crew will do it without complaint. If they push back, that tells you something about how the rest of the job was handled.
The homeowners who get the best results are the ones who ask questions, read their estimates line by line, and stay engaged during the project. You do not need to know how to install a roof. You just need to know what questions to ask.
— Cesar
Ready to replace your roof the right way?
If you are weighing your options for a full roof replacement in Northern California, Shieldguardroofing brings over 75 years of combined roofing experience to every project. The team installs premium GAF and Brava products, pulls all required permits, and follows code-compliant installation sequences from deck inspection through final nail sweep.
Whether your roof is showing its age or you are dealing with storm damage, Shieldguardroofing offers honest assessments and detailed estimates with no pressure. Explore residential roofing services in Sacramento to learn what a properly managed replacement looks like, or reach out directly to schedule a free consultation. If your roof needs repair before a full replacement makes sense, the team also handles targeted roof repairs to extend your current system's life.
FAQ
How long does a residential roof replacement take?
Most asphalt shingle roofs are replaced in one to three days. Tile roofs take six to twelve days due to the additional handling each piece requires.
What is the average cost of a roof replacement in 2026?
National averages range from $13,500 to $17,631 depending on the source and region, with the full price range running $7,000 to $35,000 based on roof size, material selection, and deck condition.
Do I need a permit for a roof replacement?
Yes, most jurisdictions require a permit for a full tear-off replacement. Permit processing typically takes three to four days, and a final inspection is required to close the permit and confirm code compliance.
What is the difference between an overlay and a full tear-off?
An overlay installs new shingles over existing ones without removing the old roof. A full tear-off removes all existing layers, allowing a complete deck inspection. Overlays cost less upfront but hide deck damage and reduce the lifespan of the new shingles.
How do I know if my roof deck was properly inspected?
Ask your contractor for photos of the bare deck after tear-off and before underlayment installation. A professional deck inspection documents any repaired sections and gives you a record that the work was completed correctly.
Recommended