Commercial Roof Leak Detection Steps for Property Managers
Commercial Roof Leak Detection Steps for Property Managers
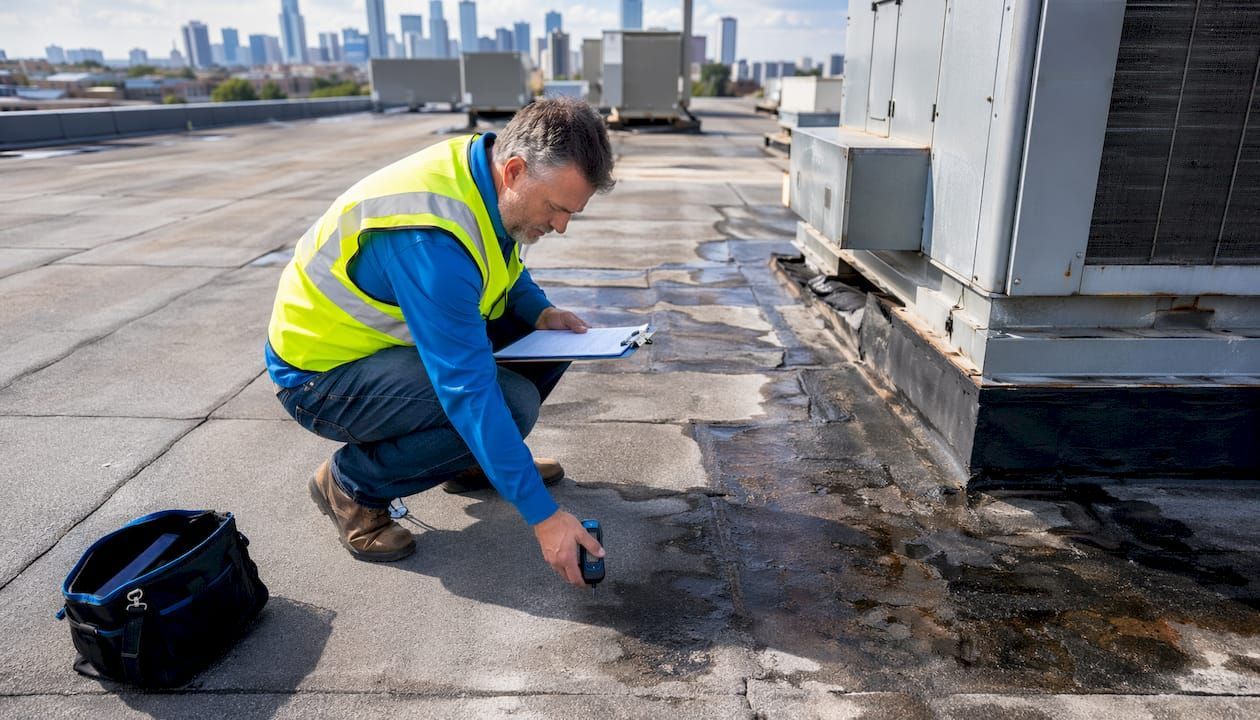
Commercial roof leak detection is a systematic, multi-step process that identifies and isolates moisture entry points before they cause structural damage, mold growth, or warranty voids. Property managers who follow a documented detection protocol protect their buildings, satisfy insurance requirements, and avoid repair bills that can reach $50,000–$100,000 for emergency work. The commercial roof leak detection steps covered here apply to flat and low-slope systems using TPO, EPDM, and modified bitumen membranes. Follow them in sequence and you will know exactly where water is entering and what to do next.
What preparatory steps and tools are needed for effective leak detection?
Accurate leak detection starts before you set foot on the roof. Skipping preparation is the single fastest way to misdiagnose a leak and waste money on the wrong repair.
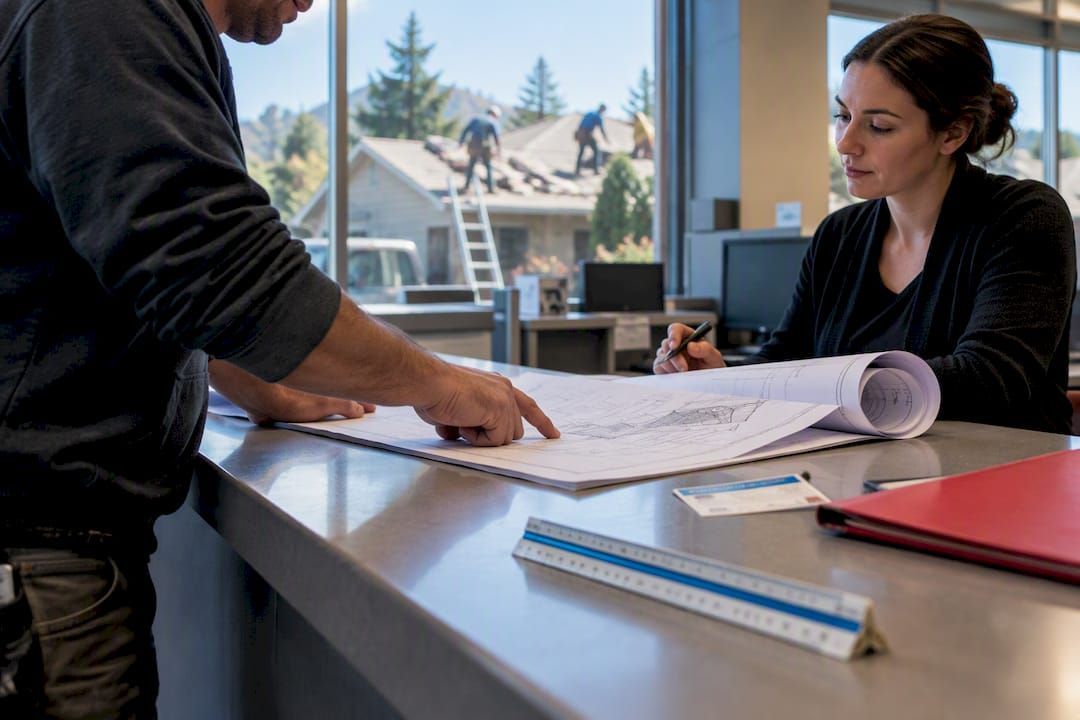
Begin by collecting leak history from building occupants. Ask them when dripping started, whether it correlates with specific storms or HVAC cycles, and which rooms are affected. That information narrows your search area before you pull out a single tool. Next, pull the building's floor plans so you can map interior evidence to specific roof zones.
Your tool kit for a thorough roof leak inspection should include:
- Moisture meter: Reads moisture content in ceiling tiles, insulation, and decking without cutting into materials.
- Thermal imaging camera: Detects temperature differences caused by wet insulation beneath the membrane.
- Documentation device: A smartphone with a timestamping camera app works. A dedicated field tablet is better for large portfolios.
- Safety gear: Non-slip footwear, a hard hat where required, and a spotter for any roof access above one story.
- Floor plans or roof drawings: Printed or digital, used to mark stain locations and map them upslope.
| Tool | Purpose | Best use case |
|---|---|---|
| Moisture meter | Quantifies moisture in substrate | Confirming wet zones after visual scan |
| Thermal camera | Maps hidden wet insulation | Large flat roofs after a sunny day |
| Low-pressure water hose | Controlled water testing | Isolating seam or flashing failures |
| Drone with camera | Surface documentation | Complex or high roofs with limited access |
| Floor plans | Interior-to-roof mapping | Correlating stains to upslope roof zones |
Check weather conditions before scheduling any roof work. Wet or icy surfaces create fall hazards and make thermal scans unreliable. Confirm access permissions with building ownership and notify tenants who may be affected by water testing.
Pro Tip: Interview at least two occupants from different floors or zones. Discrepancies between their accounts often reveal that water is traveling farther than the visible stain suggests.
How to perform a systematic interior and exterior inspection
The interior inspection always comes first. What you find inside tells you where to look on the roof, and that saves significant time.
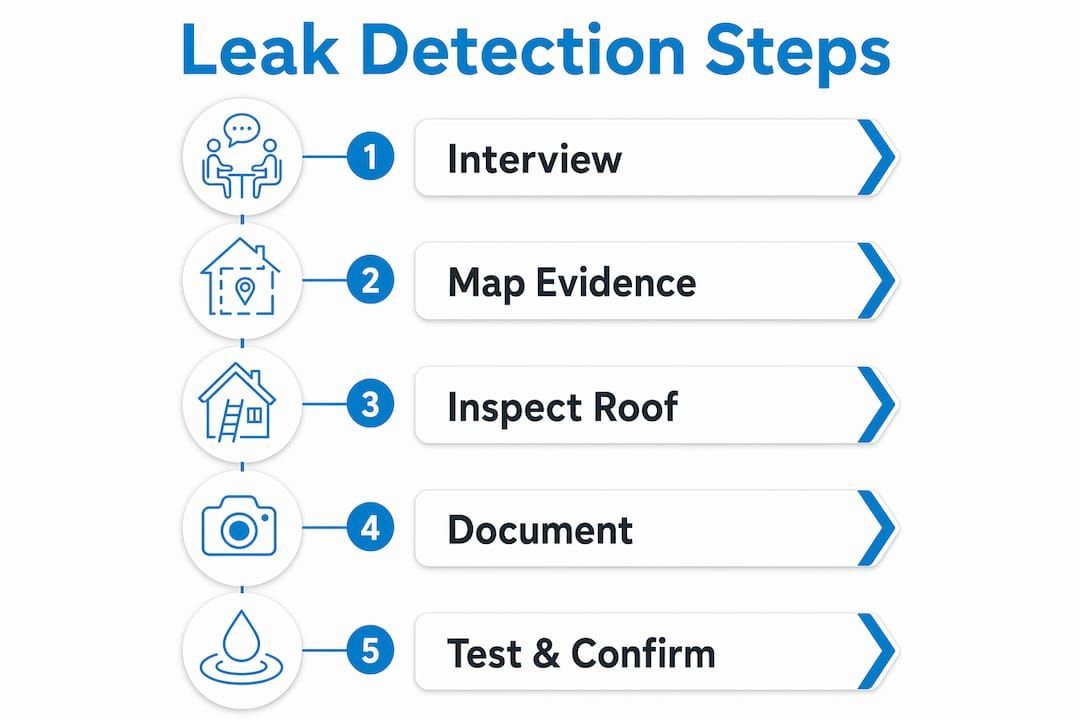
Step 1: Map interior evidence
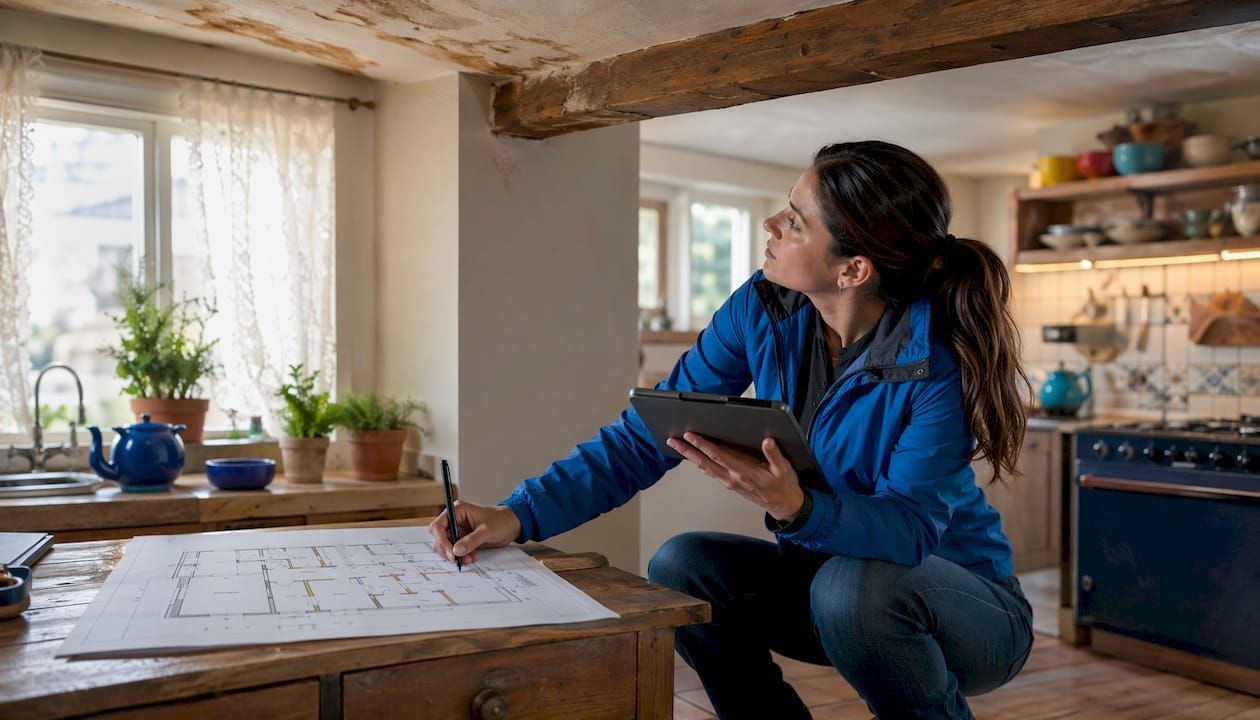
Walk every affected space and mark ceiling stains, active drips, mold patches, and bubbling paint on your floor plan. Note the date, time, and current weather for each observation. Water travels under roofing membranes and through insulation, often entering the building many feet from the visible stain. That means your roof entry point is almost always upslope from where the ceiling shows damage.
Step 2: Move to the roof surface
Start your exterior walk at the area directly above and upslope from your mapped interior evidence. Work outward from there in a grid pattern. High-risk zones to examine closely include:
- Seams and laps: TPO and EPDM membranes fail most often at heat-welded or adhered seams. Look for lifting edges, gaps, or bubbling.
- Flashing around penetrations: HVAC curbs, pipes, skylights, and vents are the most common entry points on commercial roofs. Check that flashing is fully adhered and sealed.
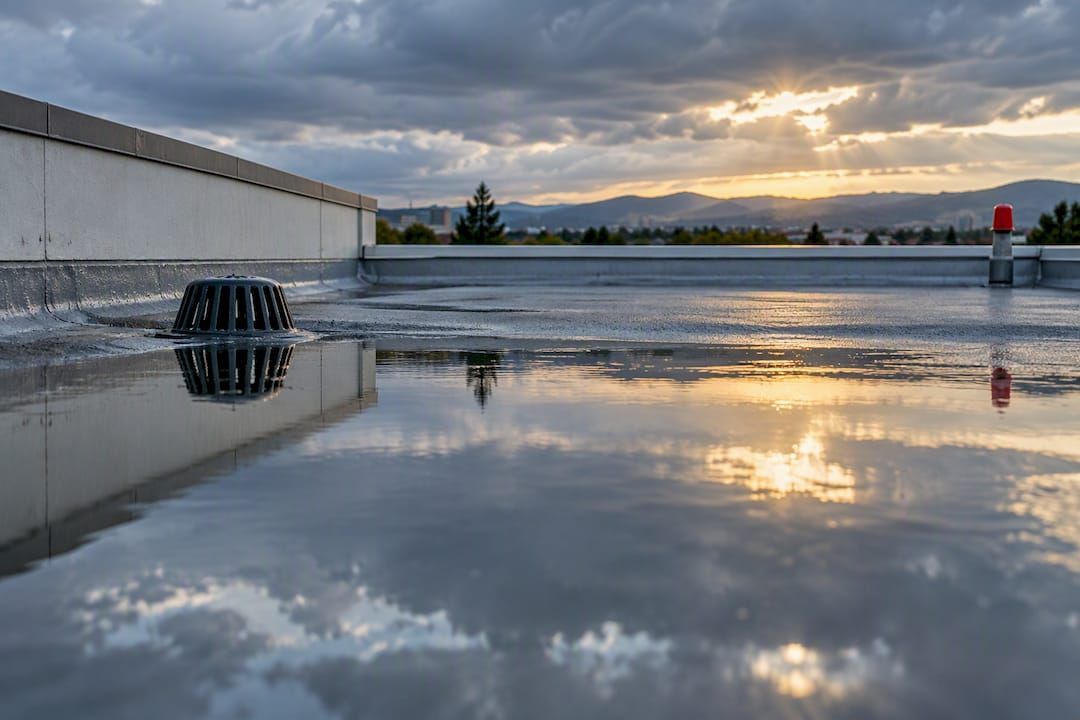
- Drains, scuppers, and gutters: Blocked drainage causing ponding water that lasts over 48 hours is a critical indicator of potential leaks and structural risk. Clear any debris immediately.
- Perimeter edge and parapet walls: Wind uplift and thermal movement crack sealant at edges faster than anywhere else on the roof.
- Low spots: Standing water that remains more than 48 hours after rain signals drainage failure and accelerates membrane deterioration.
Step 3: Document everything
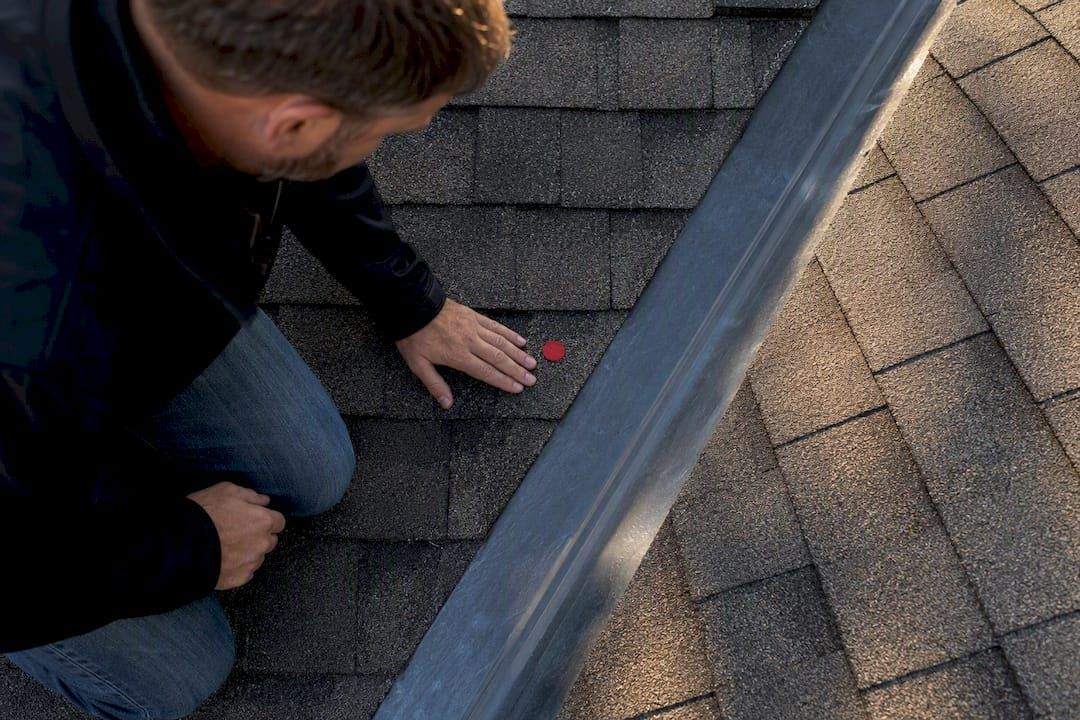
Photograph every defect with a timestamp. Record GPS coordinates or mark locations on your roof drawing. Note the weather conditions at the time of inspection. This documentation becomes your living roof file and supports both warranty claims and insurance submissions.
Pro Tip: Take a wide-angle photo of each defect showing its position relative to a fixed reference point like a drain or HVAC unit. That context photo speeds up every future inspection and repair visit.
What advanced diagnostic tests confirm leak sources?
Visual inspection identifies obvious defects, but water entry points are often invisible to the naked eye. Three diagnostic methods close that gap reliably.
Controlled water testing
Controlled water testing applies low-pressure water to one segmented roof zone at a time while an observer monitors inside for drip emergence. Testing involves 10–20 minute wet applications per segment. The time between water application and interior dripping tells you how far water is traveling through the insulation layer. Start at the lowest suspected zone and work upslope, isolating each segment before moving to the next. Use two-way radios so the roof crew and interior observer can communicate in real time.
Infrared thermography
Infrared thermography identifies moisture under roofing materials by detecting temperature differences between wet and dry insulation. Wet insulation retains heat longer than dry insulation, so thermal surveys conducted during late evening after a sunny day produce the clearest results. Thermal surveys cost $500–$1,500 and can locate insulation deterioration valued at $50,000 or more. That return on investment makes thermography one of the most cost-effective tools in a property manager's kit.
Electronic leak detection (ELD)
Electronic leak detection sends a low-voltage electrical signal across the roof membrane and identifies breaks where current escapes to the wet substrate below. ELD methods follow ASTM D7877 standards for low-slope membrane systems. This technique works best on roofs with non-conductive substrates and is particularly effective on new or recently repaired membranes where the defect location is otherwise unknown.
| Method | Best conditions | Limitation |
|---|---|---|
| Controlled water testing | Any weather, targeted zones | Time-intensive on large roofs |
| Infrared thermography | Sunny day followed by clear evening | Requires temperature differential |
| Electronic leak detection | Dry membrane, non-conductive deck | Less effective on gravel ballast |
| Moisture meter survey | Any conditions | Surface-level reading only |
Pro Tip: Never perform water testing during freezing temperatures or high winds. Both conditions compromise safety and produce unreliable results. Schedule testing for calm, dry days above 40°F.
How to integrate leak detection with maintenance to prevent recurring leaks
Detection without follow-through creates a cycle of recurring problems. The goal is to convert every inspection into a maintenance action and a documentation record.
Professional commercial roof inspections should occur at least twice annually, ideally in spring and fall, with additional checks after major weather events. Preventive maintenance can extend roof life by more than 50% and deliver a 400% return on investment. That figure puts the cost of a $200–$800 inspection visit in clear perspective against a potential $25,000–$500,000 roof replacement.
Routine maintenance tasks that directly reduce leak risk include:
- Clearing drains, scuppers, and gutters within 48–72 hours after any storm.
- Limiting foot traffic to designated walkways to protect membrane surfaces.
- Resealing flashing and penetration boots at the first sign of cracking or lifting.
- Trimming overhanging branches that deposit debris and hold moisture against the membrane.
- Scheduling proactive commercial roof maintenance visits before the rainy season begins.
Maintaining a living roof file is not optional if you want warranty compliance and smooth insurance claims. Insurance claim denials often result from missed or undocumented maintenance cycles. Your file should include dated inspection reports, repair invoices, photos with timestamps, and a log of any weather events that triggered an unscheduled check.
Common maintenance mistakes that lead to claim denials:
- Skipping post-storm inspections and failing to document storm damage within the insurer's reporting window.
- Allowing ponding water to persist without a written corrective action record.
- Making repairs without a contractor invoice or written scope of work.
- Failing to document routine drain clearing and membrane checks.
Pro Tip: Set a calendar reminder for the first week of october and the first week of april. Those two inspections, documented and filed, satisfy most commercial roofing warranty requirements and give your insurer what they need if a claim arises.
Key takeaways
Systematic commercial roof leak detection, combined with twice-yearly inspections and a living roof file, is the most reliable way to prevent costly emergency repairs and protect warranty coverage.
| Point | Details |
|---|---|
| Start inside, then go up | Map interior stains first; the roof entry point is almost always upslope from visible damage. |
| Use the right diagnostic tool | Match the method to conditions: thermography after sunny days, water testing for targeted zones, ELD for membrane breaks. |
| Inspect twice a year | Spring and fall inspections, plus post-storm checks, satisfy most warranty and insurance requirements. |
| Document every visit | A living roof file with photos, reports, and invoices is your best defense in a warranty or insurance dispute. |
| Clear drains within 48–72 hours | Ponding water over 48 hours accelerates membrane deterioration and signals drainage failure. |
What I've learned from years of watching property managers chase the wrong leak
The most expensive mistake I see property managers make is repairing the stain instead of the source. A ceiling tile shows a brown ring, someone patches the roof directly above it, and three weeks later the drip is back. That cycle repeats until someone finally traces the water upslope and finds a failed flashing 12 feet away from where every repair was made. Leak repair effectiveness depends entirely on locating the actual entry point, not the visible symptom.
The second pattern I see is reactive management. A property manager waits for a tenant complaint, sends someone up to look, and orders a spot repair. That approach costs more over five years than a disciplined biannual inspection program. The math is not close. Preventive commercial roof maintenance costs a fraction of emergency work, and it keeps your warranty intact.
My honest recommendation: insist on written inspection reports from any contractor you hire. A verbal "it looks fine" is worthless when you need to file an insurance claim or defend a warranty dispute. Documentation is the difference between a smooth claim and a denied one.
— Cesar
Shieldguardroofing's commercial inspection and repair services
Shieldguardroofing has more than 75 combined years of roofing experience serving Northern California property managers and businesses. The team handles the full detection and repair process, from initial interior mapping through advanced diagnostic testing and documented repairs.
Whether your building has a TPO flat roof showing seam failures or an EPDM membrane with persistent ponding, Shieldguardroofing's commercial roofing services cover inspection, leak isolation, and repair under one roof. Property managers who want a documented maintenance plan that satisfies warranty and insurance requirements can also schedule ongoing commercial roof repairs and preventive visits. Contact Shieldguardroofing to schedule an inspection before the next rainy season arrives.
FAQ
What are the first steps in commercial roof leak detection?
Start by interviewing building occupants to collect leak history, then map ceiling stains and drip points on floor plans. Move to the roof and inspect upslope from interior evidence, focusing on seams, flashing, and drains.
How often should a commercial roof be inspected for leaks?
Commercial roofs require inspection at least twice a year, in spring and fall, plus additional checks after major storms. This schedule satisfies most warranty requirements and supports insurance claims.
What is the most common cause of commercial roof leaks?
Failed flashing around penetrations such as HVAC curbs, pipes, and vents is the most frequent entry point on commercial roofs. Blocked drains that create ponding water are the leading cause of accelerated membrane deterioration.
When should infrared thermography be used for leak detection?
Schedule infrared thermography during late evening after a full sunny day. That timing creates the temperature differential between wet and dry insulation that makes hidden moisture zones visible on the thermal scan.
Why do commercial roof repairs sometimes fail to stop leaks?
Water travels under roofing membranes and through insulation, so the visible stain is rarely directly below the entry point. Repairs fail when contractors patch the symptom rather than tracing the leak upslope to its actual source.
Recommended