Roof Leak Detection Systems: What Homeowners Must Know
Roof Leak Detection Systems: What Homeowners Must Know
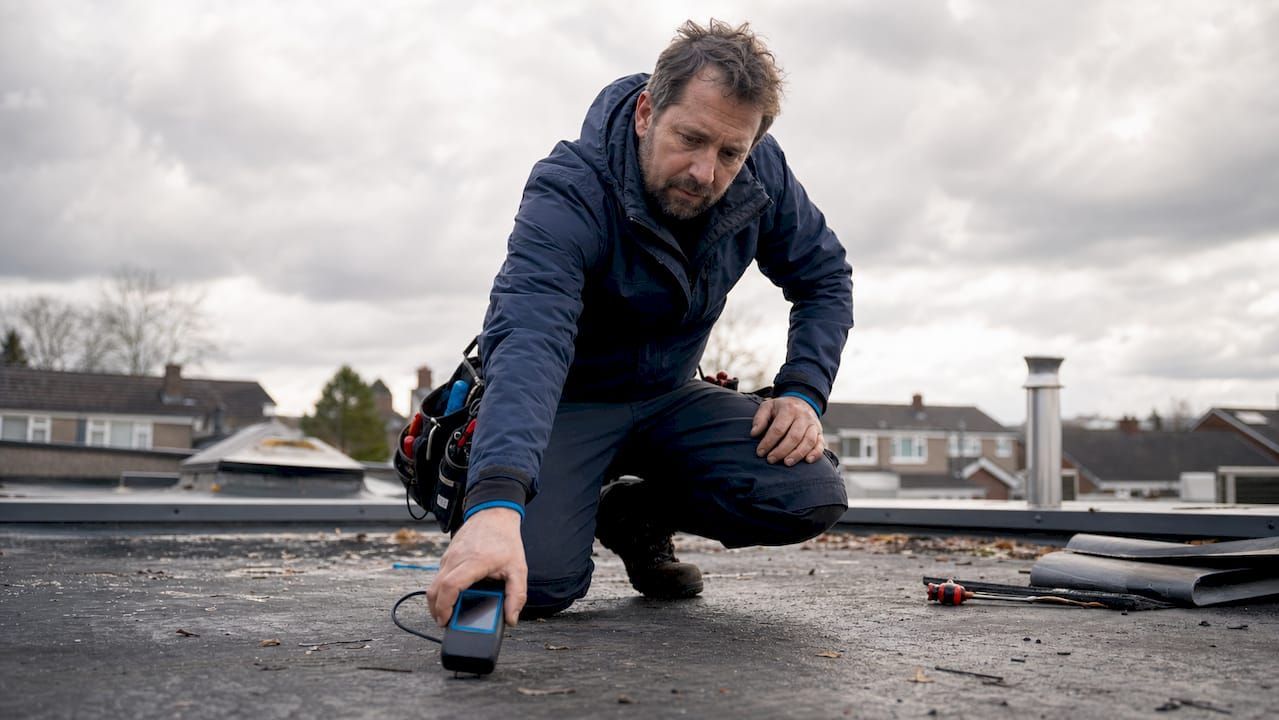
A roof leak detection system is a technology or method designed to locate breaches and moisture intrusion points in roofing membranes before they cause structural damage. These systems range from manual hose tests to embedded sensor grids that report data around the clock. Professional electronic leak detection achieves 95% confidence and can pinpoint a breach within about 2 inches of its actual location. For homeowners and property managers in Northern California, understanding these methods is the first step toward protecting your property and avoiding expensive repairs.
What is a roof leak detection system and how does it work?
A roof leak detection system is any tool, method, or technology used to find where water enters a roofing assembly. The industry uses the broader term "moisture detection" to cover everything from a simple visual inspection to electronic leak detection (ELD), which passes an electrical signal across a membrane to locate gaps. Each approach serves a different purpose, and no single method works for every roof type.
The goal of every detection method is the same: find the breach before water spreads. Water can travel 10–20 feet from the actual leak origin before it appears as a stain on your ceiling. That gap between where you see the damage and where the real problem lives is exactly why guesswork fails and systematic detection succeeds.
Most roofing failures and construction disputes relate to water intrusion, with industry standards like ASTM D7877 and ASTM D8231 guiding proper moisture monitoring practices. Those standards exist because water damage is not just a maintenance issue. It is the leading cause of structural failure in both residential and commercial buildings.
What are the common roof leak detection methods used today?
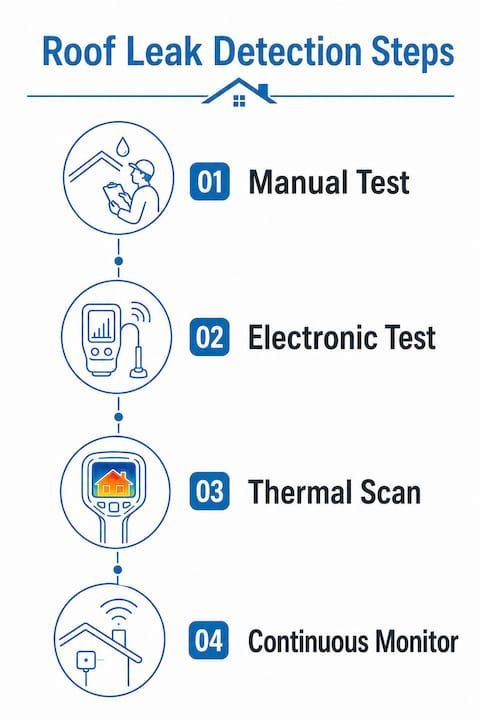
Roof leak detection methods fall into three broad categories: manual testing, electronic testing, and thermal or moisture scanning. Each has a specific use case, and the best choice depends on your roof's construction and the stage of the problem.
Manual methods
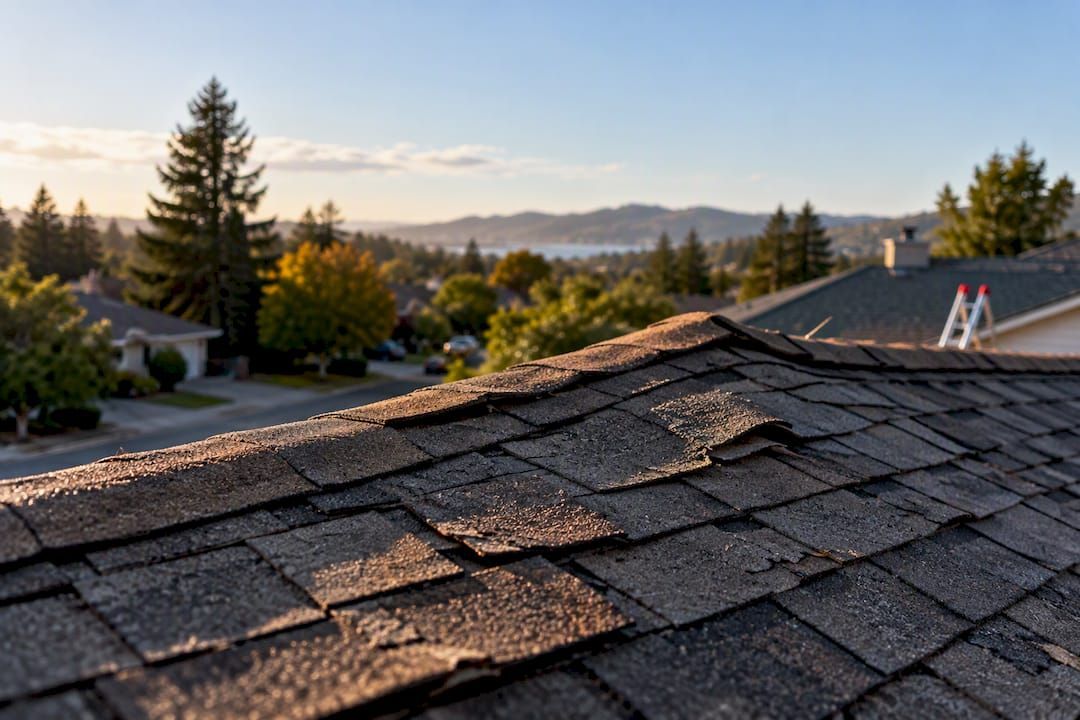
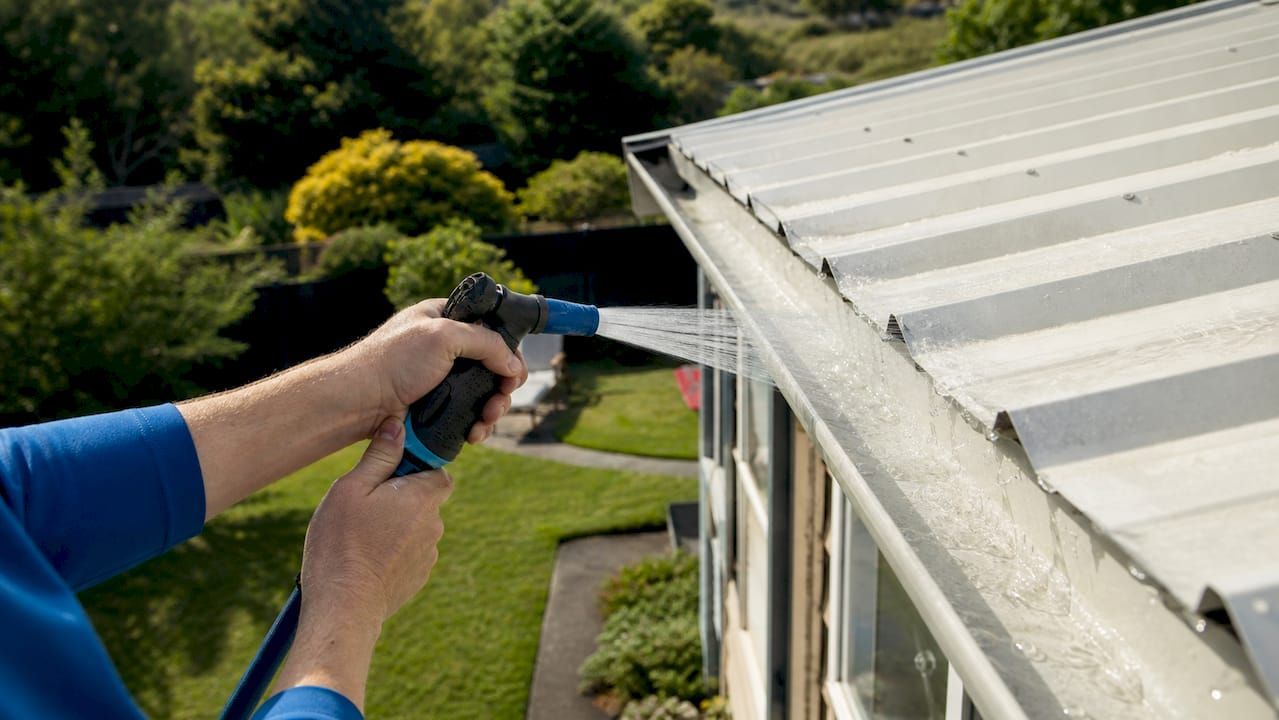
Manual hose testing is the most accessible starting point for homeowners. Water is applied in 2–3 minute intervals per 4-foot sections while a second person watches the attic interior. This process isolates the leak in roughly 30–60 minutes. Visual inspection of flashings, pipe boots, and seams should always come first, since about 90% of residential roof leaks start at flashings, vents, pipes, and other penetrations rather than the open field of roofing material.
Electronic leak detection (ELD)
ELD uses either low-voltage or high-voltage electrical testing to find membrane breaches. Low-voltage testing floods the roof surface with a thin layer of water and passes a current across it. A break in the membrane completes the circuit and triggers an alert. High-voltage testing uses a dry method, sending a spark-like charge across the membrane surface. Both methods require a conductive substrate beneath the membrane to work correctly.
Infrared thermography and moisture meters
Infrared cameras detect temperature differences caused by trapped moisture in the roof assembly. Moisture meters probe specific areas for elevated readings. Both tools are useful for narrowing down a search area, but neither is conclusive on its own. Per ASTM C1153, infrared thermography findings must be verified with invasive methods like core sampling or moisture probes to confirm actual moisture presence.
- Flashings and penetrations: Always inspect these first. They account for the vast majority of leak origins.
- Hose testing: Best for sloped residential roofs where ELD is not practical.
- Low-voltage ELD: Best for flat or low-slope roofs with conductive substrates like concrete or metal decking.
- High-voltage ELD: Used on dry membranes during or after installation, before overburden is placed.
- Infrared scanning: Useful for large commercial roofs to identify suspect zones, but requires follow-up verification.
Pro Tip: Always start your inspection at the highest point of the suspected leak area and work downward. Water travels with gravity and can enter 10 feet above where it finally drips through your ceiling.
How do continuous roof moisture monitoring systems work?
Continuous monitoring systems use sensors embedded directly into the roof assembly during construction. The sensors are arranged in a grid pattern and report moisture data around the clock. When moisture crosses a set threshold, the system sends a real-time alert to the building owner or facility manager.
The key advantage over point-in-time testing is timing. A hose test or ELD survey tells you the condition of the roof on one specific day. Embedded sensors installed in grids report data 24/7, catching intrusion events the moment they happen. That early warning allows repairs before water migrates through insulation layers and reaches the structural deck.
Continuous systems work best on flat or low-slope roofs with built-up or single-ply membranes. They are most effective when installed during the original construction or a full re-roofing project, because the sensors need to be placed beneath the membrane. Retrofitting sensors into an existing roof assembly is possible but more complex and costly.
Here is how a typical continuous monitoring installation works:
- Sensor placement: Sensors are laid out in a grid across the roof deck before the membrane is installed.
- Membrane installation: The roofing membrane is applied over the sensor grid, sealing it in place.
- Data connection: Sensors connect to a central data hub, which transmits readings to a monitoring platform.
- Alert configuration: Threshold levels are set so the system triggers an alert when moisture rises above normal.
- Ongoing monitoring: The system runs continuously, logging data and flagging anomalies for review.
Proactive moisture monitoring embedded during construction provides the most effective early warning against costly damage. The cost of a sensor grid is a fraction of the cost of replacing water-saturated insulation and a damaged structural deck.
What are the key limitations of electronic leak detection?
ELD is a powerful tool, but it has real constraints that homeowners and property managers need to understand before relying on it.
The most critical requirement is a conductive substrate. ELD requires a conductive substrate or medium beneath the membrane to complete the electrical circuit. Concrete decks and metal decking meet this requirement. Standard wood decking does not, unless it is specially prepared with a conductive layer. Running a low-voltage ELD test on a wood deck without preparation produces invalid results and gives you false confidence.
Common reasons ELD tests fail or produce misleading results:
- Wrong substrate: Wood decks without a conductive layer cannot support low-voltage testing.
- Dry conditions for low-voltage tests: Low-voltage ELD needs a thin water layer on the surface. A dry roof surface breaks the circuit before it reaches any membrane breach.
- Overburden already installed: Once gravel, pavers, or insulation cover the membrane, high-voltage testing becomes impractical and low-voltage testing is blocked.
- Membrane type mismatch: Some membrane materials affect signal behavior. Using the wrong ELD method for the membrane type produces unreliable readings.
- Skipping ASTM standards: Tests conducted outside of ASTM D7877 or ASTM D8231 protocols lack the consistency needed for valid results.
Pro Tip: ELD is primarily a quality control tool used during installation, not just a forensic tool for existing leaks. The best time to run an ELD test is immediately after membrane installation, before any overburden goes down.
Electronic leak detection primarily serves as a quality control procedure during installation rather than a reactive tool for finding leaks in aging roofs. That distinction matters because many property managers call for ELD only after a leak appears, at which point the overburden is already in place and the test conditions are compromised.
The right detection method depends entirely on the roof's construction. Using an inappropriate electrical detection approach is one of the most common reasons detection fails. Match the method to the roof, not the other way around.
How can you detect and respond to roof leaks practically?
You do not need specialized equipment to start the detection process. A systematic approach using what you already have will narrow down the problem quickly.
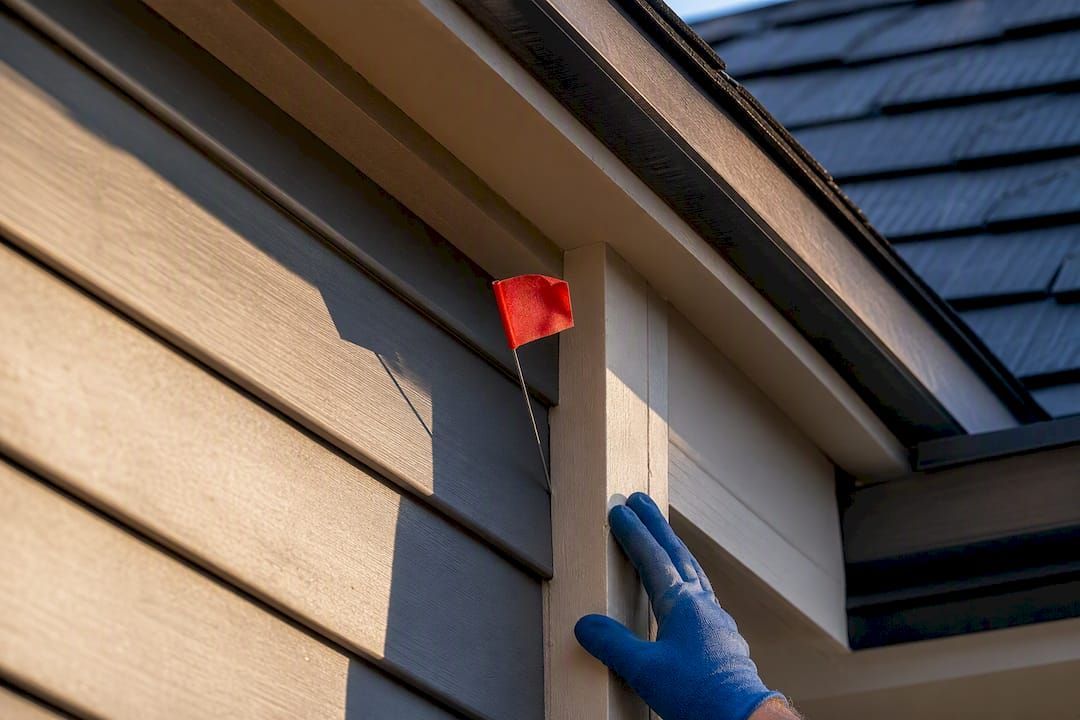
- Check the attic first. Bring a flashlight and look for water stains, mold, or daylight showing through the deck. Mark any wet spots and note their position relative to the roof above.
- Trace the stain uphill. Water stains on ceilings are rarely directly below the breach. Move uphill from the stain toward the ridge, checking flashings, pipe boots, and any roof penetrations.
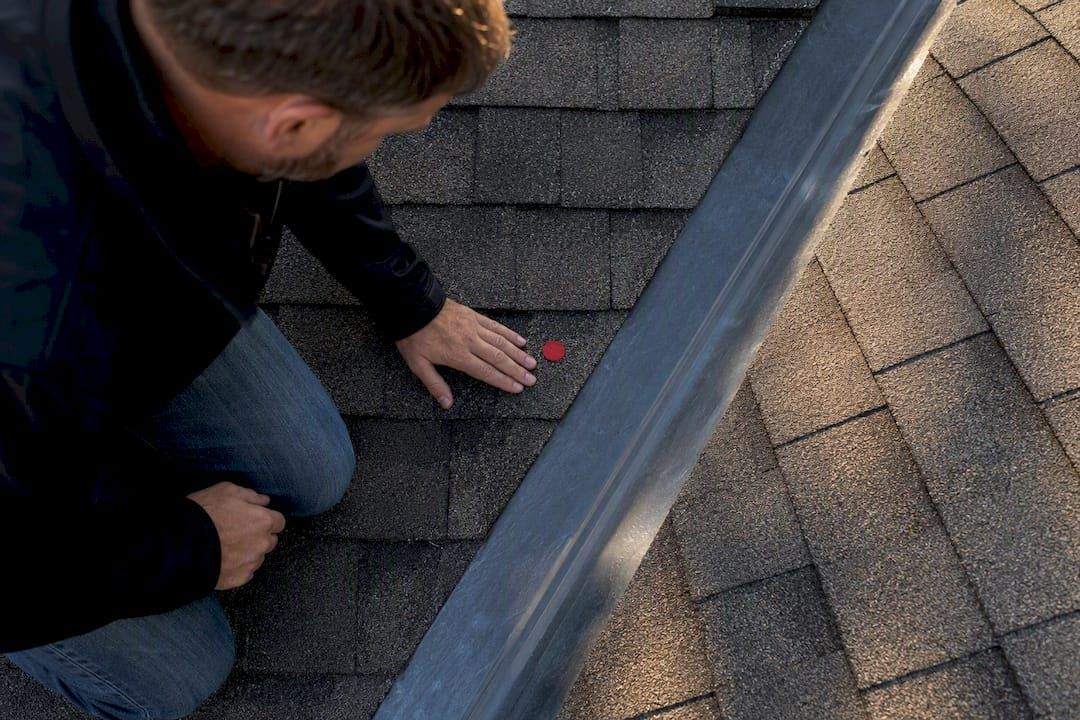
- Inspect flashings and seams. Run your hand along chimney flashings, skylight frames, and vent pipe collars. Lifted edges, cracked sealant, or rust stains are reliable indicators of a breach.
- Run a hose test. Start low on the roof and work upward in 4-foot sections. Have someone inside watching the attic. Spend 2–3 minutes on each section before moving up.
- Call a professional for ELD or moisture surveys. If the leak source remains unclear after visual inspection and hose testing, a professional moisture survey using infrared scanning followed by core sampling gives you a definitive answer.
Early detection saves money. A small flashing repair costs a fraction of what you will pay to replace water-damaged insulation, decking, or interior finishes. Scheduling a professional roof inspection twice a year, in spring and fall, catches developing problems before they become emergencies.
Property managers overseeing multiple buildings benefit from keeping a commercial roof inspection checklist for each property. Consistent documentation creates a baseline that makes new moisture readings meaningful and supports warranty claims if a defect surfaces.
Key Takeaways
A roof leak detection system works best when the method matches the roof type, the inspection is systematic, and monitoring is continuous rather than reactive.
| Point | Details |
|---|---|
| Start at penetrations | 90% of leaks begin at flashings, vents, and pipe boots, not the open field of roofing. |
| Match method to roof type | Using the wrong ELD approach on an incompatible substrate produces invalid results. |
| Verify thermal scans | ASTM C1153 requires core sampling or moisture probing to confirm infrared findings. |
| Embed sensors at construction | Continuous monitoring systems installed during build provide the earliest possible leak alerts. |
| Act before overburden goes down | ELD testing is most accurate immediately after membrane installation, before gravel or pavers are placed. |
Why I think most homeowners wait too long to address roof leaks
After years of working with homeowners across Northern California, I have noticed a consistent pattern: people wait until they see a ceiling stain before they start looking for a leak. By that point, water has usually been moving through the roof assembly for weeks or months. The stain is the last signal, not the first.
The technology to catch leaks earlier has existed for years. Embedded sensor grids, infrared surveys, and ELD testing are not exotic or prohibitively expensive. What holds most homeowners back is the belief that a roof either leaks visibly or it does not. That thinking is wrong. Water migrates slowly through insulation and decking long before it drips through your ceiling.
My honest advice: treat your roof the way you treat your car. You do not wait for the engine to seize before you change the oil. You schedule maintenance on a calendar. Two professional inspections per year, combined with a quick visual check of your flashings after every major storm, will catch the vast majority of problems while they are still minor repairs. If you manage commercial properties, look into continuous moisture monitoring for any flat roof over 10 years old. The cost of the system is almost always less than one major water intrusion event.
The roofing industry is moving toward real-time monitoring integrated with building management systems. That shift is good news for property owners. But the fundamentals have not changed: find the water early, fix it fast, and document everything.
— Cesar
Shieldguardroofing's leak detection and repair services
Shieldguardroofing has served Northern California homeowners and property managers for decades, with a combined team experience of over 75 years in roofing. When a leak detection survey points to a problem, you need a contractor who can act on those findings with the right materials and workmanship.

Shieldguardroofing offers residential roofing services in Sacramento that cover everything from full inspections to targeted leak repairs using GAF and Brava roofing products. If your moisture survey has flagged a problem or you want a professional assessment before the rainy season, the Shieldguardroofing team is ready to help. For homes already showing signs of water intrusion, residential roof repair is available with clear diagnostics and honest pricing. Contact Shieldguardroofing to schedule your inspection and get ahead of the problem.
FAQ
What is a roof leak detection system?
A roof leak detection system is any method or technology used to locate breaches or moisture intrusion in a roofing assembly, ranging from manual hose tests to electronic leak detection and embedded sensor grids. Professional systems can pinpoint a breach within approximately 2 inches of its actual location.
How accurate is electronic leak detection?
Professional electronic leak detection achieves 95% confidence when performed correctly on a compatible roof assembly with a conductive substrate. Accuracy drops significantly when the substrate is incompatible or ASTM testing protocols are not followed.
Where do most roof leaks start?
About 90% of residential roof leaks originate at flashings, vents, pipe penetrations, and other material junctions rather than the open field of the roofing material. Inspecting these areas first is the most efficient way to locate a leak.
Can I detect a roof leak without professional equipment?
Yes. A systematic visual inspection of flashings and penetrations, combined with a manual hose test applied in 4-foot sections, can locate most common leaks without specialized tools. For leaks that remain unclear after manual testing, a professional moisture survey is the next step.
When should I call a professional for roof leak detection?
Call a professional when a visual inspection and hose test fail to identify the source, when you see signs of widespread moisture in the attic, or when a flat or low-slope commercial roof requires an infrared survey or ELD test to meet warranty or insurance requirements.
Recommended