Roof Coating Application for Commercial Buildings: 2026 Guide
Roof Coating Application for Commercial Buildings: 2026 Guide
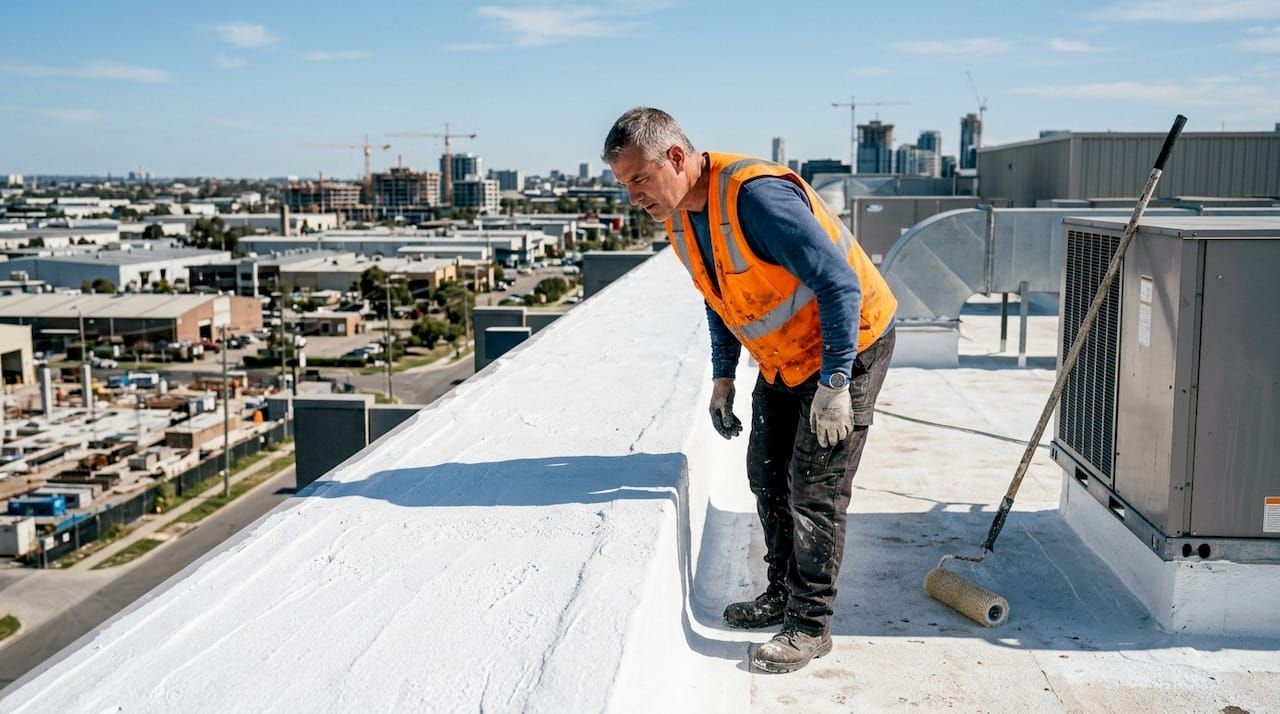
Roof coating application is the process of applying a fluid membrane over an existing commercial roof to create a waterproof, reflective barrier that extends roof life and cuts energy costs. A properly applied coating adds 10–20 years of functional life to a commercial roof. Reflective coatings reduce rooftop temperatures by up to 60°F, lowering cooling energy use by 10–30%. The cost runs $2.50–$5.00 per square foot installed, which is 50–70% less than a full replacement. For property managers and business owners, that math is hard to ignore.
Does your commercial roof qualify for a coating?
Not every roof is a good candidate. Applying a coating over a compromised substrate is like painting over rust. It looks fine at first, then fails fast and exposes you to liability.
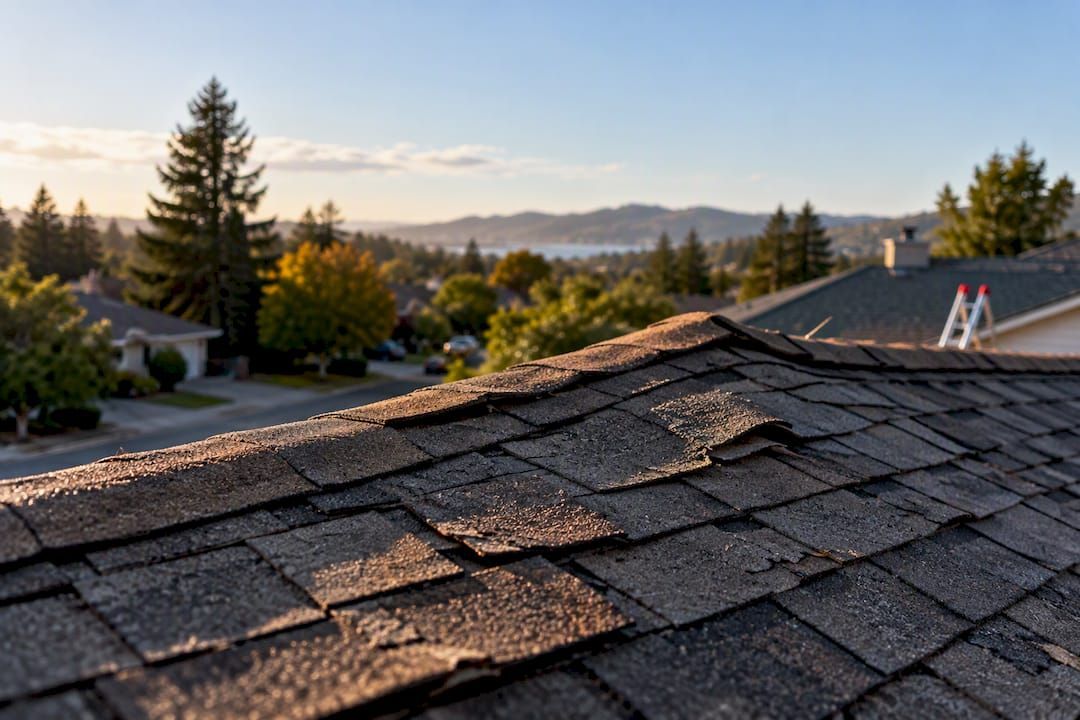
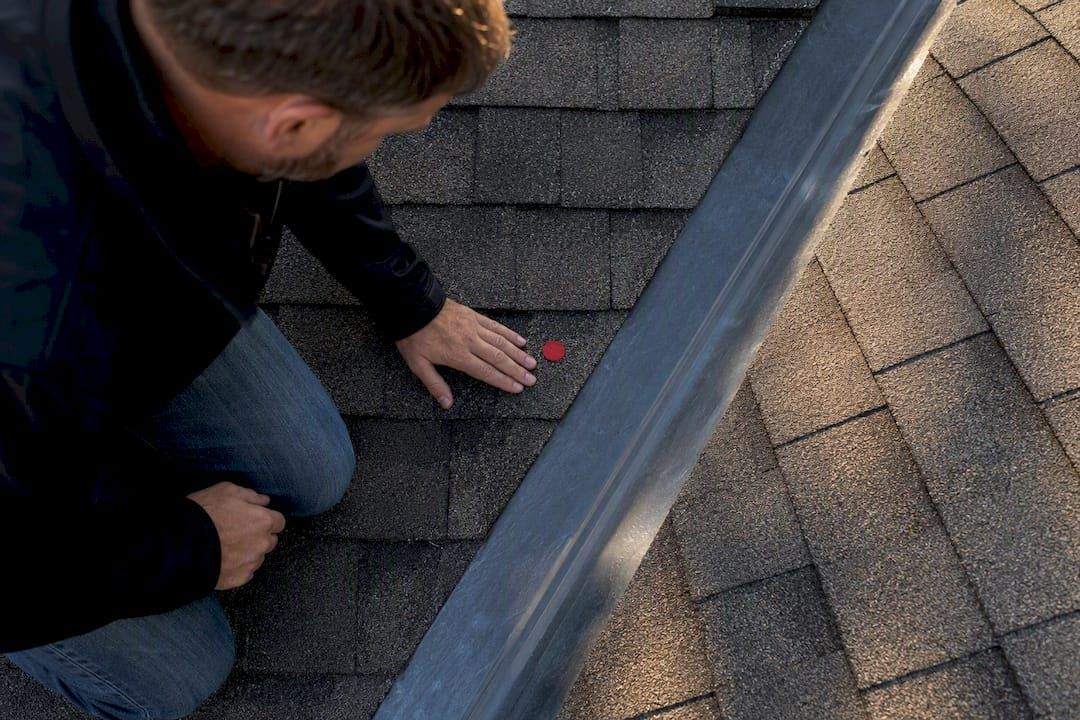
The first step is a thorough inspection. A qualified contractor checks membrane adhesion, surface condition, and the integrity of seams, flashings, and penetrations. If the membrane is lifting, cracking, or separating in multiple areas, a coating will not hold.
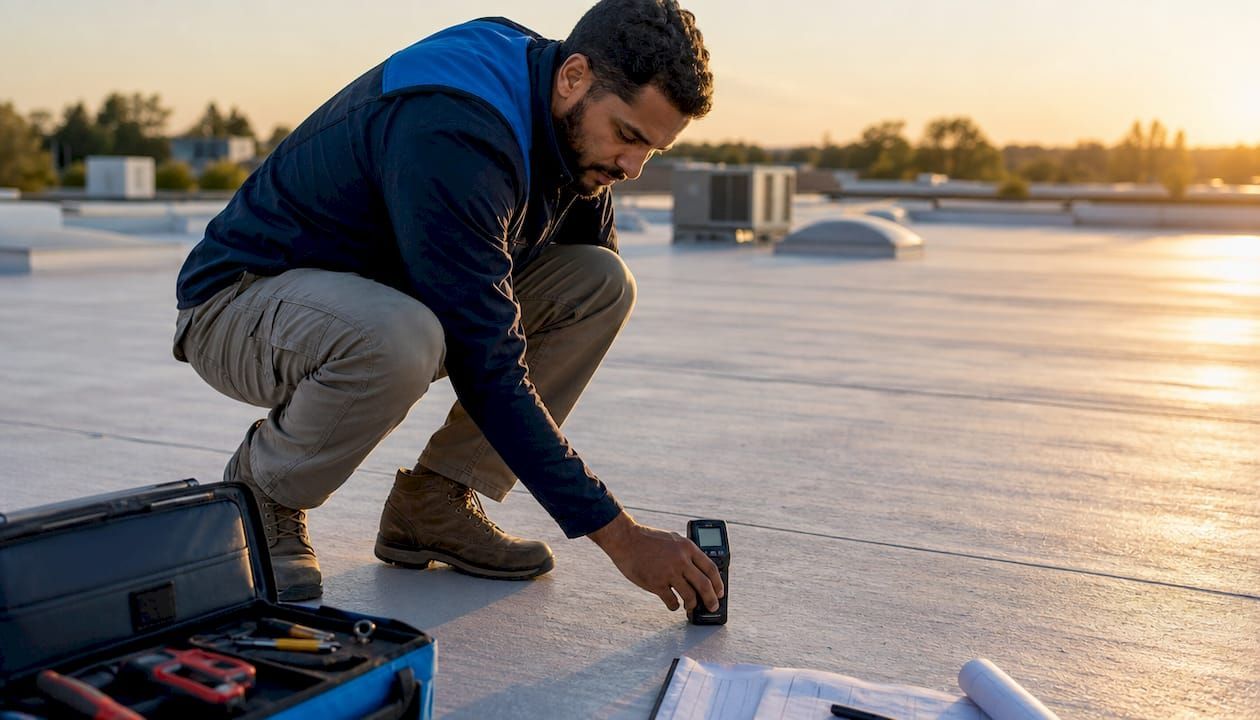
Moisture is the most critical factor. Water-damaged insulation creates a liability if coated over, because trapped moisture causes blistering and delamination. Contractors use moisture meters and infrared thermal scanning to locate wet insulation without cutting into the roof. These non-destructive tools identify problem zones that would otherwise go undetected.
The general industry threshold is that a roof with more than 25% damaged or saturated area is not a good coating candidate. Below that threshold, localized repairs can bring the roof to a coatable condition. The roof deck itself must also be structurally sound, with no soft spots, rot, or significant deflection.
- Membrane adhesion is tight and consistent across the field
- Seams, flashings, and penetrations are intact or repairable
- Moisture survey confirms less than 25% wet insulation
- Roof deck shows no structural compromise
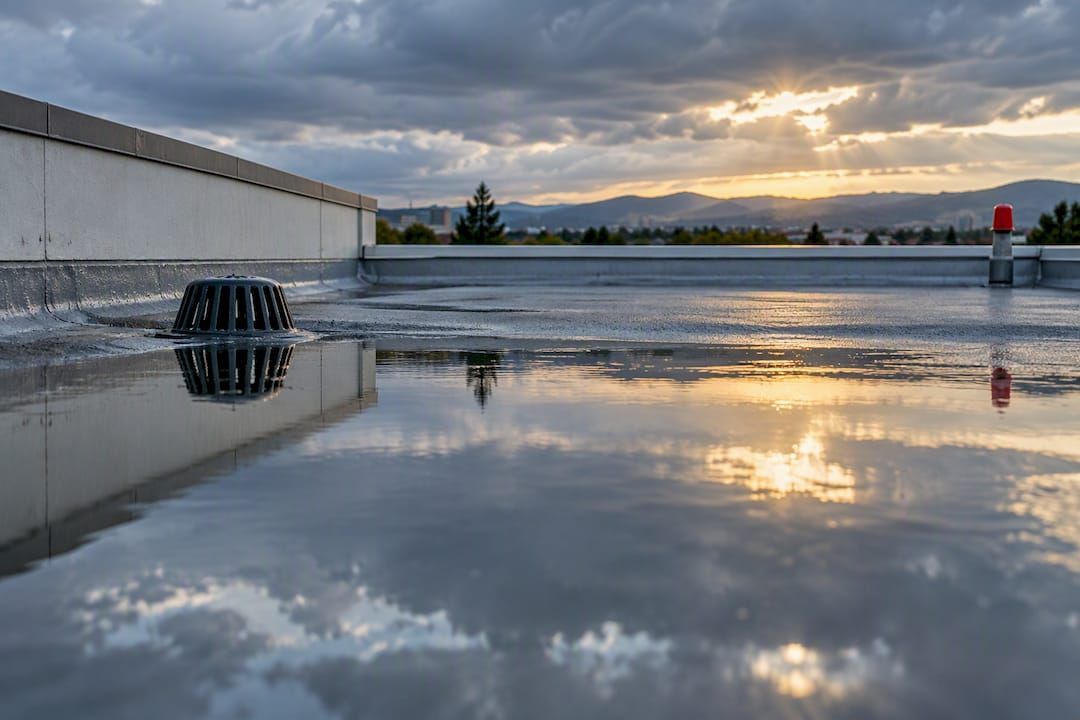
- Drainage is functional with no ponding water zones
Pro Tip: Schedule your pre-coating inspection in late spring or early fall. Dry conditions make moisture readings more accurate and give you time to complete repairs before weather windows close.
What tools and materials does a successful application require?
Preparation is not a preliminary step. It is the job. Poor surface preparation is the leading cause of coating failure, even when premium products are used.
Cleaning and surface prep
Pressure washing removes dirt, algae, and loose material that would prevent adhesion. The standard range is 1,500–3,000 PSI for most commercial membranes, with lower pressure used on aged or fragile surfaces. The roof must be completely dry before any coating is applied. Even residual moisture in low spots will cause adhesion failure.
Repairs before coating
Every seam, penetration, and flashing must be repaired before the coating goes down. Open seams get re-adhered and sealed. Penetrations get new sealant collars. Flashings are re-secured and coated separately with reinforcing fabric where needed. Seam and penetration repairs done before coating are what separate a 15-year result from a 3-year failure.
Primers and adhesion testing
Not every coating bonds directly to every substrate. Adhesion pull tests and trial patches confirm chemical compatibility before you commit to a full application. Primers are required on metal, concrete, and some aged membranes. Skipping this step risks delamination across the entire roof.
| Tool or Material | Purpose |
|---|---|
| Pressure washer (1,500–3,000 PSI) | Remove dirt, algae, and loose material |
| Moisture meter and infrared scanner | Locate wet insulation non-destructively |
| Seam tape and reinforcing fabric | Repair open seams and penetrations |
| Primer | Improve adhesion on metal, concrete, and aged membranes |
| Wet film gauge | Verify mil thickness during application |
| Airless sprayer or roller | Apply coating at correct coverage rate |
| Acrylic, silicone, or polyurethane coating | Primary waterproofing and reflective layer |
Pro Tip: Always run a trial patch in an inconspicuous area and wait 24 hours before full application. This confirms adhesion and lets you catch compatibility issues before they become expensive problems.
How to apply roof coatings step by step
A clean, repaired, dry surface is your starting point. Every step after that builds on that foundation.
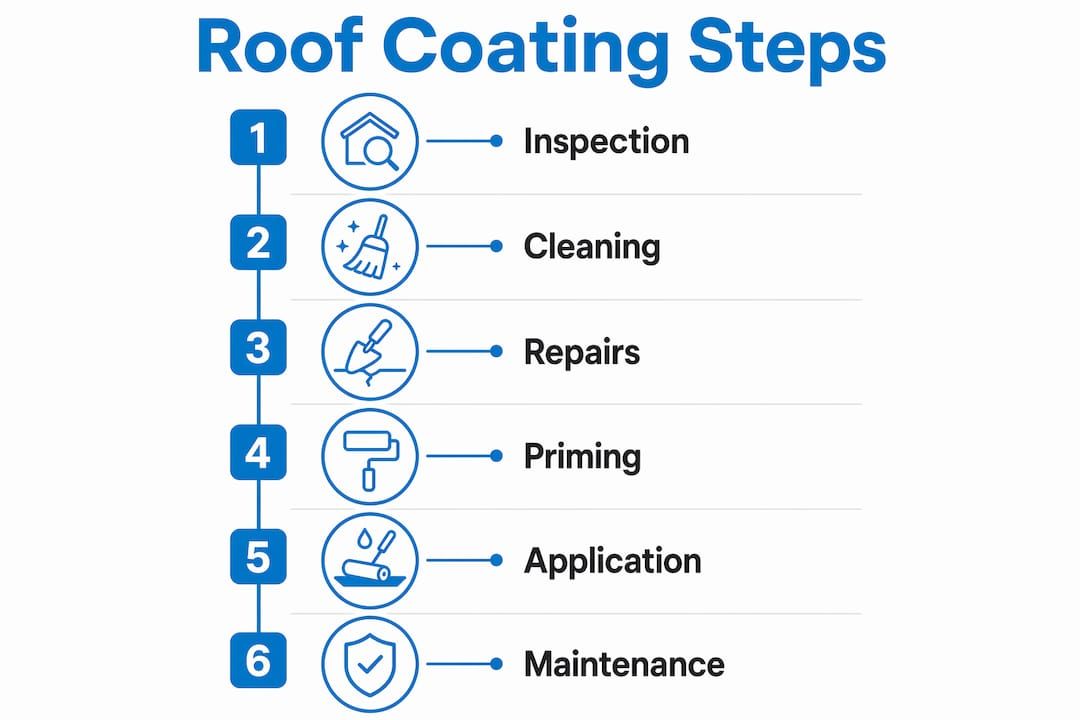
- Clean the surface. Pressure wash the entire roof and allow it to dry fully. In humid climates, this may take 24–48 hours. Do not rush this step.
- Complete all repairs. Re-adhere lifted seams, seal penetrations, and secure flashings. Apply reinforcing fabric over seams and transitions before the base coat.
- Apply primer where required. Roll or brush primer onto metal, concrete, or any surface the adhesion test flagged. Allow full cure time per the product spec sheet.
- Apply the base coat. Use a roller for roofs under 10,000 square feet. Use an airless sprayer for larger commercial roofs. Airless spray covers 3,000–5,000 square feet per hour versus 800–1,200 square feet per hour for rollers. Maintain consistent speed and overlap to avoid thin spots.
- Check wet film thickness. Use a wet film gauge immediately after application. Under-applied coatings reduce lifespan by half or more. Most commercial coatings require 20–30 wet mils per coat.
- Allow full cure before the top coat. Cure time varies by product and temperature. Never apply a second coat over a tacky base coat.
- Apply the top coat. Repeat the same method as the base coat. Maintain uniform coverage and check thickness again.
- Conduct a final walkthrough. Inspect for thin spots, missed areas, and any debris that landed in the wet coating. Mark and touch up before the coating fully cures.
The most common mistakes are applying coating over damp surfaces, skipping seam reinforcement, and applying too thin a coat to save material. All three cut the coating's lifespan significantly.
How do you maintain a roof coating after application?
A coating is not a set-and-forget solution. Think of it like a car. You change the oil and rotate the tires to protect a much larger investment. Periodic inspections and cleaning extend coating life and catch problems before they become expensive rework.
Schedule inspections twice a year, in spring and fall, plus after any major storm. Focus on these areas:
- Seams and laps, where water infiltration typically starts
- Penetrations and flashings, which move with thermal expansion
- Drain areas, where ponding water accelerates coating wear
- Surface condition, checking for blistering, thin spots, or discoloration
- Rooftop traffic damage from HVAC technicians or other trades
Keep drains clear of debris year-round. Ponding water is the enemy of any flat roof coating. Limit foot traffic and use walk pads in high-traffic zones to protect the coating surface.
Recoating is possible when the existing coating is well adhered and intact. Silicone coatings last 15–20 years; acrylic coatings last 10–15 years. Before recoating, run an adhesion test to confirm compatibility between the new product and the existing layer. A coating that is peeling or delaminating in large areas needs removal before a new coat goes down.
The financial case for maintenance is strong. Coating expenses qualify as maintenance costs, meaning you can deduct them fully in the year they occur rather than depreciating a replacement over 39 years. That tax treatment alone makes proactive maintenance a sound financial decision.
Key Takeaways
Proper roof coating application on commercial buildings requires thorough inspection, moisture testing, seam repair, and correct mil thickness to deliver 10–20 years of added roof life and 10–30% energy savings.
| Point | Details |
|---|---|
| Qualify the roof first | Roofs with more than 25% moisture damage are not coating candidates without major repairs. |
| Prep determines performance | Surface cleaning, seam repair, and adhesion testing prevent the most common coating failures. |
| Match method to roof size | Use rollers under 10,000 sq ft and airless spray for larger commercial roofs. |
| Verify mil thickness | Use a wet film gauge during application; under-applied coatings lose half their lifespan. |
| Maintain twice a year | Biannual inspections and drain cleaning protect the coating and extend its service life. |
What I've learned after years of watching coating projects succeed and fail
After seeing dozens of commercial coating projects across Northern California, the pattern is clear. The projects that fail almost always fail before the first drop of coating hits the roof. The decision to skip a proper moisture survey, or to coat over seams that needed real repair, is where the money gets lost.
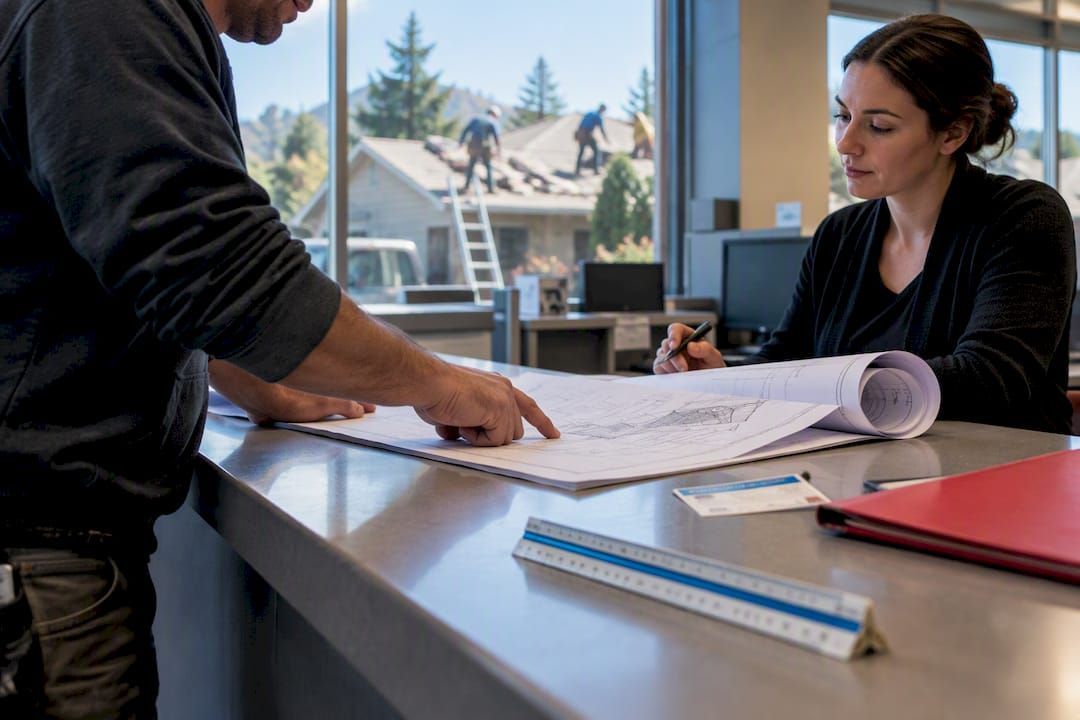
Property managers often receive bids that look similar on paper. The difference shows up in what each contractor does before application. Ask every bidder to walk you through their prep process specifically. How do they handle open seams? Do they run adhesion tests? What moisture threshold triggers a no-go recommendation? A contractor who cannot answer those questions in detail is not the right choice, regardless of price.
The contractor's experience with specific application methods directly affects coating longevity and warranty coverage. That is not a minor variable. A coating applied at the wrong mil thickness or over an incompatible primer will fail in two to three years instead of fifteen. You will spend more fixing that mistake than you would have spent doing it right the first time.
The tax advantage is real and worth discussing with your accountant before you decide between coating and replacement. Treating the project as a maintenance expense rather than a capital improvement changes the financial picture significantly. Many property managers do not realize this until after they have already committed to a full replacement.
My honest recommendation: get the inspection done by someone with no financial stake in the outcome. Then use that report to evaluate your bids. The coating itself is almost secondary to the quality of the work that comes before it.
— Cesar
Professional commercial roof coating services from Shieldguardroofing
Shieldguardroofing brings over 75 years of combined roofing experience to every commercial coating project in Northern California. The team handles the full process, from moisture surveys and pre-application inspections to coating selection and final walkthrough.
Every project starts with an honest assessment of your roof's condition. If coating is the right call, Shieldguardroofing matches the product to your substrate, climate zone, and budget. If the roof needs more than a coating can fix, you will hear that clearly before any work begins. Scheduling is built around your business operations to keep disruption minimal. Contact Shieldguardroofing through the commercial roofing services page or get a quote directly through the commercial roof coatings page.
FAQ
How long does a commercial roof coating last?
Silicone coatings last 15–20 years and acrylic coatings last 10–15 years, depending on mil thickness, climate, and maintenance. Recoating is possible when the existing layer remains well adhered.
What is the cost of commercial roof coating application?
Professionally applied coatings cost $2.50–$5.00 per square foot installed, saving 50–70% compared to a full roof replacement. Silicone runs $3.50–$5.00 per square foot; acrylic runs $2.50–$3.50 per square foot.
Can a flat roof be coated if it has some damage?
Yes, if damaged or saturated areas cover less than 25% of the total roof area. Repairs to seams, penetrations, and flashings must be completed before any coating is applied.
Is roof coating a tax-deductible expense?
Coating expenses qualify as maintenance costs and are fully deductible in the year they occur, unlike a roof replacement, which depreciates over 39 years.
What is the best application method for large commercial roofs?
Airless spray is the standard method for large commercial roofs, covering 3,000–5,000 square feet per hour. Rollers work well for smaller roofs under 10,000 square feet but require more time and labor.
Recommended