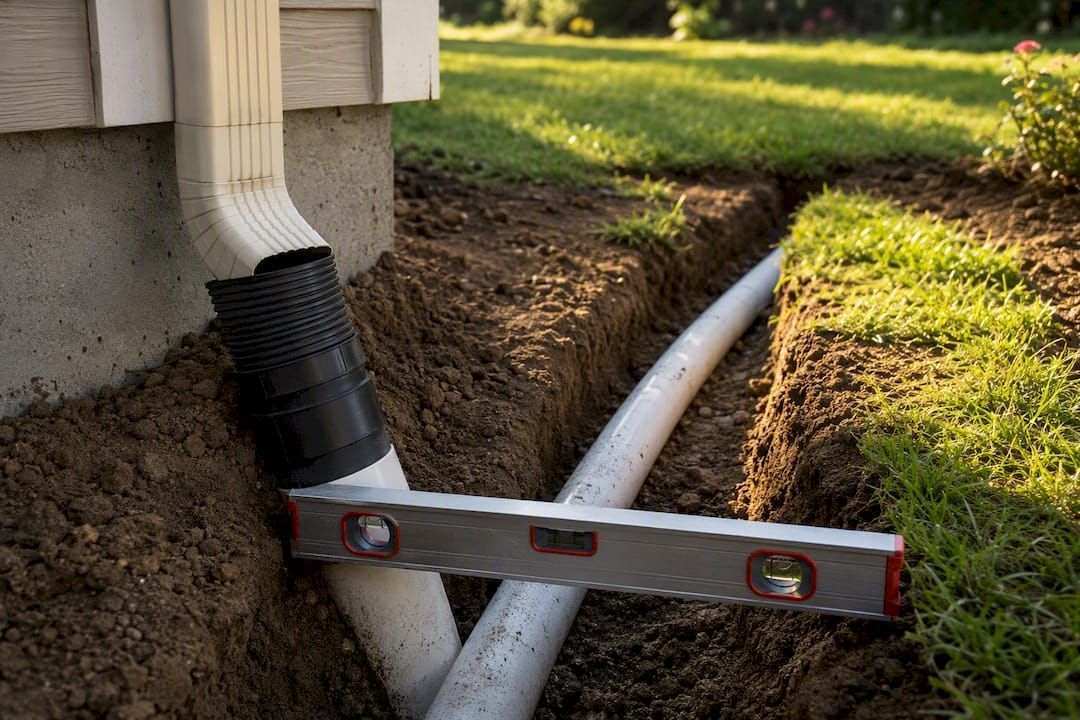
Can Box Gutters Be Repaired, or Do You Need a Full Replacement?
Can Box Gutters Be Repaired, or Do You Need a Full Replacement?
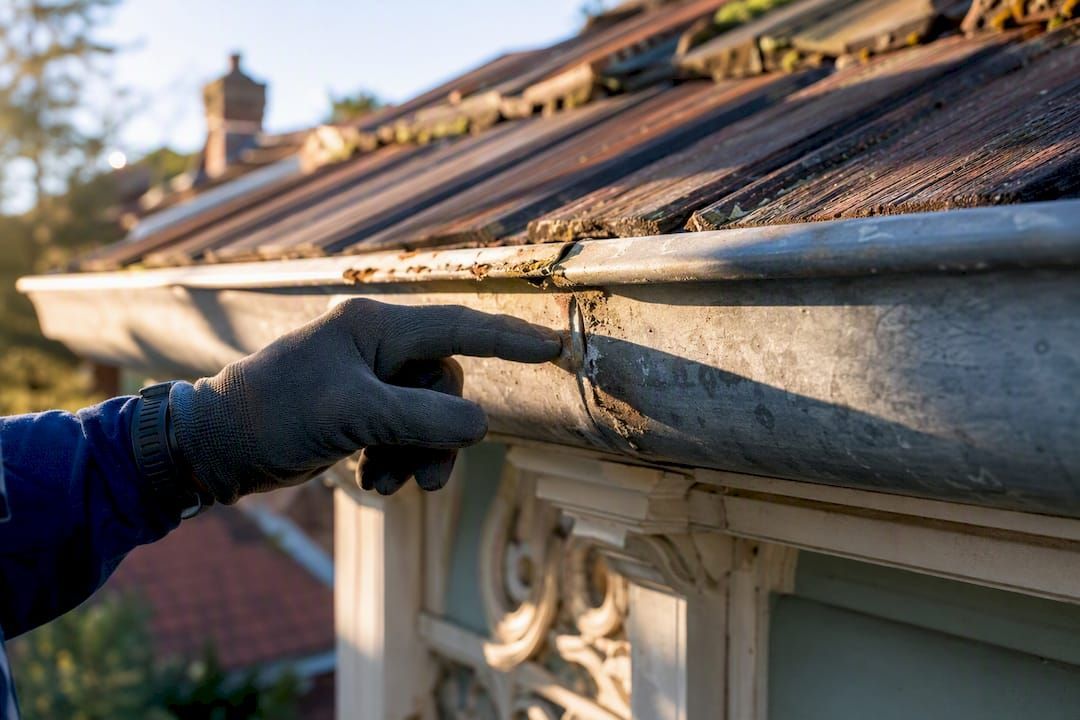
Yes, in most cases. If the wood framing underneath is sound, a box gutter can almost always be repaired or relined rather than torn out entirely. Stabilize any active leak first, then diagnose whether the fix is a simple patch or a full reline. Call a professional immediately if you see interior water stains, rotted fascia, or more than one failed seam.
TL;DR:
- Repair is feasible when the wood framing is solid, damage is limited to a few seams, and the gutter system drains properly otherwise.
- Widespread corrosion, rotted fascia, multiple seam failures, or an undersized gutter require full replacement or metal relining for a durable fix.
- DIY inspection should focus on seam cracks, corrosion shadows, soft fascia, and slope issues, with water tests to confirm proper drainage.
- Repair costs range from a few hundred dollars for patching to over $8,000 for full relining or replacement, depending on scope and substrate condition.
- A professional assessment is essential when active leaks, wood rot, or unreachable sections occur, as hidden damage greatly affects repair strategy and longevity.
What Is Box Gutter Repair and When Does It Make Sense?
Box gutters are the built-in troughs hidden behind a parapet wall or roofline edge, sitting on wood framing instead of hanging off the fascia like standard rain gutters. That framing is exactly why "box gutters repair" is a different animal than swapping out a K-style gutter. When the wood underneath is dry and structurally sound, patching, relining, or reinforcing seams solves the problem for a fraction of replacement cost. When the wood has gone soft or the metal trough has corroded through in multiple spots, repair just delays the inevitable.
Here's a fast way to sort your situation before you call anyone.
Signs that favor repair:
- The gutter framing feels solid when you press on it (no give, no spongy texture)
- Damage is limited to one or two seams, joints, or small corrosion spots
- Slope and drainage work fine except at the failure point
- The liner or metal is otherwise in decent shape, just aged at the seams
Signs that favor replacement:
- Fascia boards or rafter tails are soft, discolored, or crumbling
- Corrosion has created multiple pinholes or larger holes across the trough
- The gutter is undersized for current rainfall volume and constantly overflows
- Repairs have already been done two or three times in the same spots
Before calling a contractor, gather this information so estimates come back accurate:
- Measure the total linear footage of the box gutter run.
- Note how many downspouts or scuppers drain it.
- Photograph any visible rot, rust, or standing water.
- Check whether you can safely access the gutter from a roof hatch, ladder, or window.
The decision flow is simple: stabilize the leak, inspect the framing, repair if the structure is sound, replace if it isn't.
How Do You Diagnose Common Box Gutter Problems?
Most box gutter failures trace back to four culprits: seam failure, corrosion, bad slope, or a clogged scupper. Common repair priorities include seam and joint failures, corrosion, improper slope, and leaks at transitions or outlets, and targeted repairs usually restore proper drainage once you've pinned down which one you're dealing with.
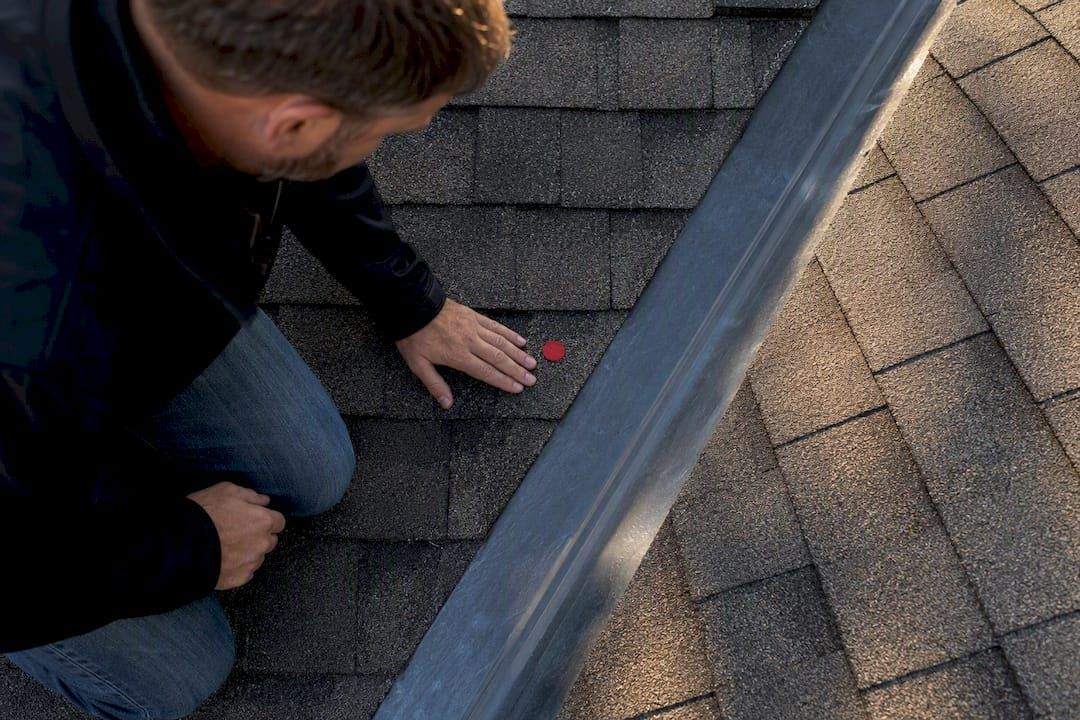
Start with the seams. Old soldered joints on copper or galvanized systems develop hairline cracks as metal expands and contracts through temperature swings. Run your hand along every seam and joint. If you feel a ridge that's lifted, cracked caulk, or a gap you can slide a fingernail into, that's your leak point. On lined gutters, look for cracked, brittle, or peeling membrane, especially where the liner turns a corner or meets a wall flashing.
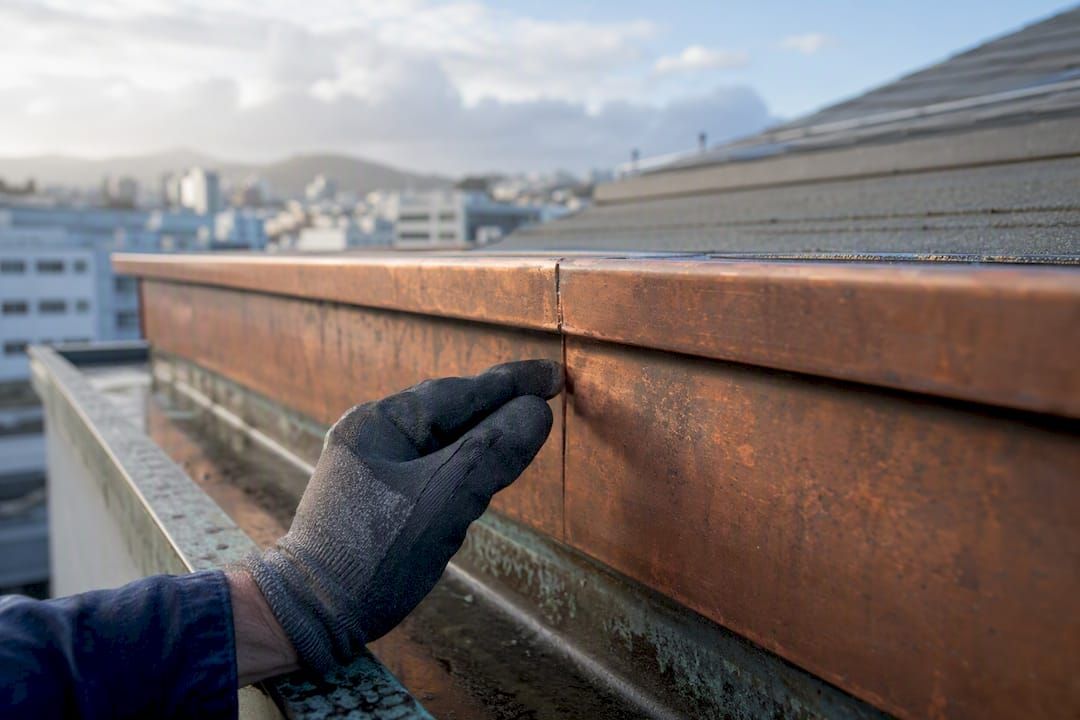
Corrosion shows up differently depending on the material. Galvanized steel rusts through from the inside out, so you might see surface rust that looks minor while the metal underneath is already perforated. Copper develops pinholes at stress points rather than broad rust. Either way, hold a flashlight at a low angle across the trough floor; pinholes throw tiny shadows that are almost invisible from straight overhead.
Rot in the substrate is the symptom that should worry you most. Interior ceiling stains, peeling paint near the eaves, soft or spongy fascia boards, and damp insulation in the attic below the gutter run are all signs that water has been getting past the metal or liner for a while, not just after last week's storm.
Quick checklist for a DIY inspection:
- Run water from a hose through the gutter and watch how fast it clears
- Look for ponding that doesn't drain within a few minutes (a slope problem)
- Check every scupper opening for leaves, granules, or debris buildup
- Press on fascia boards and roof decking near the gutter for soft spots
- Photograph anything that looks discolored, cracked, or rusted
A garden hose test reveals slope issues fast. Run water at the high end and watch where it pools. Contractor pages routinely emphasize flow-rate and slope checks along with overflow scupper testing as a standard part of any real assessment, and that overflow testing matters more than most homeowners realize, since a scupper that looks clear can still be undersized for a heavy downpour.
Pro Tip: If you find rot, corrosion, or multiple seam failures, stop probing and call a professional. A moisture meter and a trained eye can tell you how far the damage extends into the roof deck, something a visual check from the ground can't.
What Repair and Relining Methods Actually Work?
The right fix depends entirely on how widespread the damage is and what the gutter is made of. Here's how the main options stack up.
Spot patching works for isolated seam failures or small pinholes when the surrounding metal or liner is otherwise healthy. A compatible patch material, often paired with reinforcement fabric, seals the immediate leak. The limit is scale. Patching three or four spots on a ten-foot run is reasonable; patching every joint on a fifty-foot commercial run usually means you're delaying a reline you'll need anyway within a year or two.
Liquid-applied membranes are the workhorse for box gutters with widespread but shallow damage. A high-solids liquid rubber membrane applied in multiple layers with reinforcement over seams creates a seamless waterproof barrier that can last 10 to 15 years when properly prepared and applied. The key phrase there is "properly prepared." Surface prep is the single biggest reason these jobs fail. Technicians need to strip old bitumen or silicone patches, grind corrosion back to bright metal, and chemically clean the substrate before the membrane goes on. Skip that step and the membrane will bubble or peel within a season, no matter how good the product is.
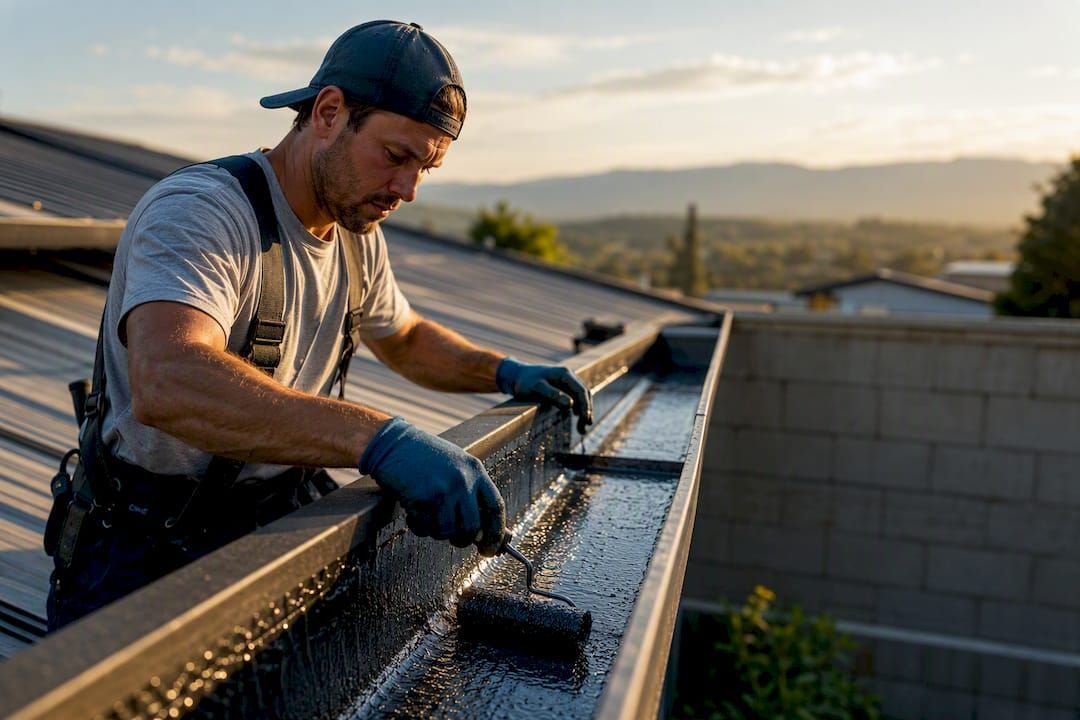
Single-ply relining with EPDM, TPO, or PVC gives you a continuous membrane liner instead of a coating. Heat-welded seams on TPO and PVC systems tend to outperform glued seams because welded joints move with the material during thermal expansion rather than acting as a separate weak point. Soldered or glued seams are typical weak points, and heat-welded single-ply systems or monolithic liquid membranes are recommended where thermal movement and seam durability are concerns. If your gutter framing is sound and you want the best long-term value over repeated spot repairs, relining is usually the smarter call than patch after patch.
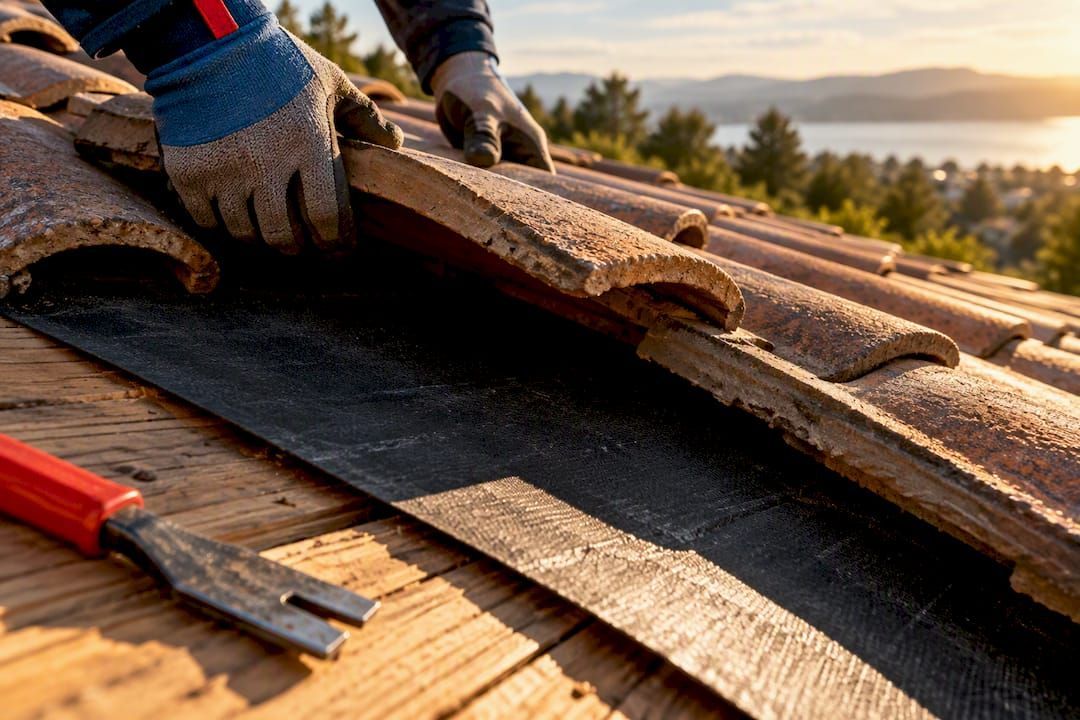
Full metal reline or trough replacement becomes necessary when the existing metal has failed structurally, not just cosmetically. This is the most disruptive option: it typically involves removing the old trough entirely, repairing or replacing rotted framing underneath, and fabricating new metal to fit the exact run. Expect more time on site and more mess, but also a system that starts its lifespan fresh rather than layered over old problems.
Material compatibility matters more than most homeowners expect. Mixing metals without a barrier between them, like copper fasteners on a galvanized steel trough, sets up galvanic corrosion that eats through the less noble metal faster than normal weathering ever would. A contractor who understands this pairs materials correctly or isolates them with a compatible underlayment.
- Spot patch: best for one to three isolated failures on an otherwise sound gutter
- Liquid membrane: best for widespread shallow damage across a long run
- Single-ply reline: best when you want a fresh, continuous barrier with strong seam performance
- Full metal reline: necessary when the trough itself has failed structurally
What Does Box Gutter Repair Cost?
Cost tracks almost exactly with scope. A small seam patch might run you a few hundred dollars. A full metal reline on a commercial building can run into five figures.
Relining box gutters with EPDM, TPO, or PVC membranes typically costs between $900 and $1,900 for basic relining jobs, while a full metal reline or full replacement can exceed $8,000 depending on scope. Where you land in that range depends on linear footage, how many scuppers and transitions need custom detailing, and whether the crew finds rotted substrate once they open things up.
That last point deserves attention. Unexpected substrate damage discovered during removal often drives significant cost increases, so a fair contractor should flag that possibility as a contingency in your estimate rather than surprise you with it mid-job.
What drives cost beyond the base square footage:
- Removal complexity (how the old liner or metal is attached and how hard it is to pull)
- Substrate repair (rotted decking or framing found once the old material comes off)
- Custom metal fabrication for irregular transitions, corners, or scupper openings
- Access requirements, including scaffolding or crane work on multi-story buildings
A useful rule of thumb: if a repair estimate approaches half the cost of a full reline, it's worth getting a reline quote before committing. Patching an aging system repeatedly can quietly cost more over three years than doing the job right once.
A fair itemized estimate should separate:
- Labor for removal and installation
- Material costs (membrane, metal, fasteners, sealants)
- Any anticipated substrate repair
- Cleanup and disposal
- A final inspection or water test
If a bid lumps everything into one number with no breakdown, ask for the details before you sign anything.
What Can You Safely Do Yourself Before the Pro Arrives?
Think of this stage like putting a bucket under a burst pipe. It's not a fix. It's damage control while you wait for the real repair.
- Clear scuppers and downspouts of leaves and debris so water has somewhere to go.
- Set up a temporary diversion, a tarp angled to redirect flow away from the interior wall or ceiling, if water is actively coming through.
- Place buckets or a small sump pump under active drips inside the building to protect flooring and furniture.
- Photograph the damage from multiple angles and measure the affected run before you call anyone.
- Note the date and conditions of the leak (storm, wind direction, how long it's been happening) for the contractor's records.
When an emergency leak occurs, the immediate priority is stabilization, whether that's temporary water diversion or pump-downs, followed by a professional diagnostic assessment. Quick patches applied without figuring out the root cause tend to just move the leak somewhere else, which is why stabilizing first and diagnosing second beats grabbing a caulk gun and hoping.
Resist the urge to reach for roofing cement or tar as a permanent fix. Patching with roofing cement or tar is often only a short-term measure, and it can trap moisture underneath or fail under UV exposure; flexible, UV-stable liquid membranes or proper relining hold up far longer. Tar might stop a drip for a month. It rarely survives a full season.
Pro Tip: Never climb onto a roof or lean a ladder against a gutter edge alone, especially after rain when surfaces are slick. If you can't safely see the damage from a stable vantage point, a temporary fix from the ground (redirecting water, catching drips inside) is worth more than risking a fall to get a closer look. For more on safe temporary stabilization, see this temporary fix guide for NorCal homeowners.
When Should You Hire a Professional Instead of DIYing It?
Some situations aren't worth gambling on. Call a contractor right away if you're seeing an active interior leak, any sign of wood rot, more than one seam failure on the same run, or a gutter section you simply can't reach safely from a ladder or roof hatch.
A thorough professional assessment goes well beyond a visual scan. It typically includes a substrate probe to check for hidden rot behind the metal, a slope check to confirm water is actually draining toward the outlets, a scupper capacity test to see if the overflow provisions can handle a real storm, and a material compatibility review if you're mixing metals or considering a different liner system.
Questions worth asking any contractor before you sign:
- What repair method are you recommending, and why that one over the alternatives?
- What specific materials will you use, and are they compatible with my existing gutter metal?
- What warranty comes with the work, on both labor and materials?
- What's the realistic timeline, including drying or curing time for membranes?
- Can I see photos of the work area before and after, including anything found during removal?
Watch for red flags in the bidding process. A quote with no itemized breakdown, no mention of a warranty, or no photos of the actual problem area is a quote you should question. Compare bids on scope and documentation, not just the bottom-line number. The commercial gutter system types guide is a useful reference if you're a property manager trying to understand how box gutters fit into the building's larger drainage design before that first contractor walkthrough.
How Often Should You Maintain a Box Gutter System?
Prevention is cheaper than every repair method described above, combined. Professional service providers commonly recommend semi-annual maintenance for box gutters in most climates, timed around spring and fall so debris from blooming trees and falling leaves doesn't sit in the trough for months.
- Clear debris from the full run and every scupper opening, spring and fall at minimum.
- Check seam elasticity on liners and look for new cracks or lifted joints at every visit.
- Test drainage flow with a hose to catch slope problems before a storm does.
- Inspect fasteners and flashing at transitions for looseness or corrosion.
- Run an overflow test during or right after a heavy storm to confirm scuppers handle real volume.
Overflow provisions deserve their own mention here. Well-designed secondary drains and scuppers keep water from ever reaching the interior during a downpour, but they only work if they're actually clear and correctly sized, which is why testing them during a storm (not just visually checking them on a dry day) tells you far more.
Keep a simple record of each inspection: date, what you found, what got cleared or fixed. That record helps a contractor spot patterns fast if a problem does show up, and it's useful documentation if you ever need to make an insurance claim after storm damage.
Pro Tip: Schedule your fall cleaning right after the bulk of leaf drop, not before. Cleaning too early just means doing it again in a month.
Shield Guard Roofing's Approach to Box Gutter Repair
Shield Guard Roofing has built its reputation in Northern California on a family-owned approach backed by over 75 years of combined roofing experience, working with premium materials like GAF, GAF Energy, and Brava roofing and siding products. That combination of hands-on experience and material quality matters most in a category like box gutters, where a wrong material choice or a rushed prep job shows up as a callback within a year.
Our process follows the same logic laid out throughout this guide: stabilize any active leak first, inspect the framing and drainage thoroughly, then move to relining or repair once we know exactly what we're dealing with, followed by a water test to confirm the fix actually holds before we call the job done.
What that looks like in practice:
- A full substrate probe to check for hidden rot before recommending a repair method
- Material-matched solutions, whether that's a spot patch, liquid membrane, or single-ply reline
- A written scope that separates labor, materials, and any substrate contingency
- A final water test on completed work, not just a visual sign-off
Property managers and homeowners who bring in an experienced contractor early tend to avoid the hidden structural costs that show up when a "quick patch" from a less experienced crew masks rot for another year. Explore our residential roof repair services for more on how we handle gutter work alongside broader roof repair projects.
Why Most Box Gutter Advice Gets the Order Wrong
Most guides on this topic jump straight to material comparisons, EPDM versus TPO, liquid membrane versus metal, without addressing the actual first decision a homeowner faces: is this gutter worth saving at all? That's a framing problem, not a materials problem, and it leads people to spend money on a premium reline over rotted wood that needed replacing in the first place.
The research behind this guide points to a simpler priority order than the industry usually presents. Stabilize first. Diagnose the substrate second. Only then does the materials conversation matter. Skip that sequence and you risk installing a beautiful, expensive liner over framing that fails in three years anyway, at which point you're paying for the reline twice.
The other thing conventional advice underplays is how much surface prep decides the outcome of any relining job. A liquid membrane or single-ply system is only as good as the substrate underneath it. If I had one piece of advice for a reader standing in front of a leaking box gutter right now, it's this: don't ask which product to use before you've confirmed the wood underneath is still solid. That answer changes everything else.
— Cesar
Get a Professional Box Gutter Assessment from Shield Guard Roofing
Shield Guard Roofing gives you a full diagnostic before recommending a fix, not a quick patch that masks a bigger problem for another year. Where a lot of quick-turnaround crews will slap on cement and move to the next job, our team probes the substrate, checks slope and scupper capacity, and matches the repair method to what your gutter actually needs, backed by GAF and Brava material options and warranties that hold up.

Before we come out for a site visit, jot down what you've noticed: where the leak shows up inside, how long it's been happening, and any photos you've already taken of the damage. That speeds up the assessment and gets you a more accurate scope on the spot. After the estimate, most projects move to scheduling within a couple of weeks, depending on material lead times and access needs.
If you're seeing water stains, sagging fascia, or a gutter that's overflowed one too many times this season, request an inspection through our residential roofing services page and get a straight answer on whether you're looking at a repair or a reline.
Sources
This guide draws on cost and repair data from Modernize, HomeGuide, RapidRepair.blog, and RoyaltySouth's commercial gutter overview, along with design guidance from Kevin Francis Design on how gutter capacity affects water damage prevention.
Recommended